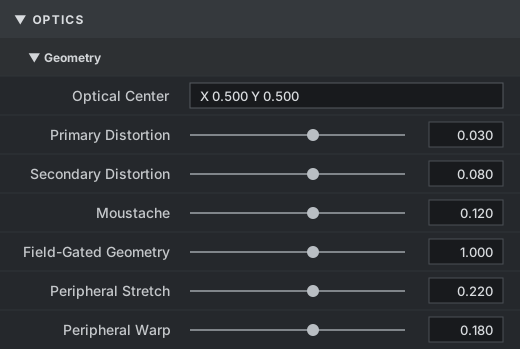
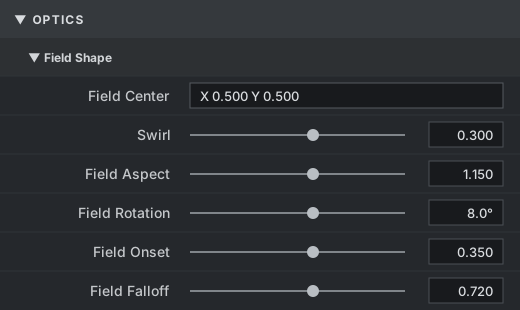
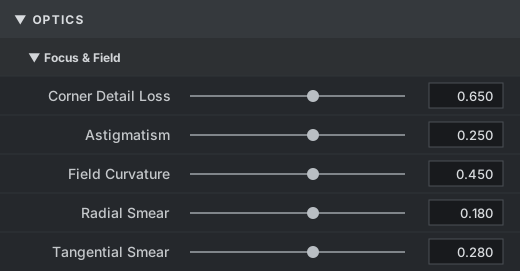
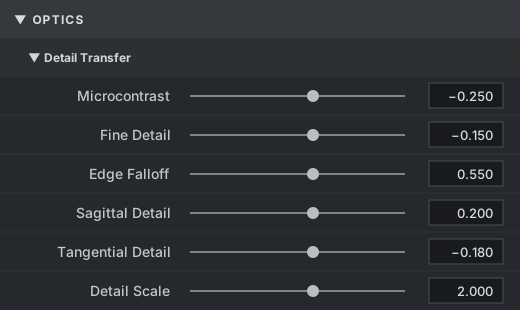
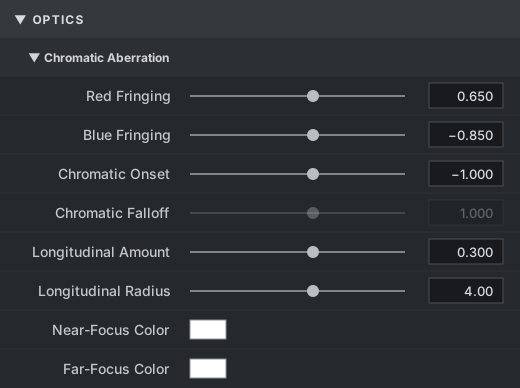
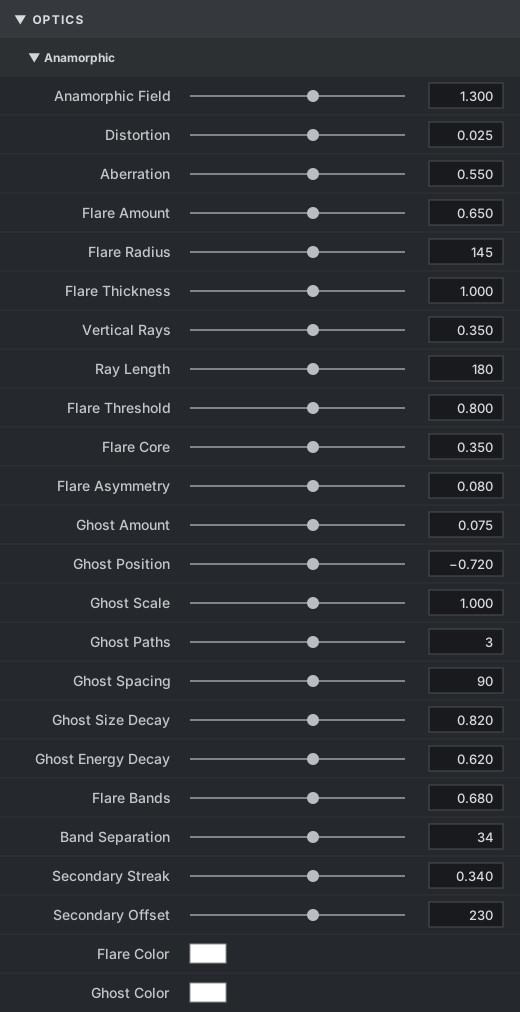
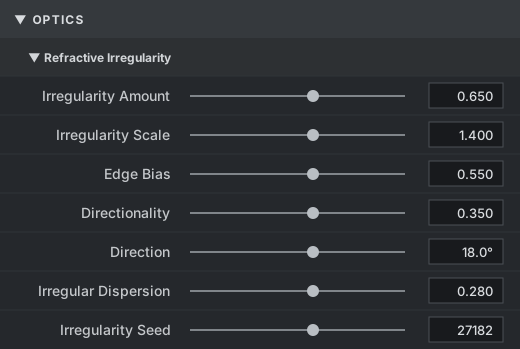
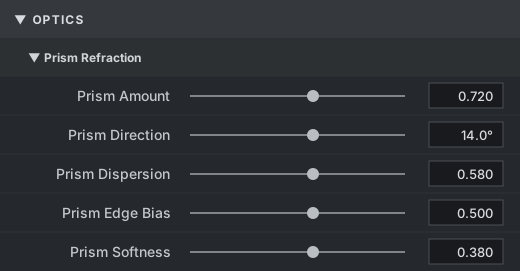
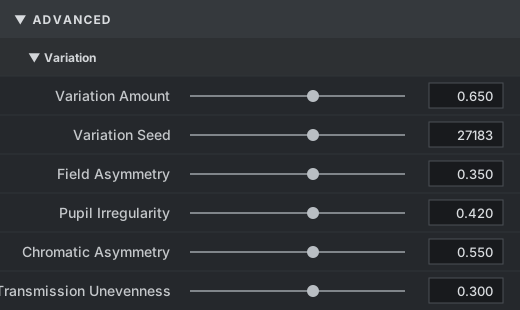
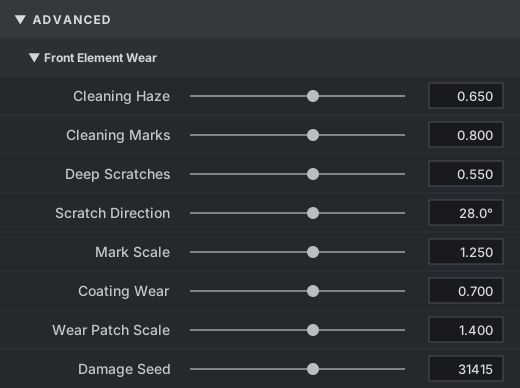
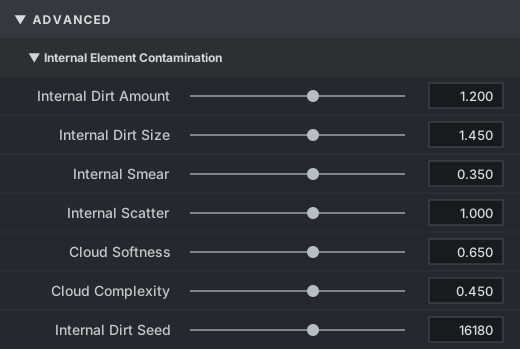
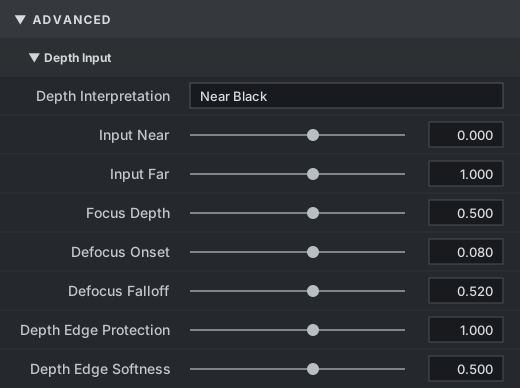
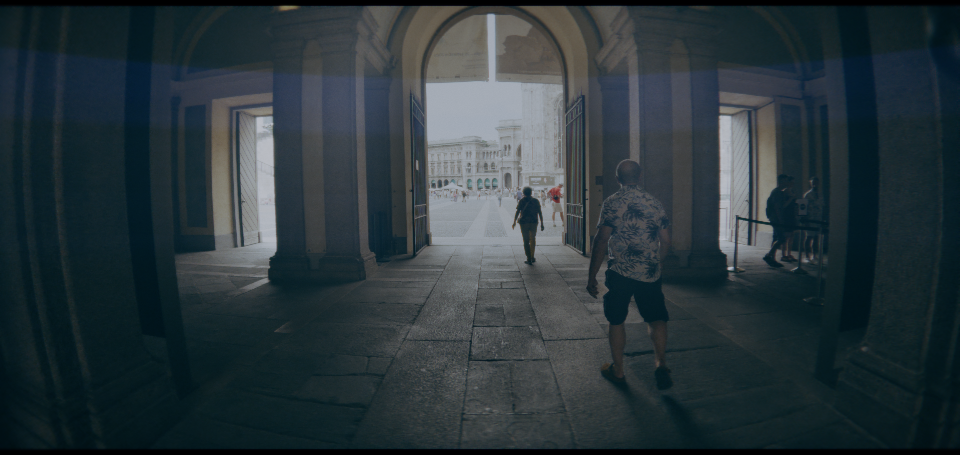
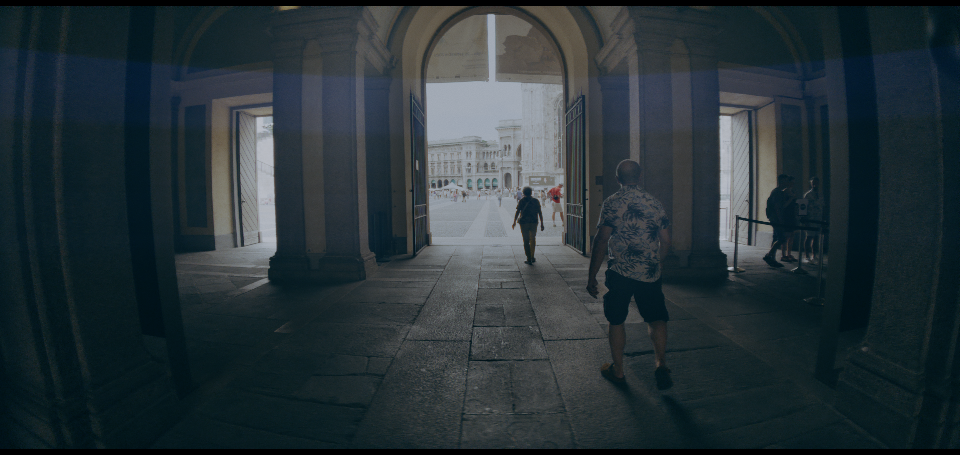
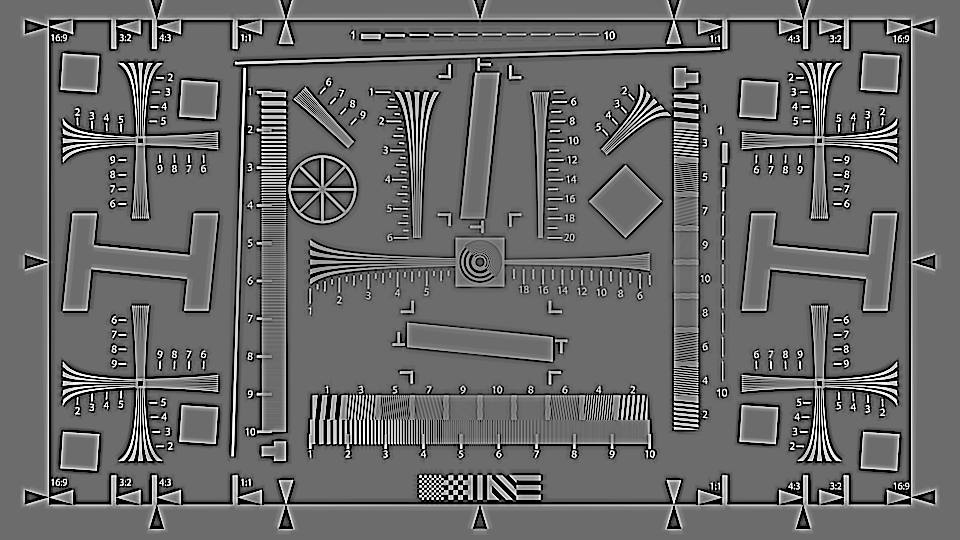
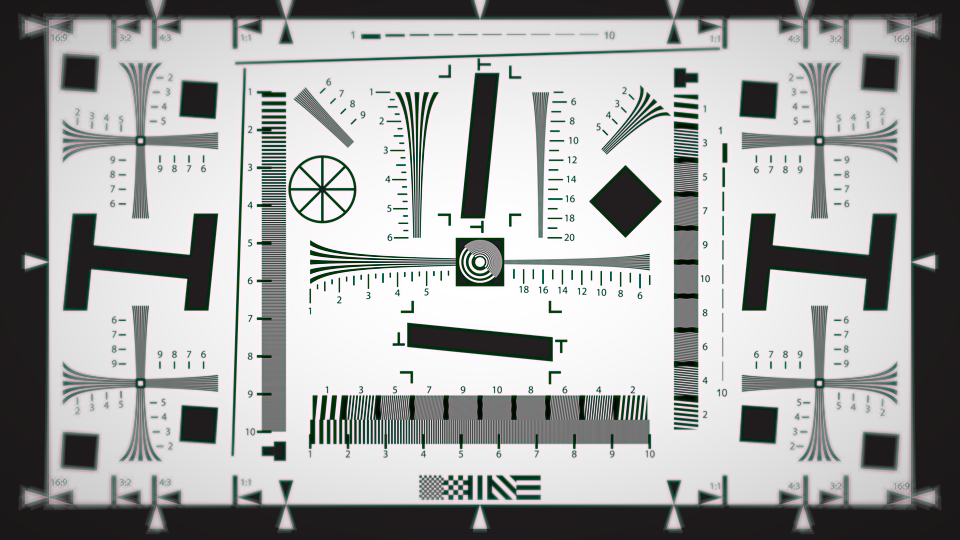
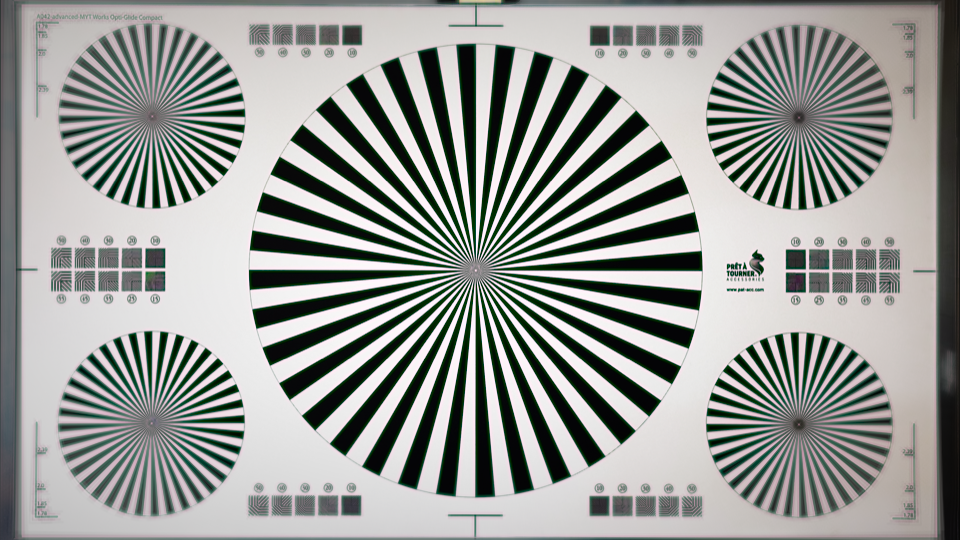
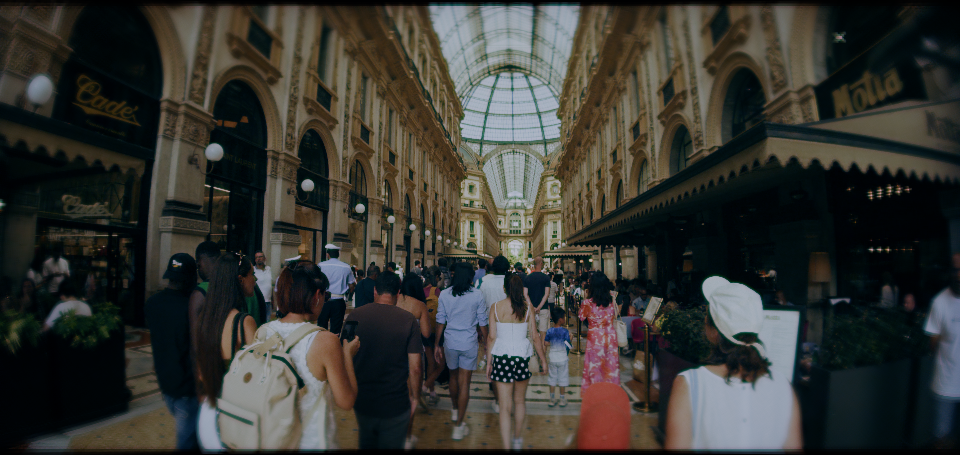
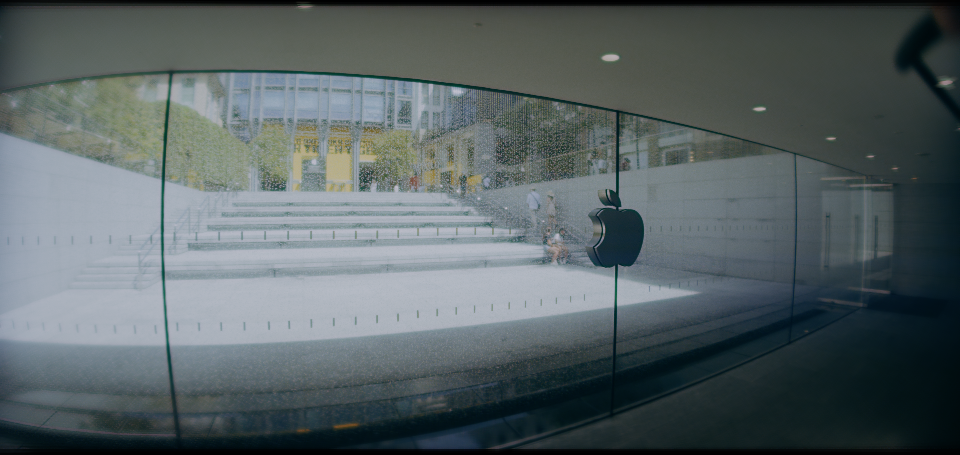
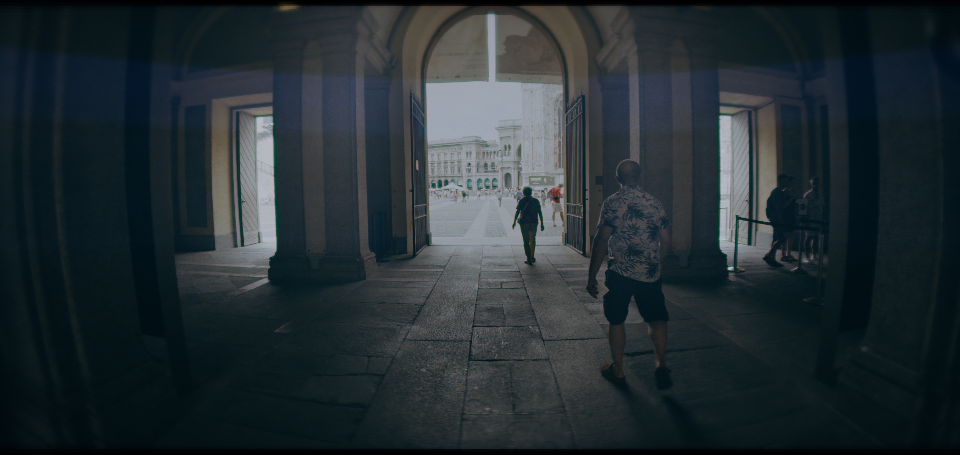
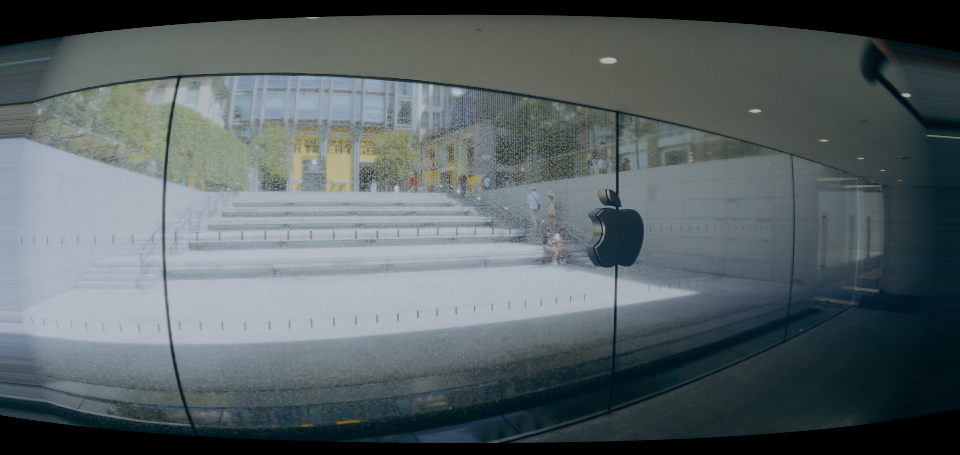
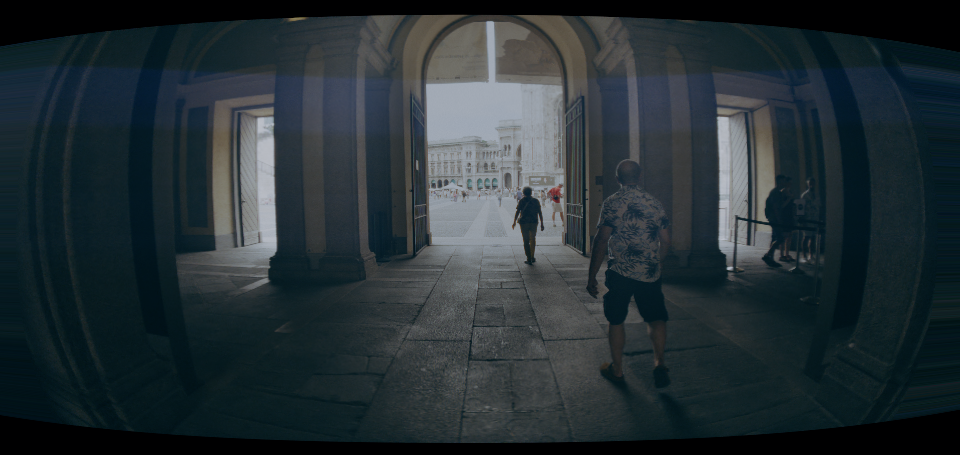
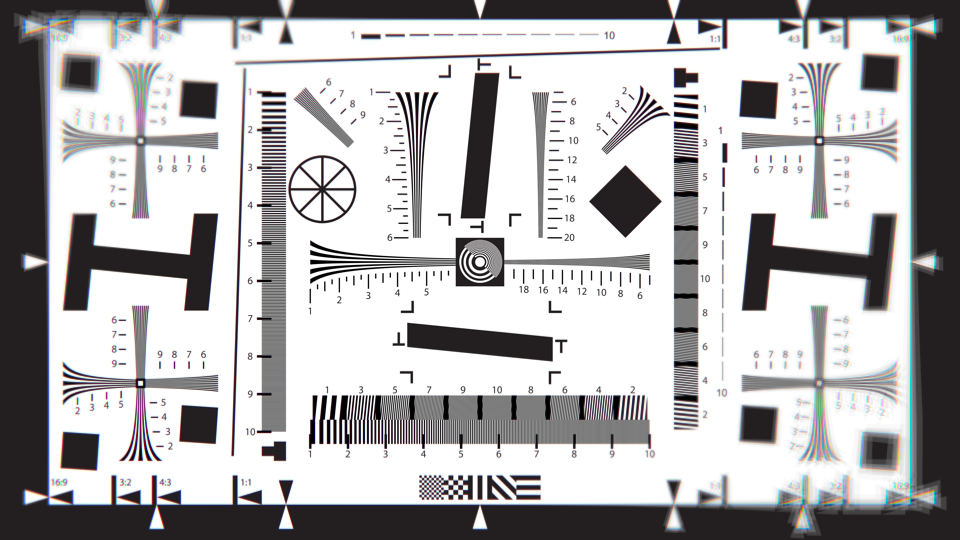
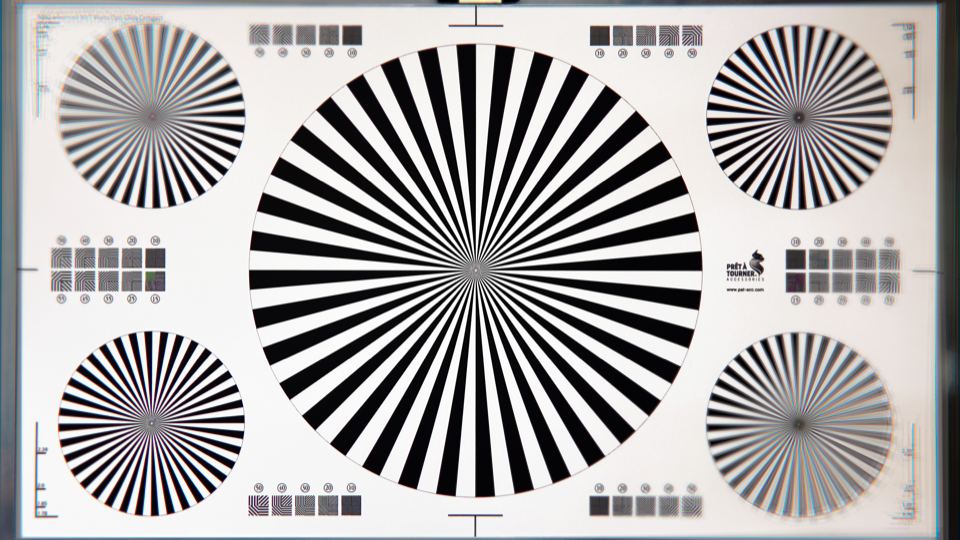
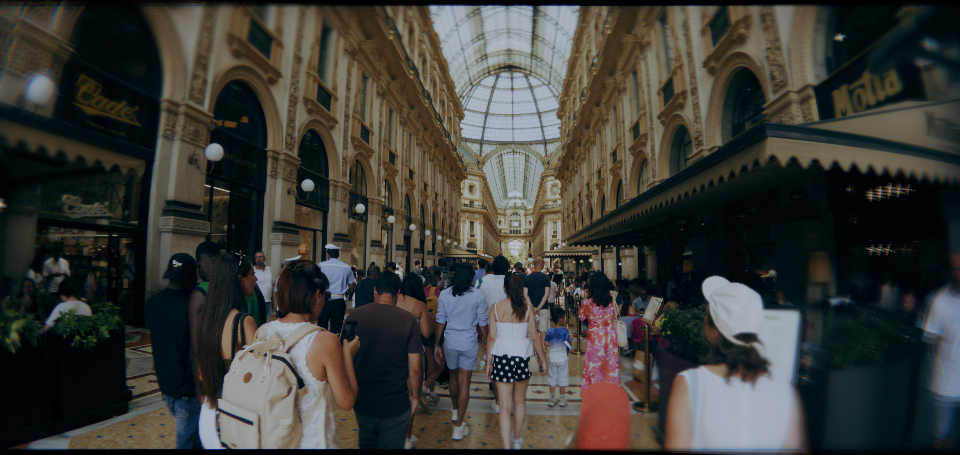
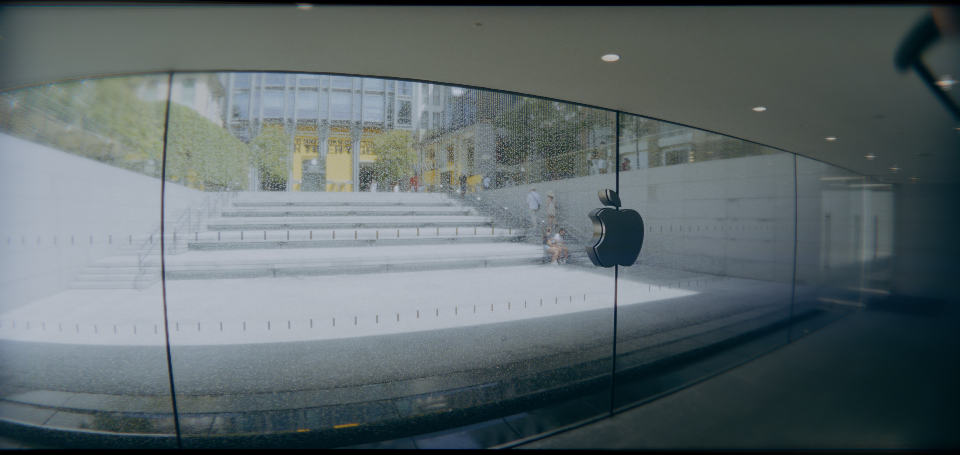
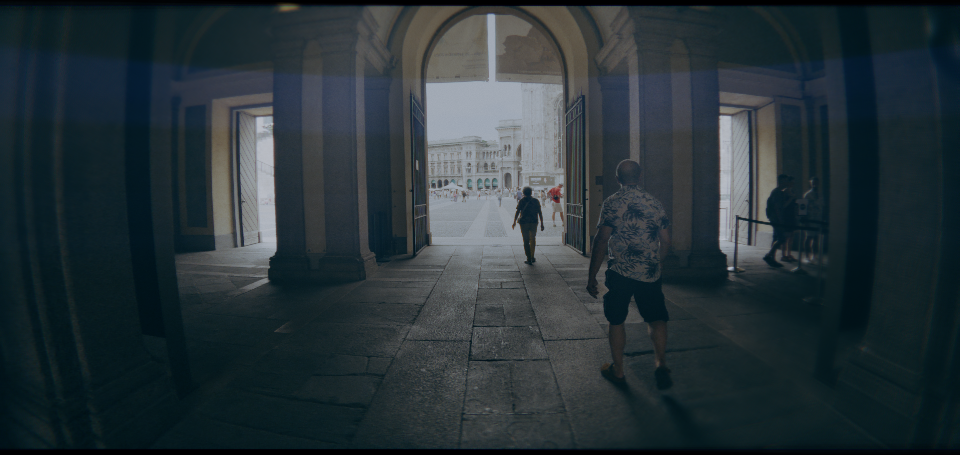
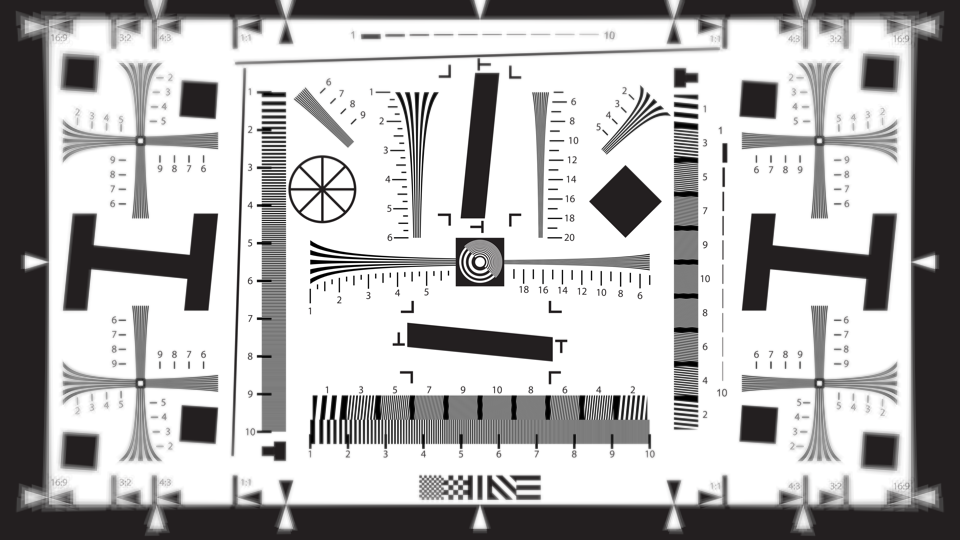
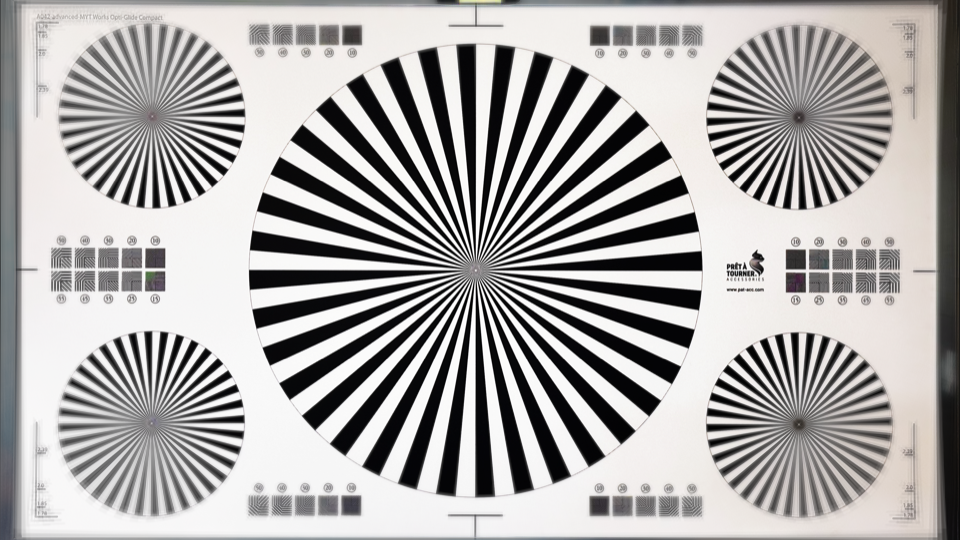
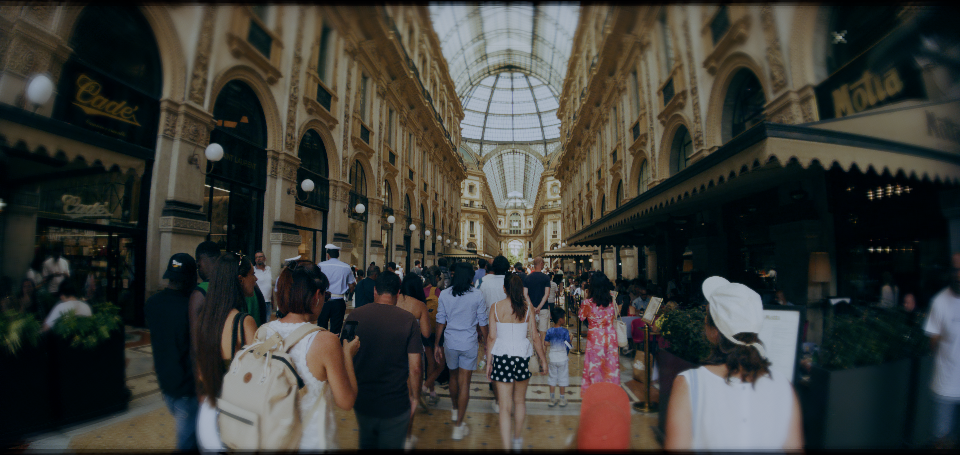
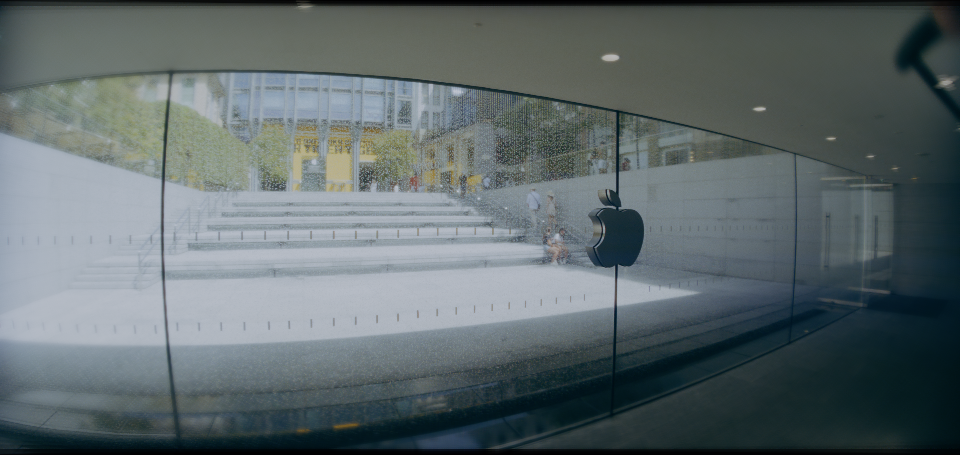
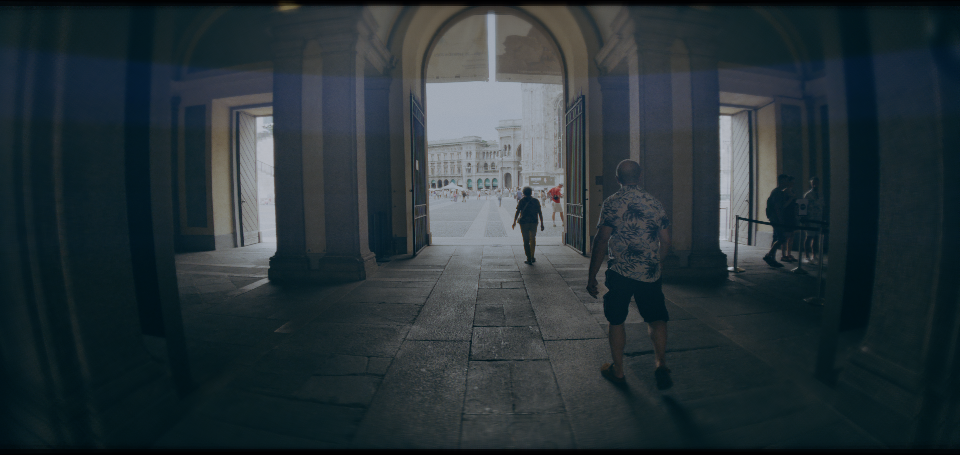
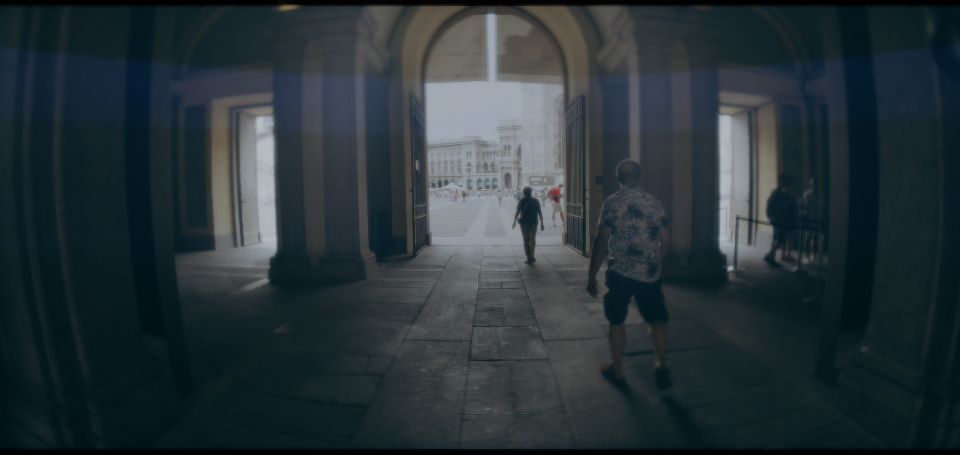
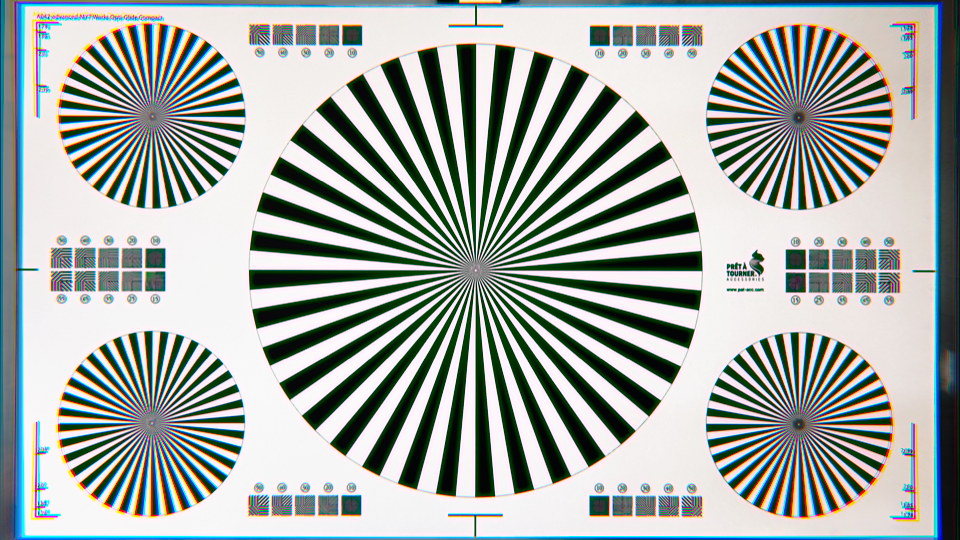
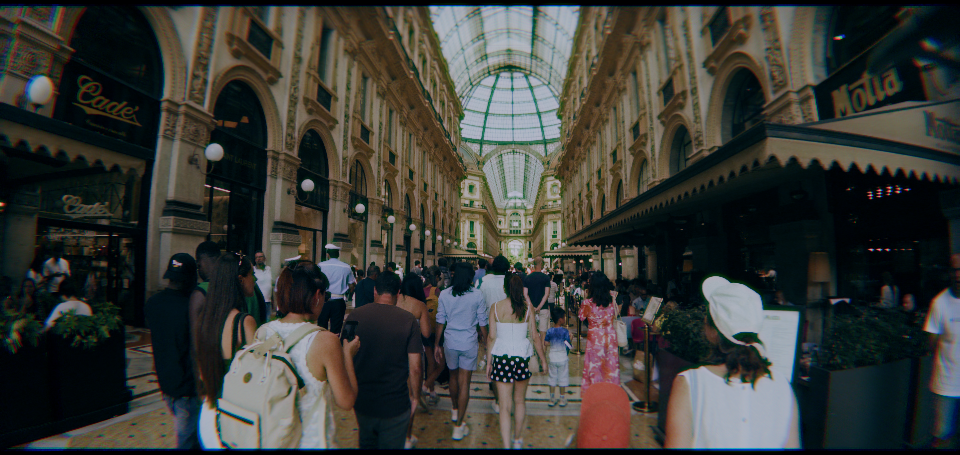
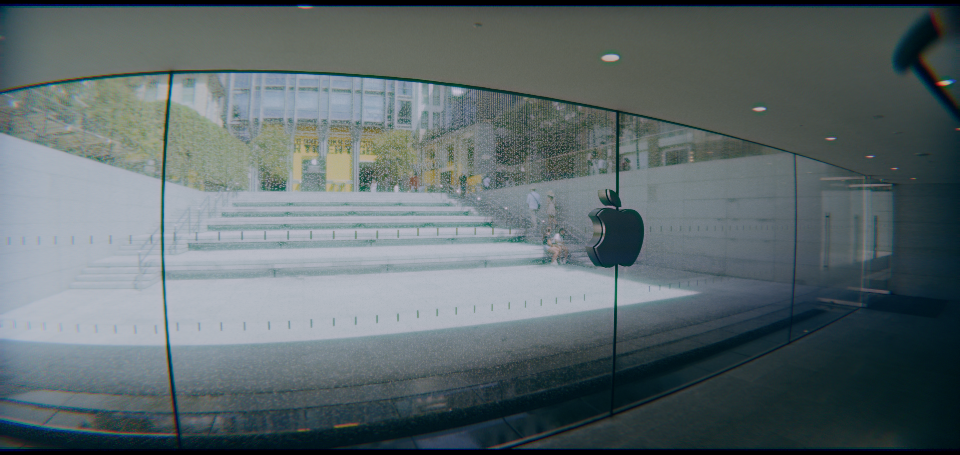
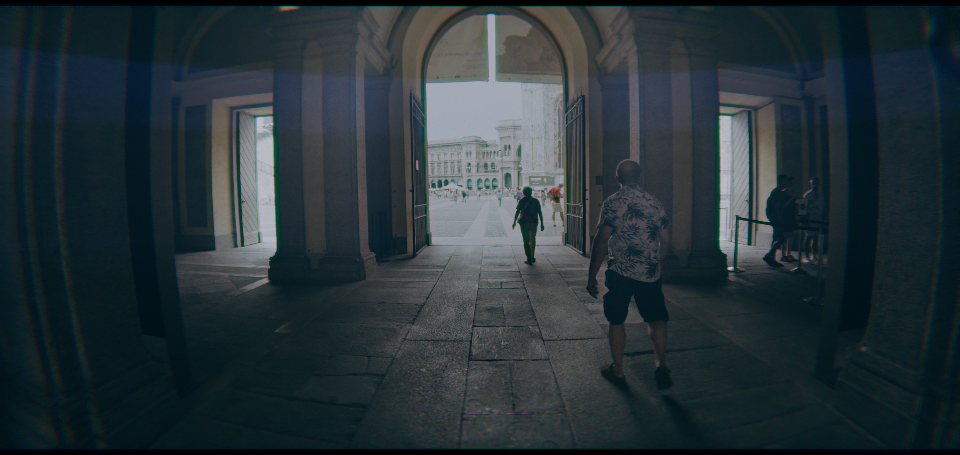
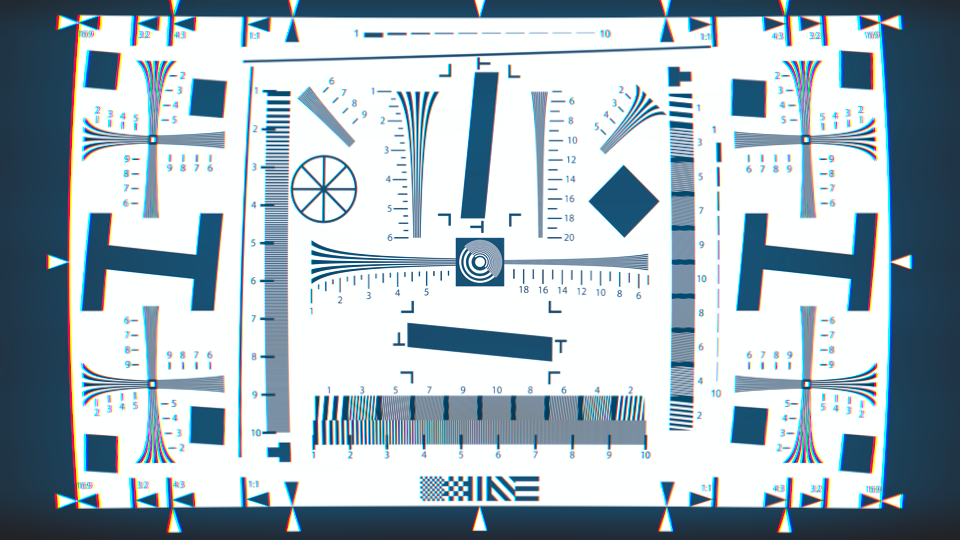
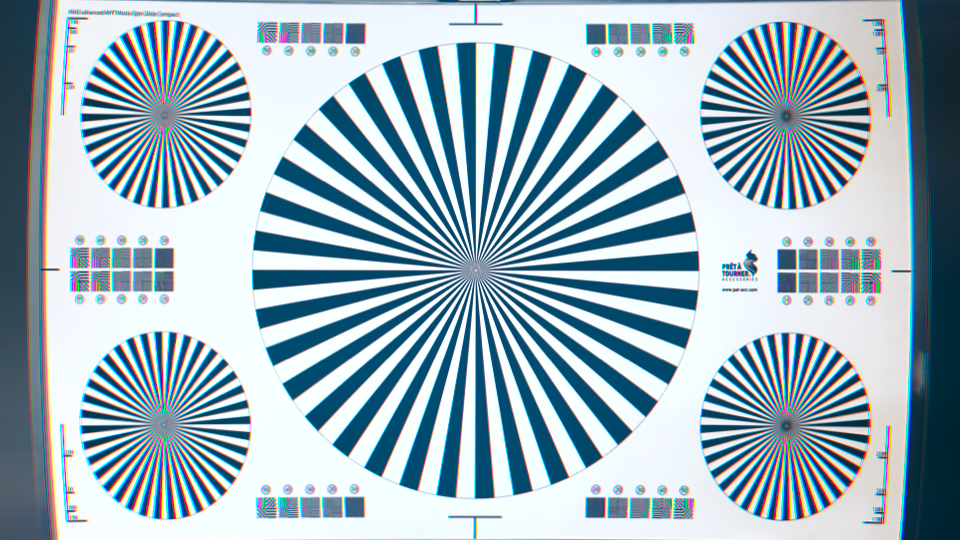
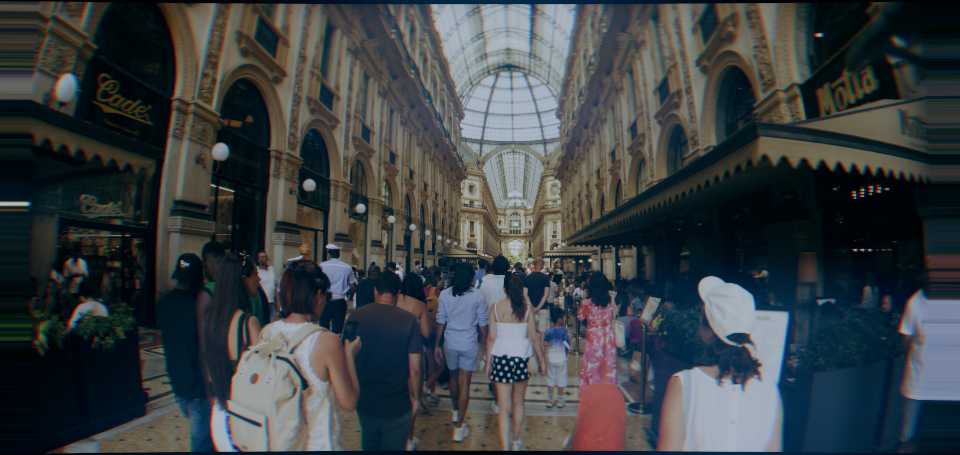
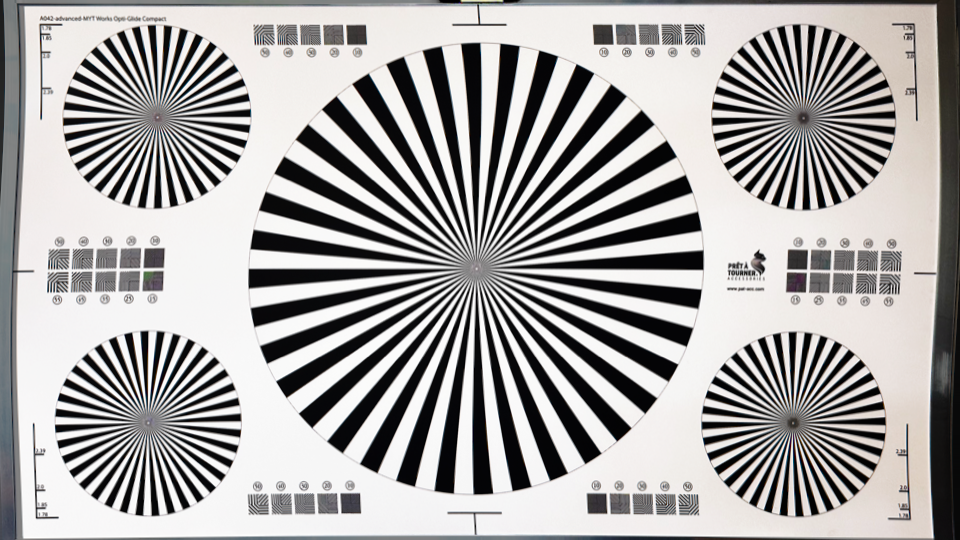
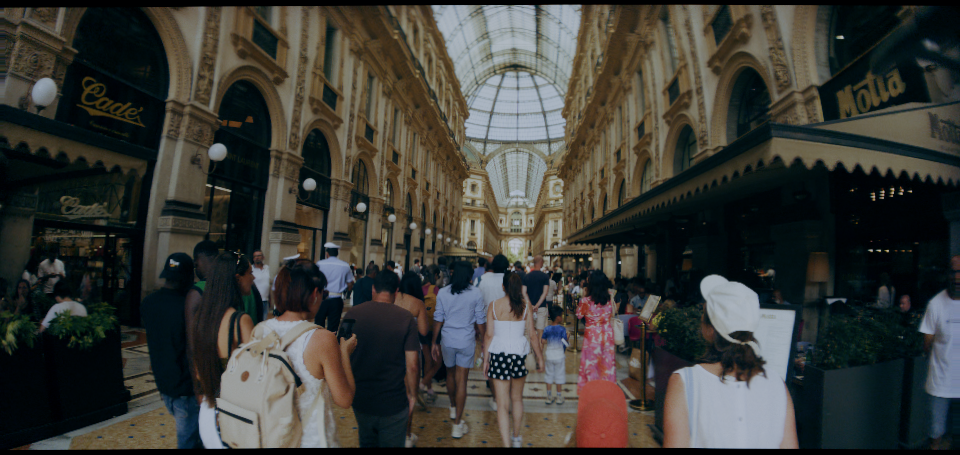
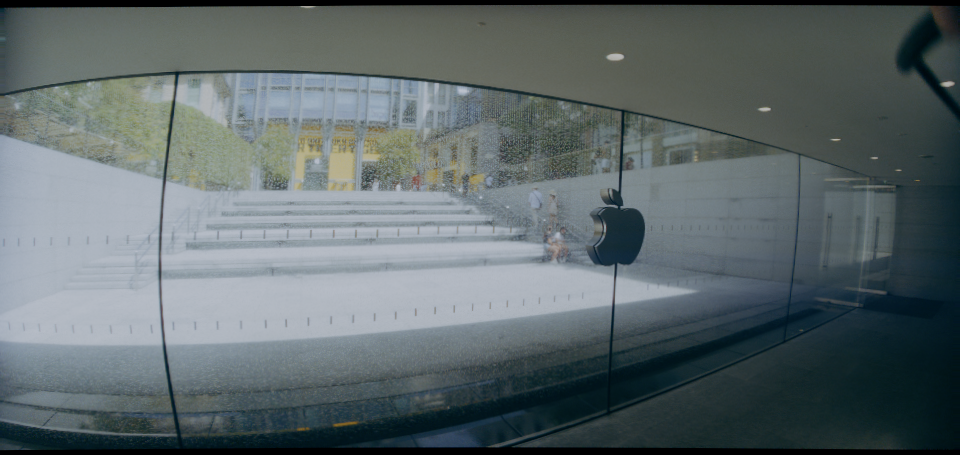
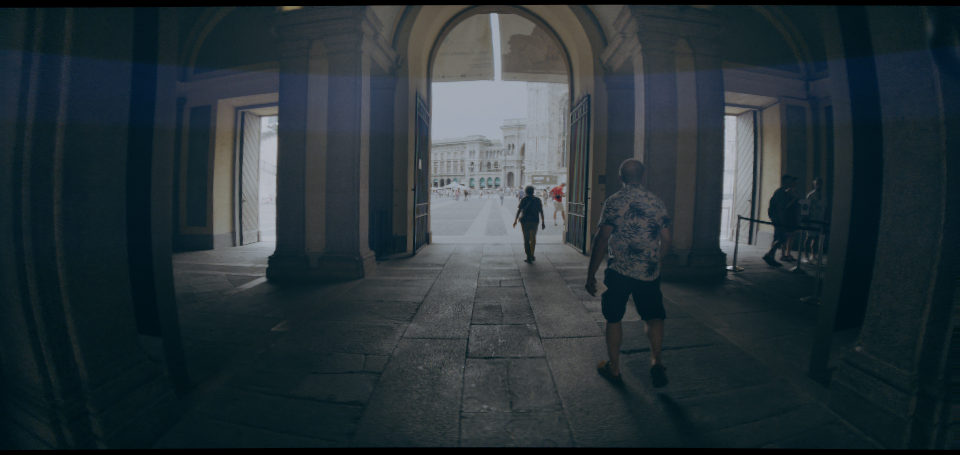
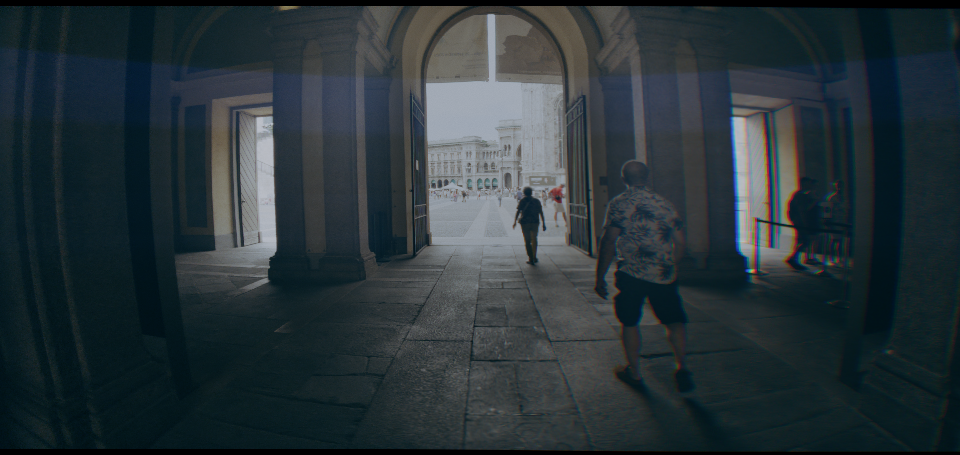
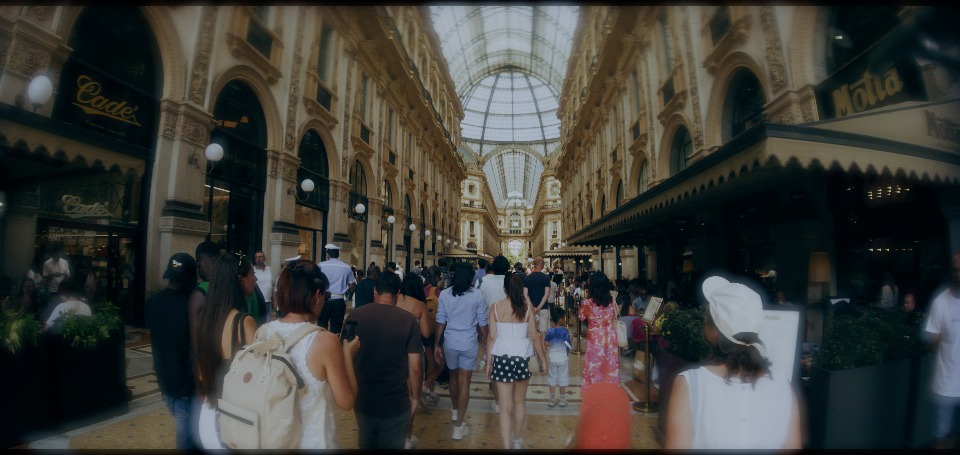
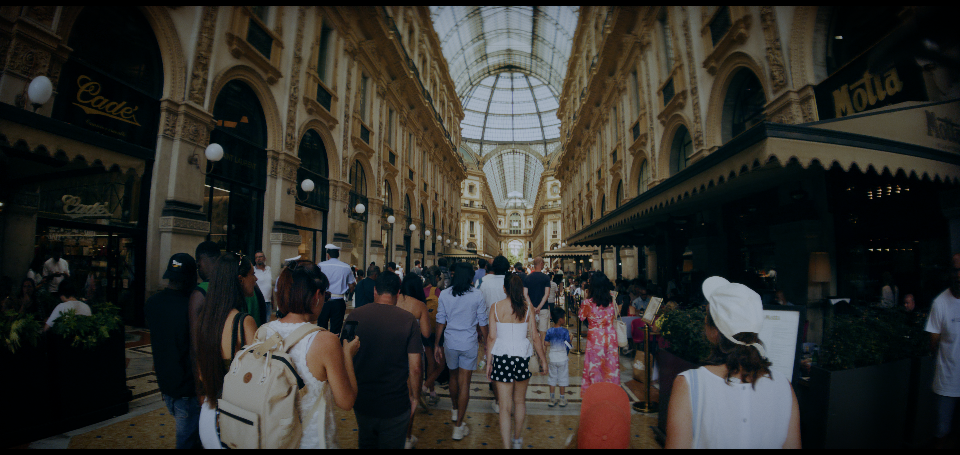
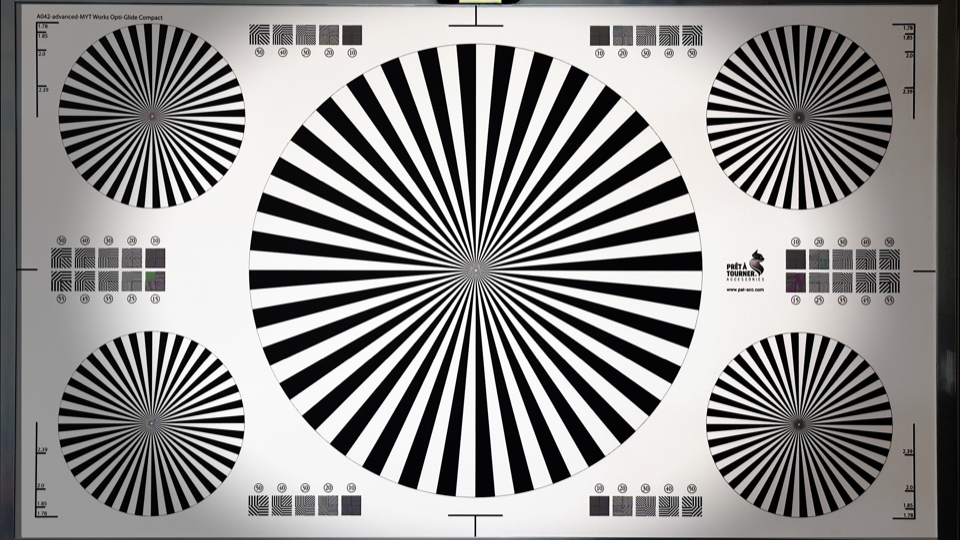
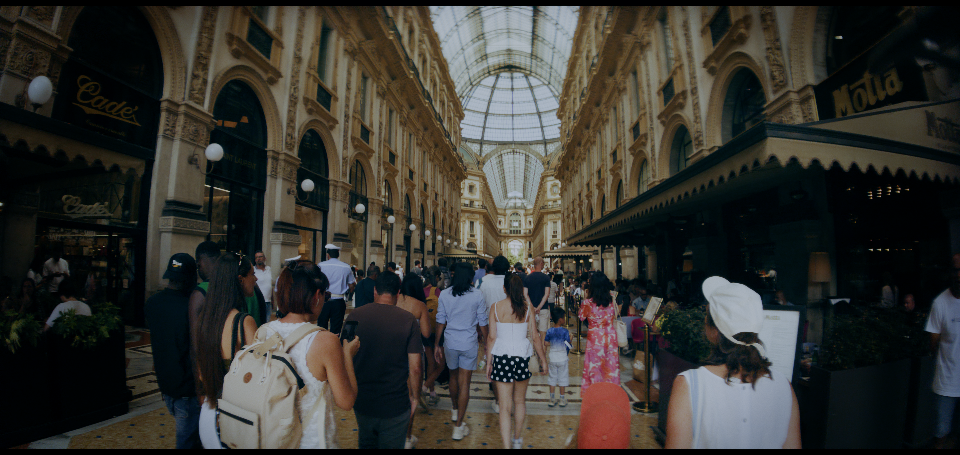
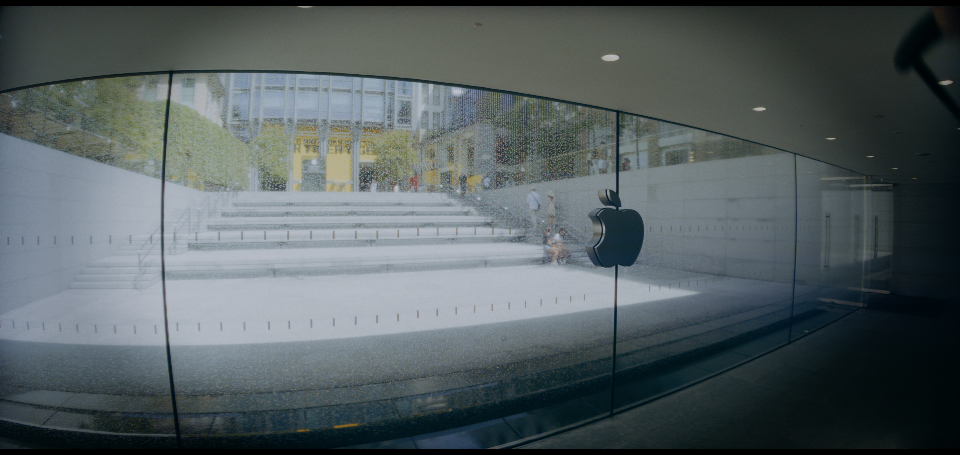
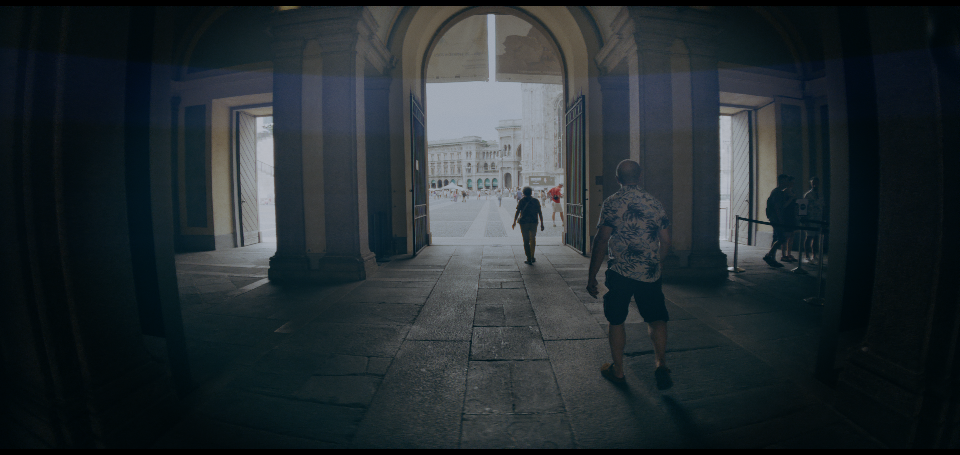
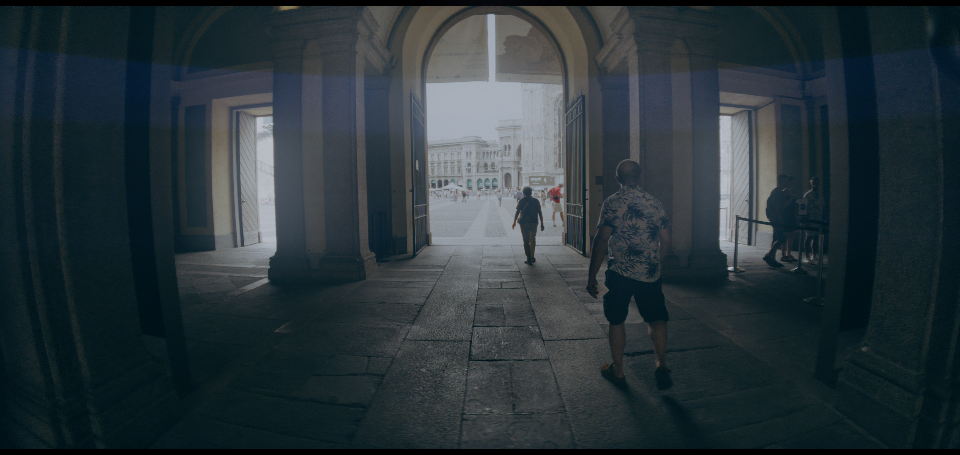
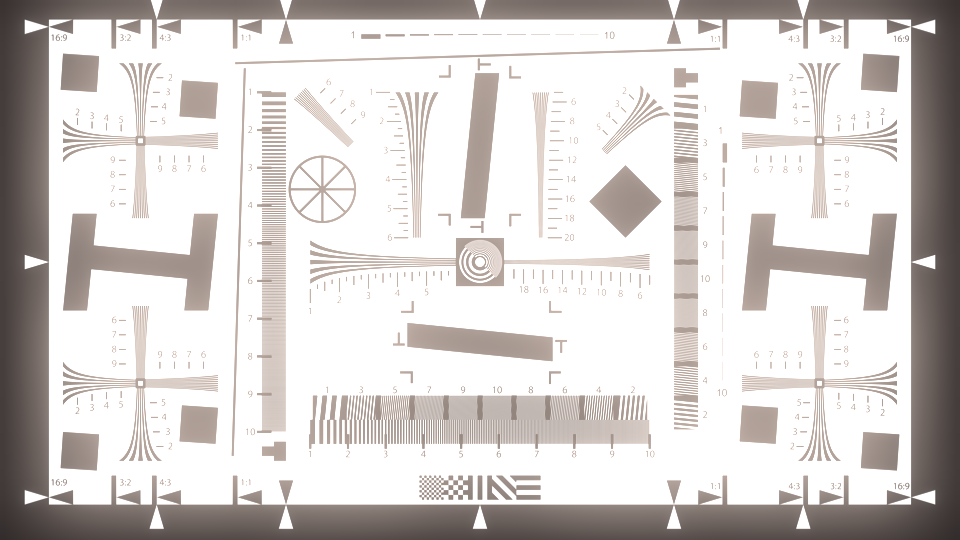
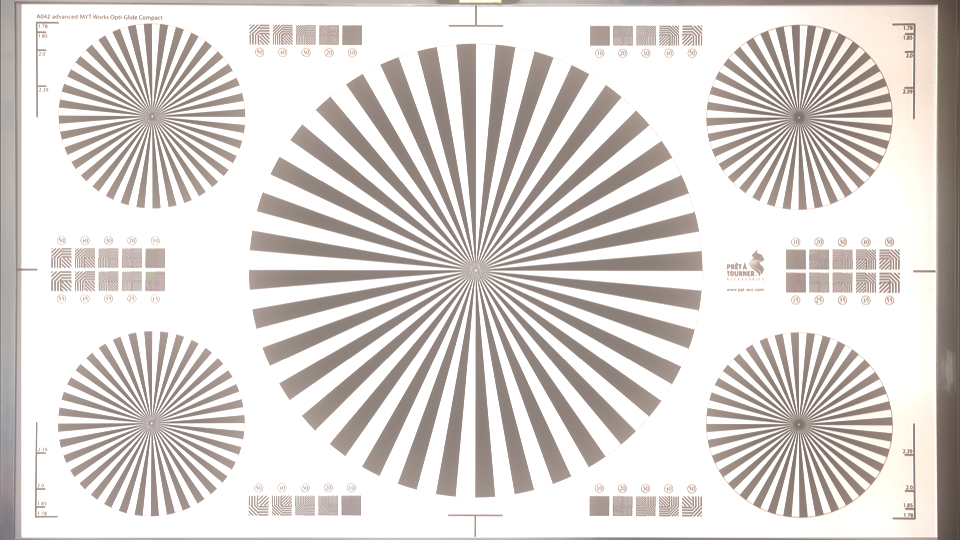
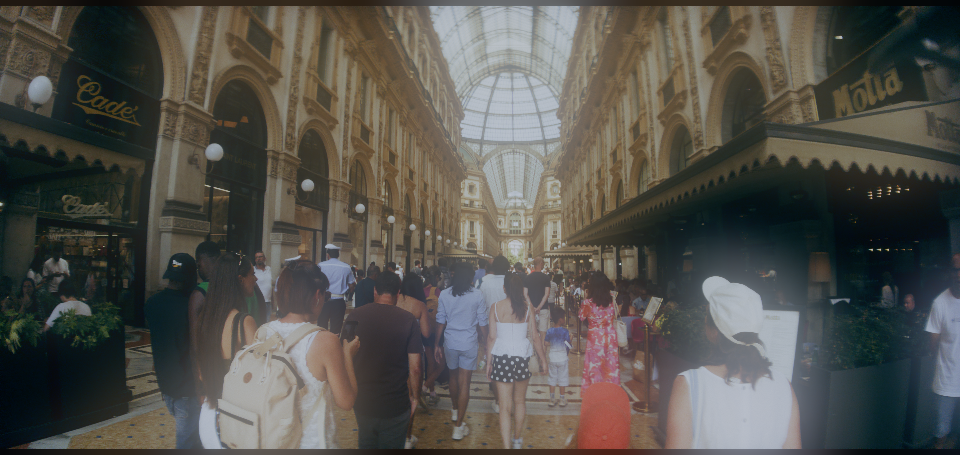
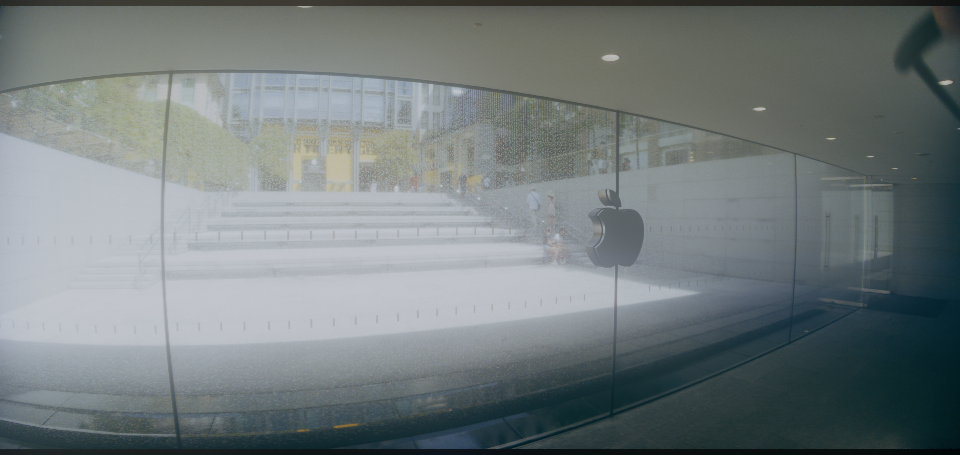
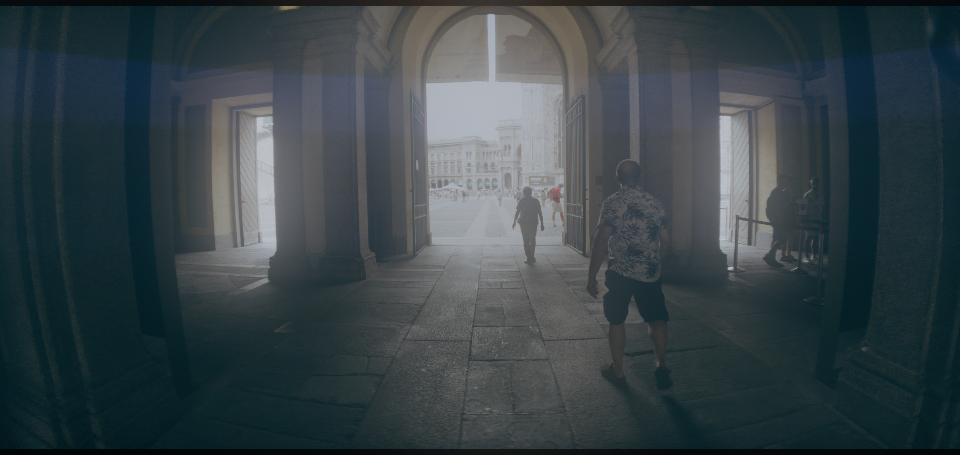
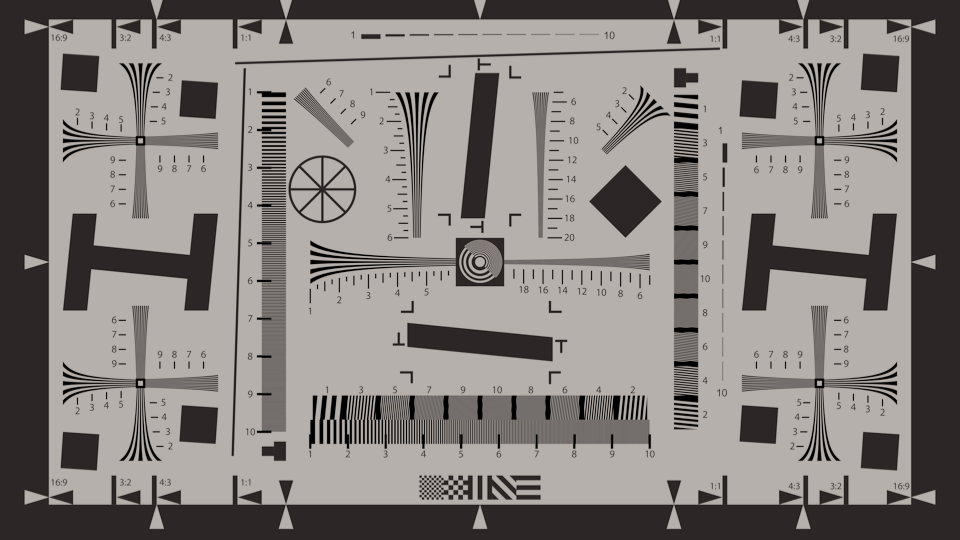
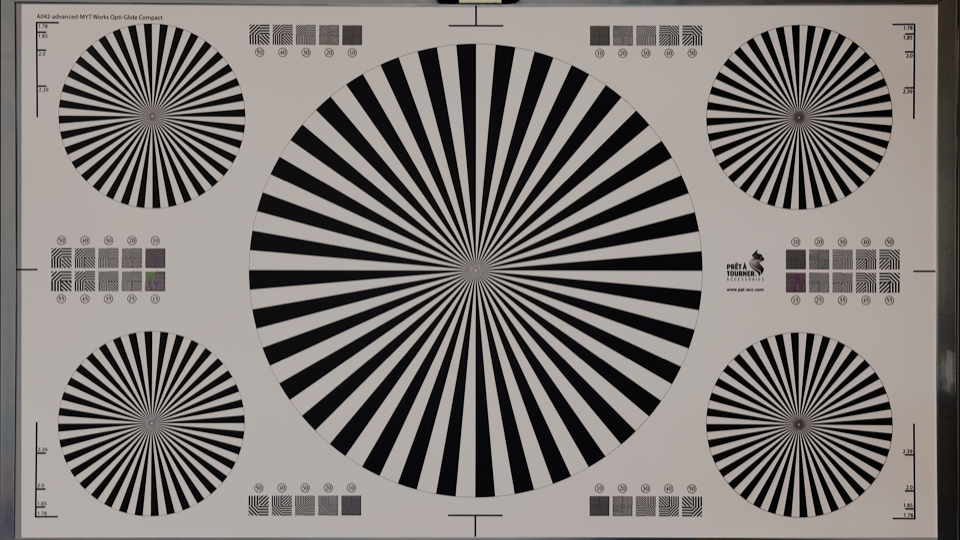
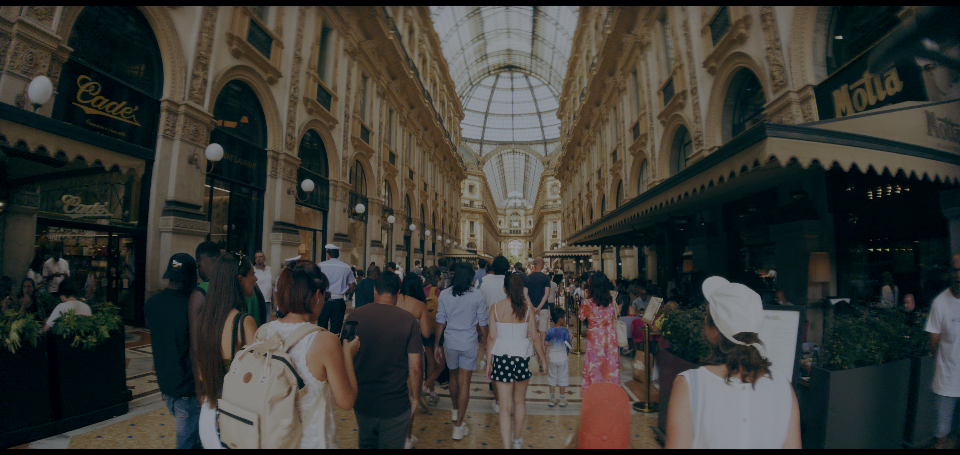
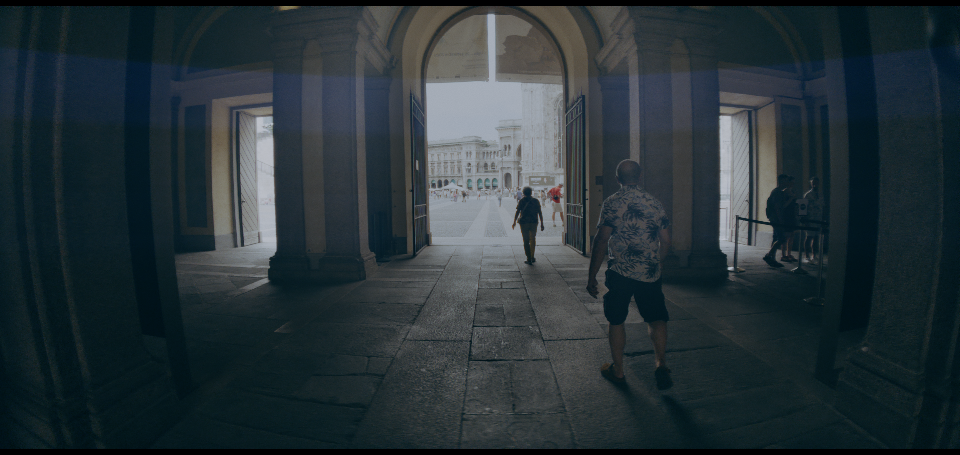
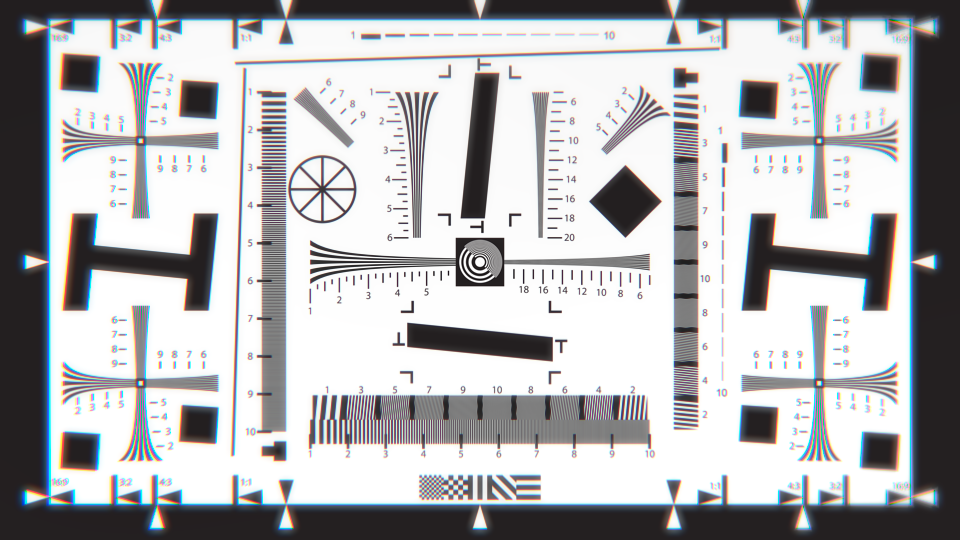
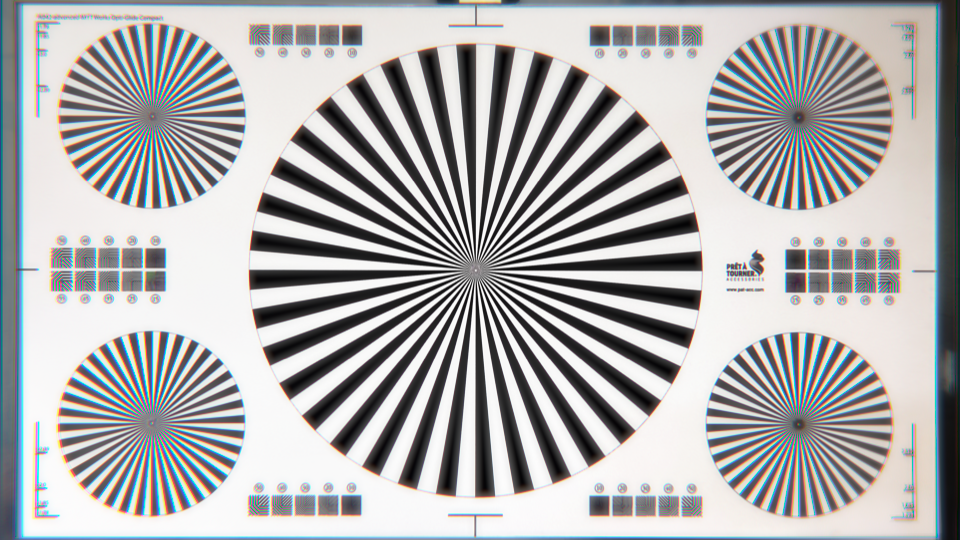
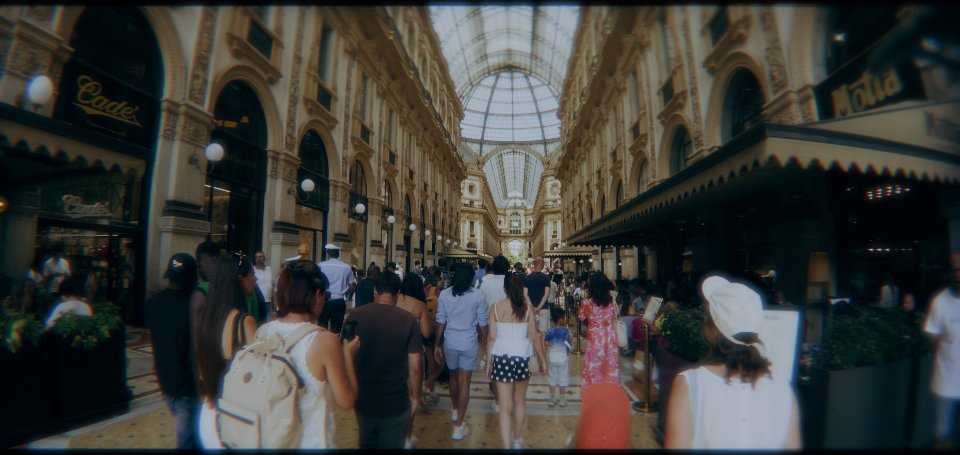
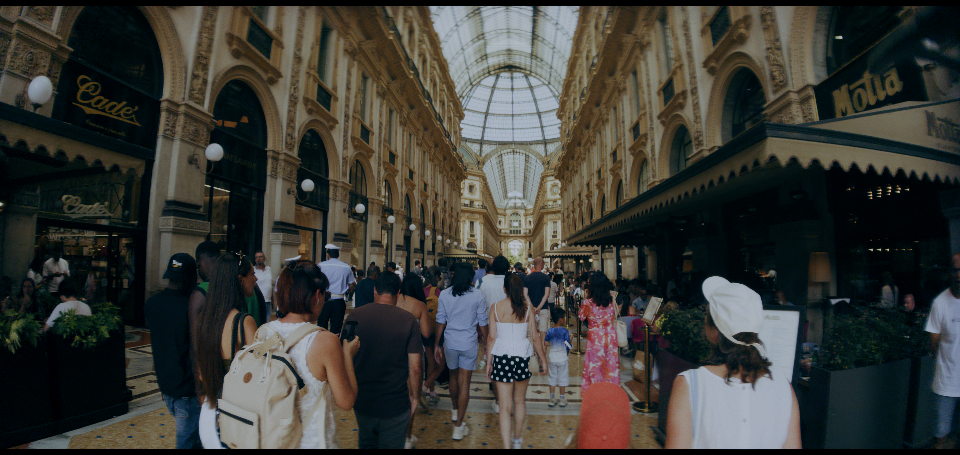
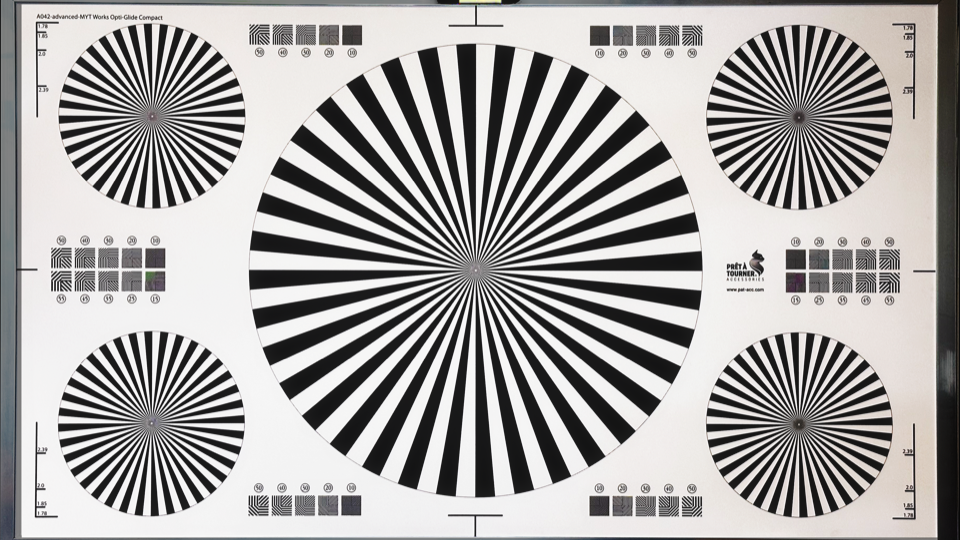
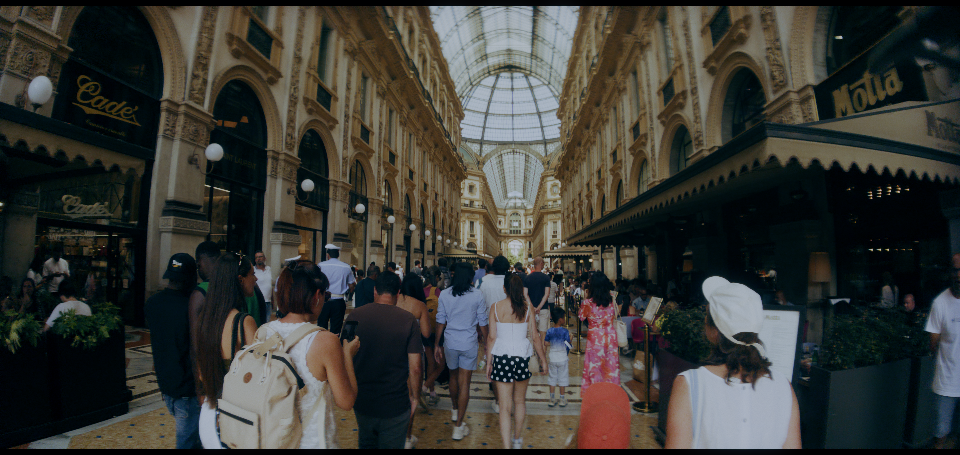
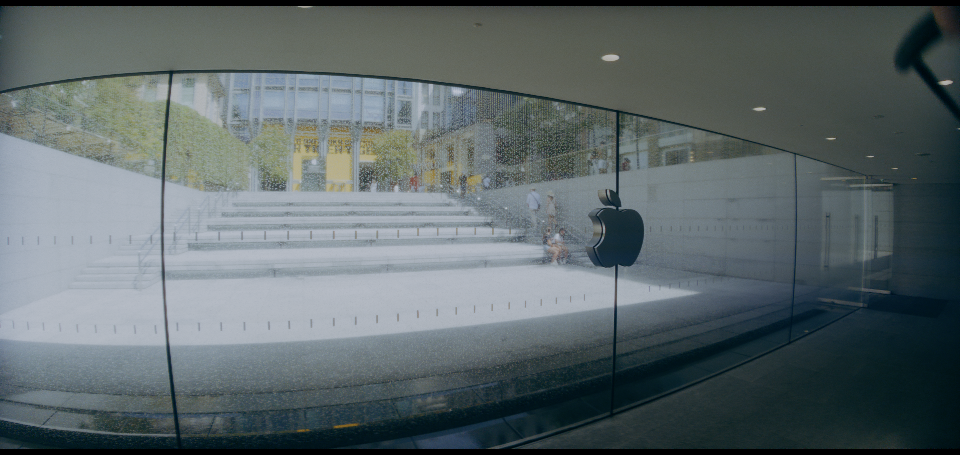
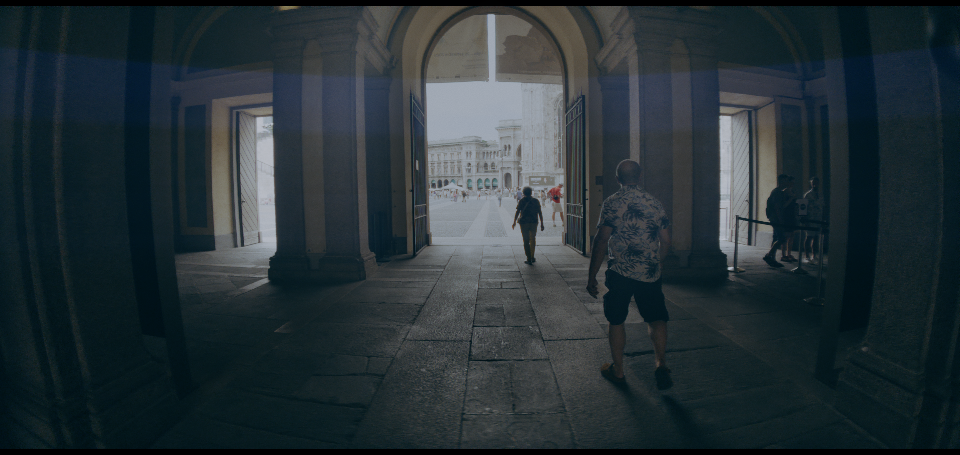
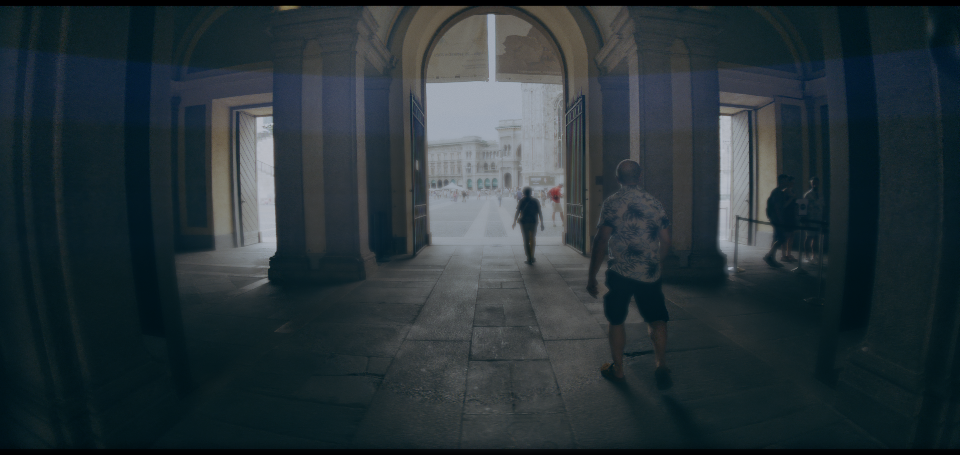
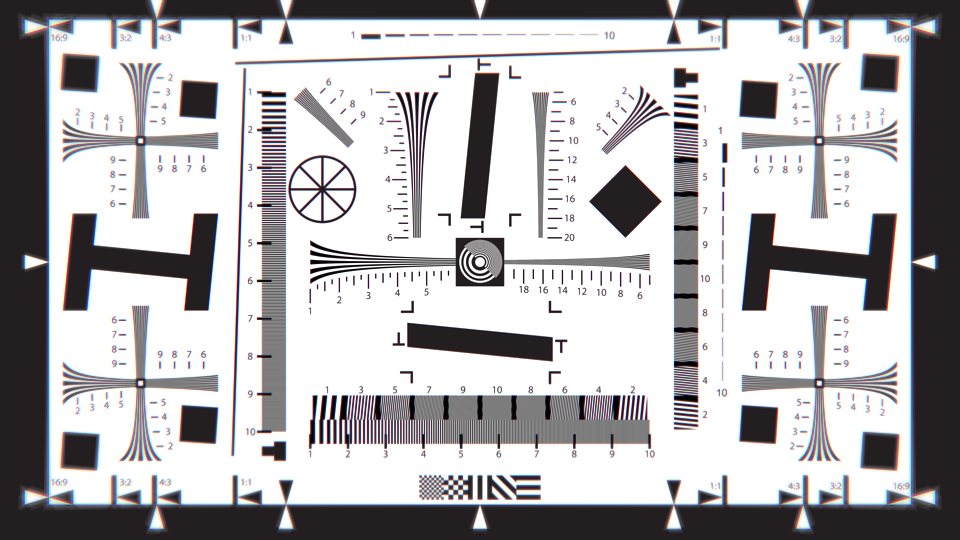
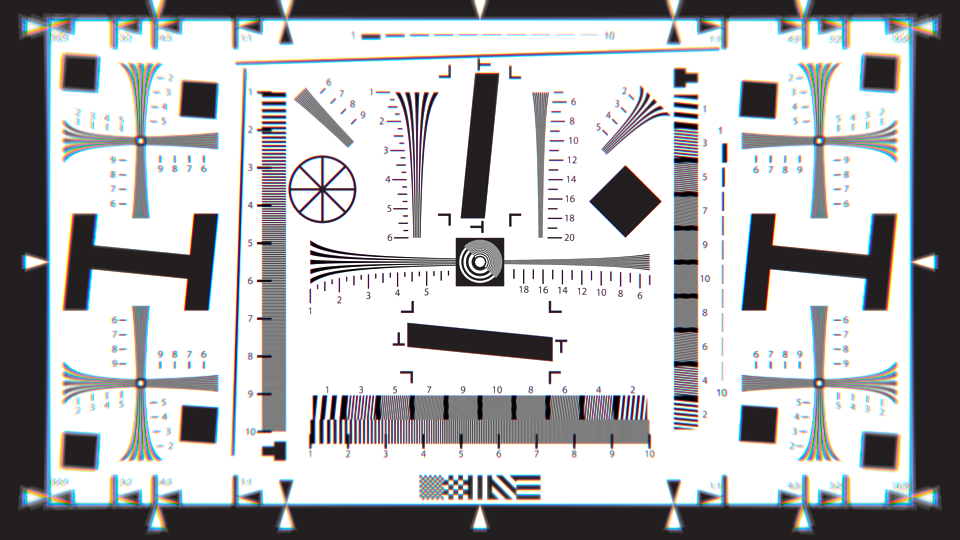
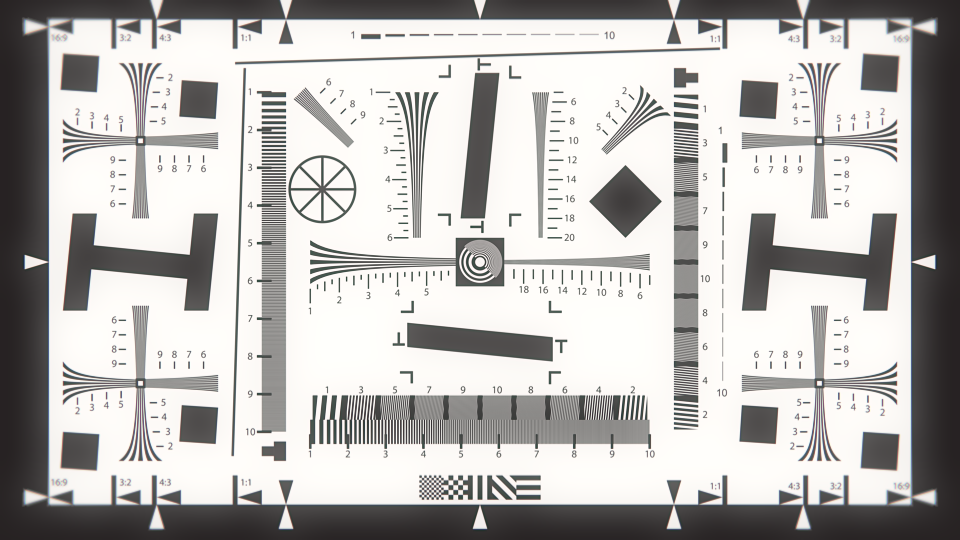
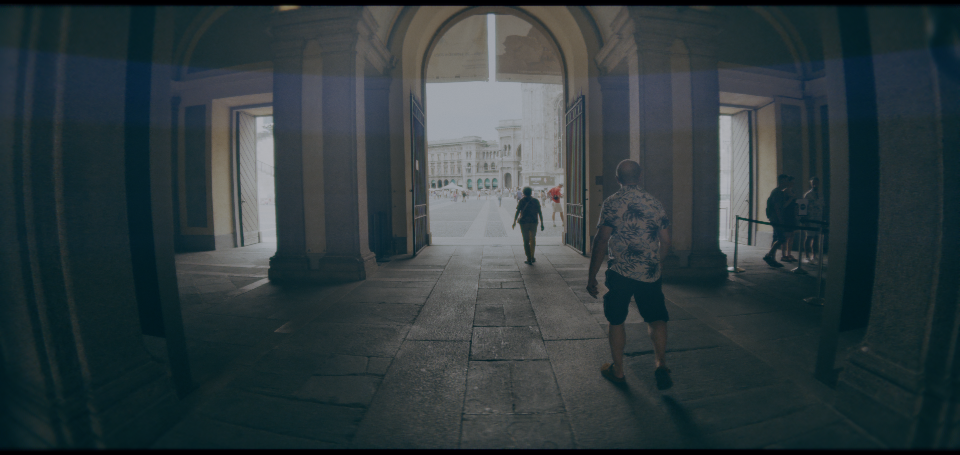
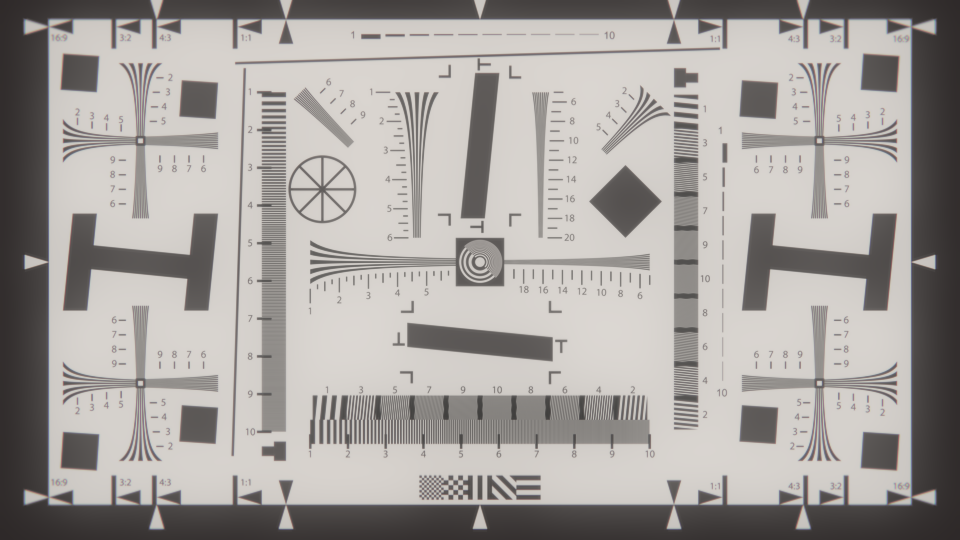
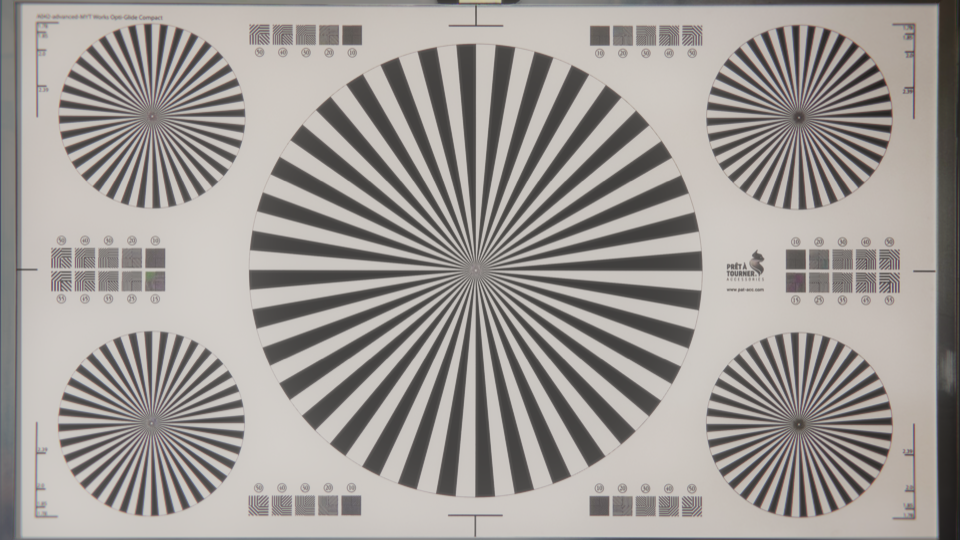
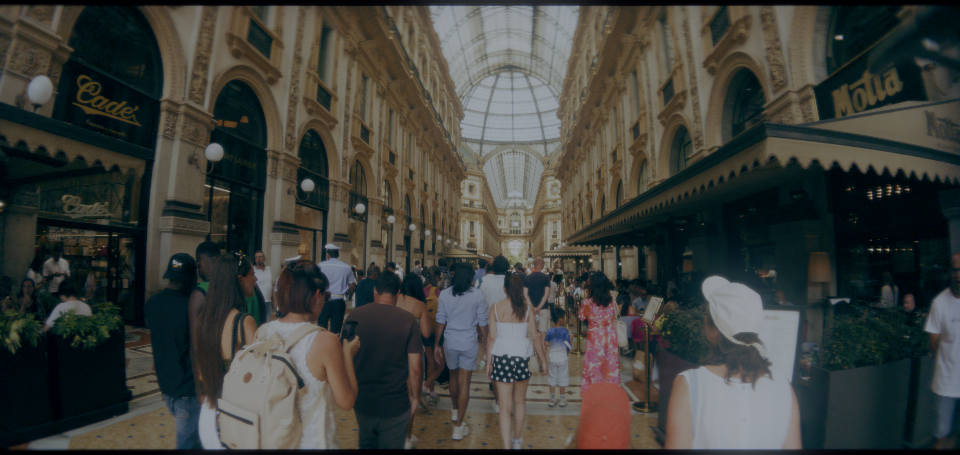
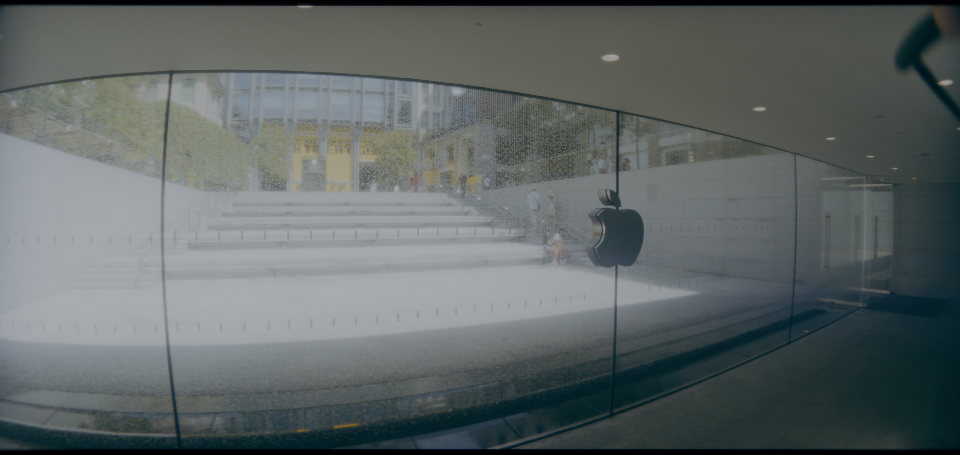
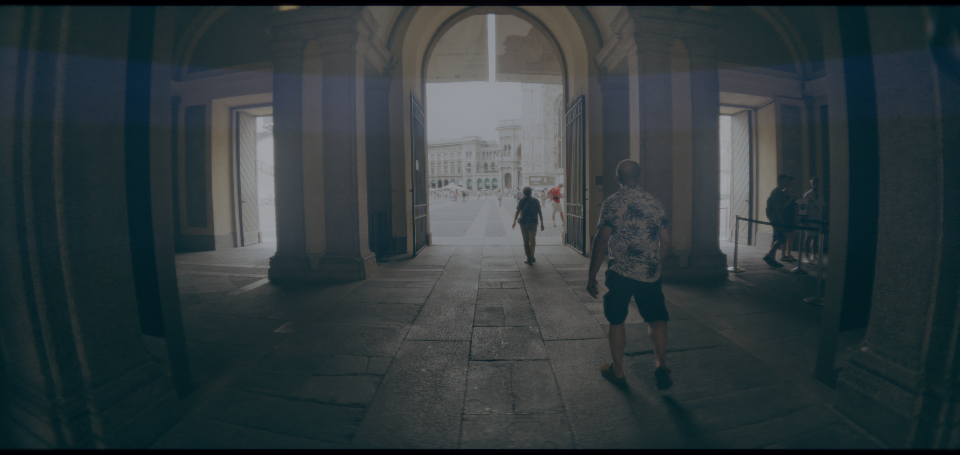
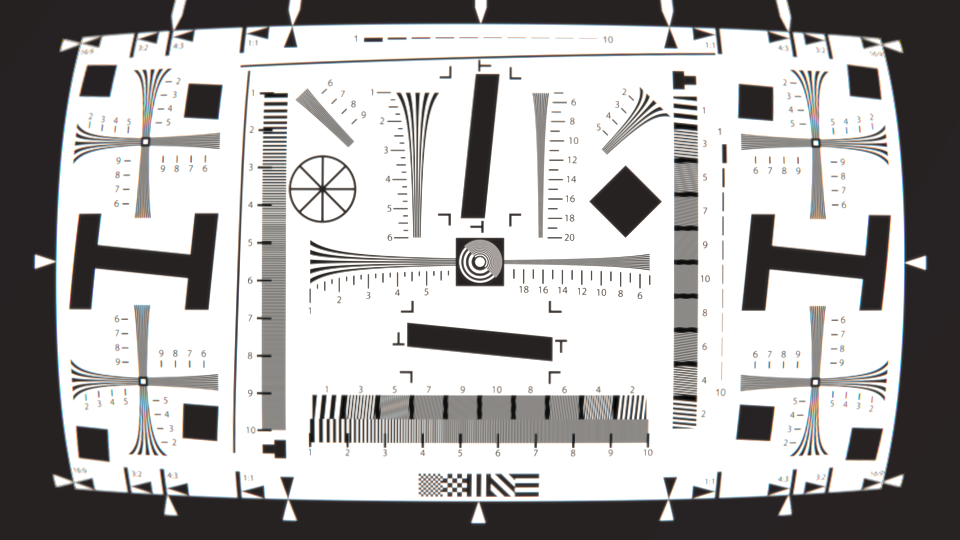
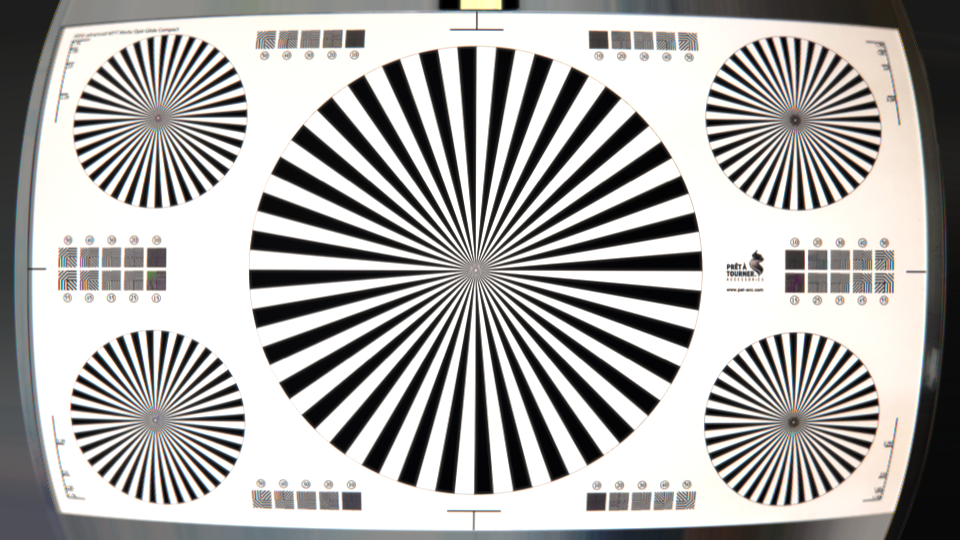
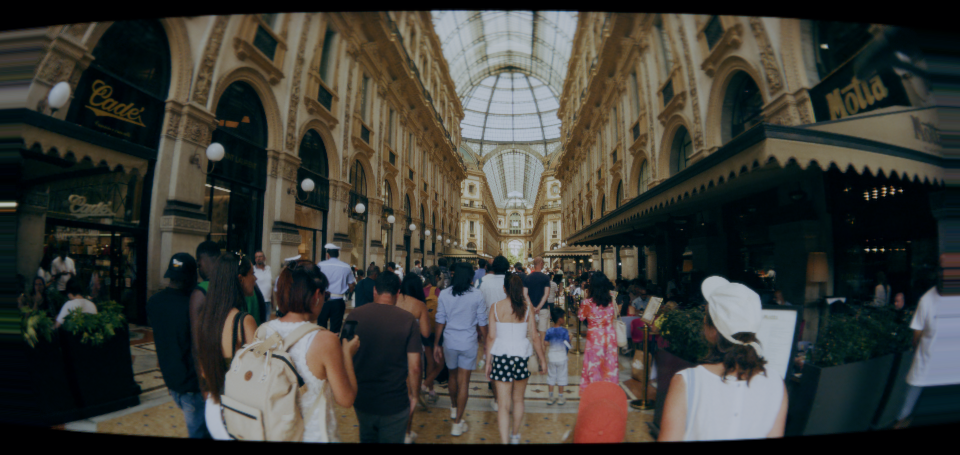
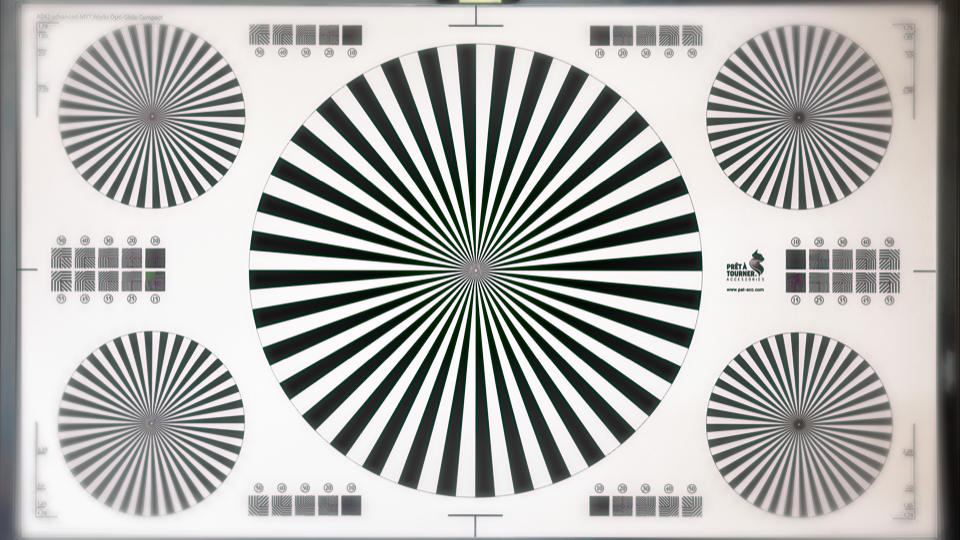
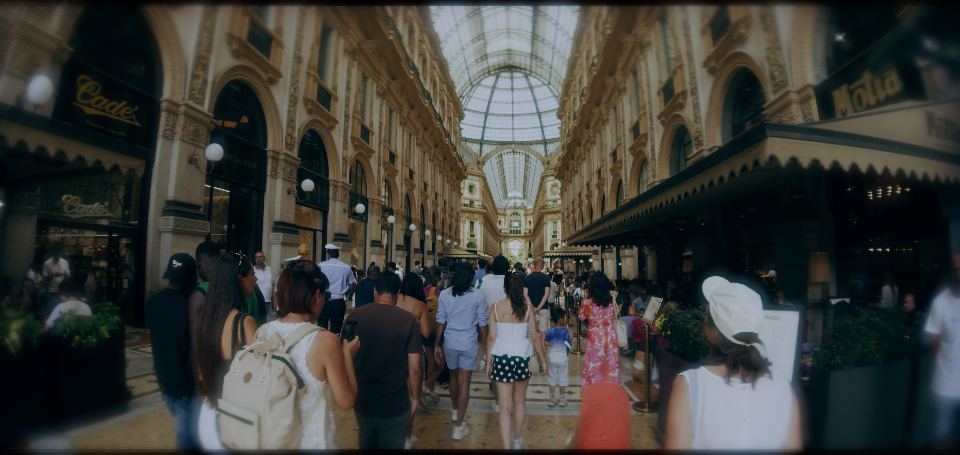
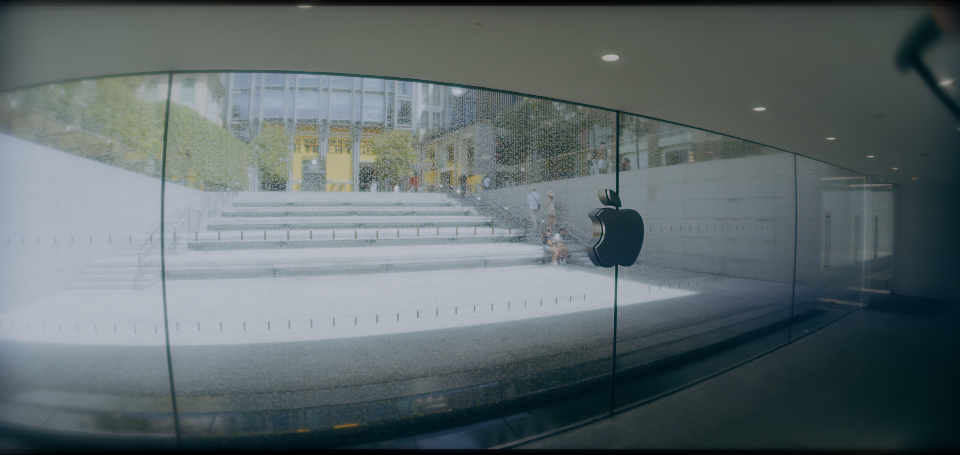
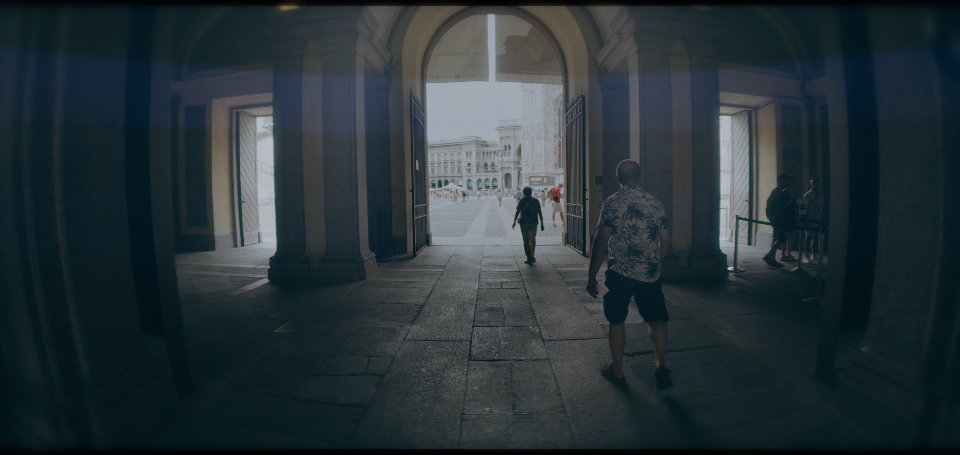
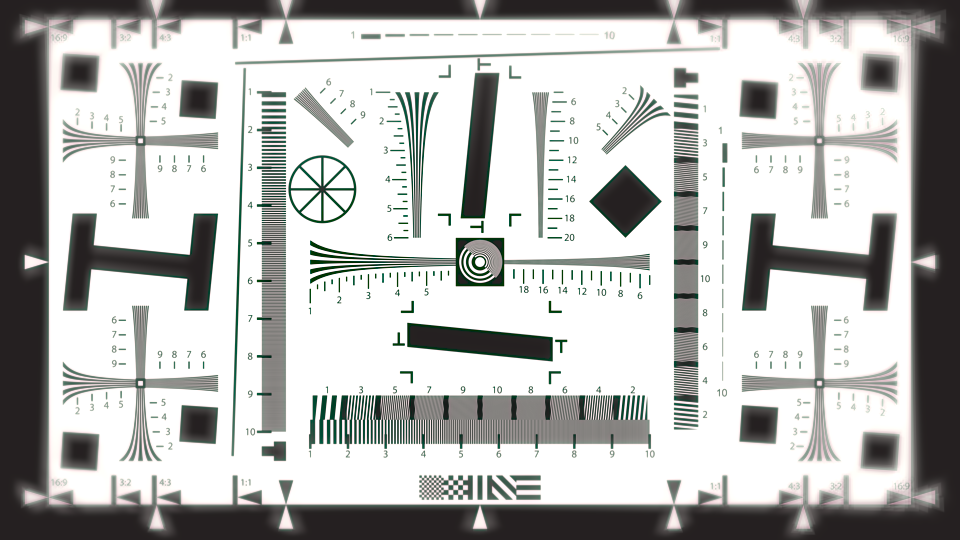
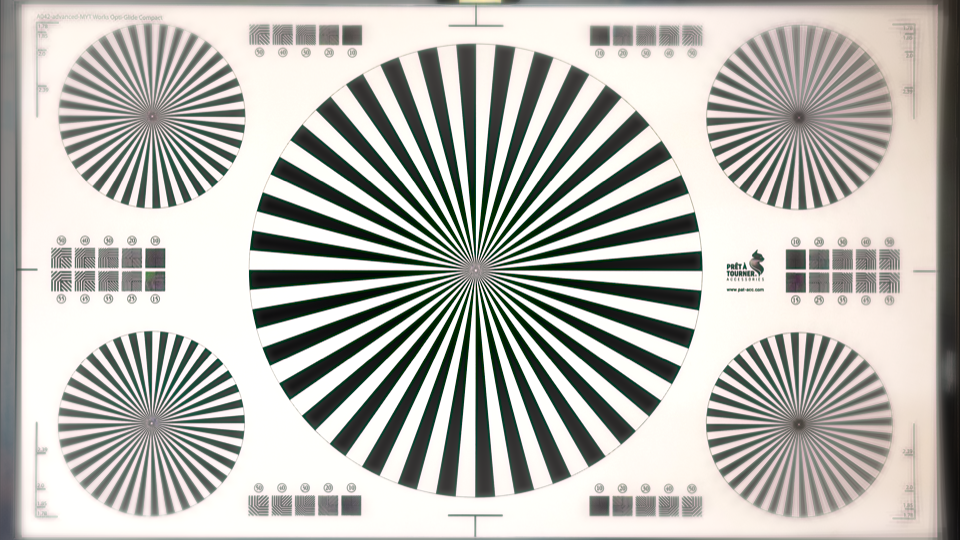
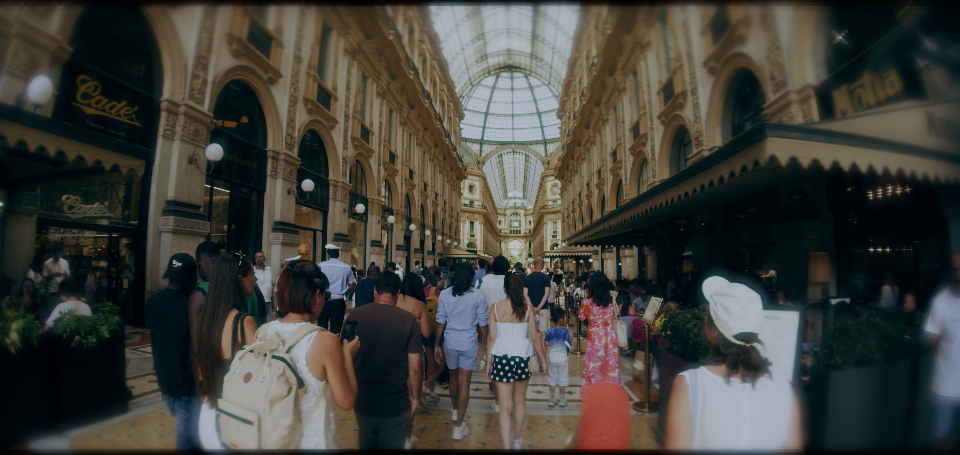
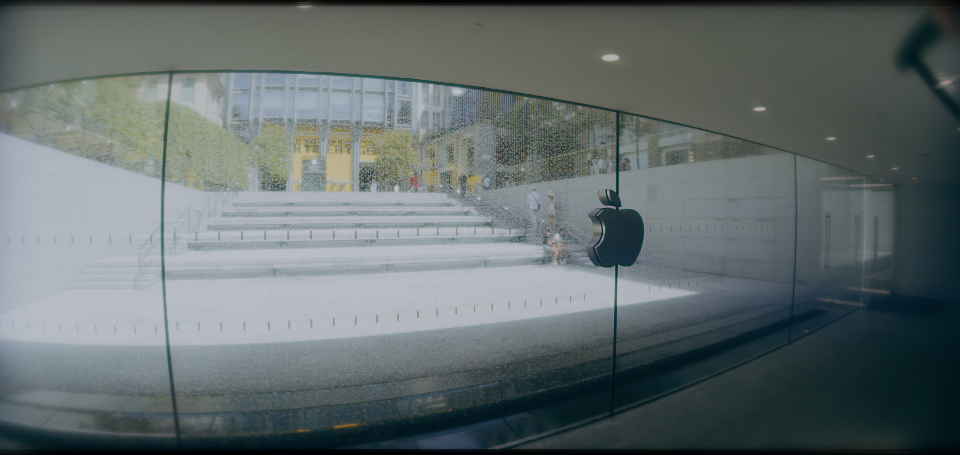
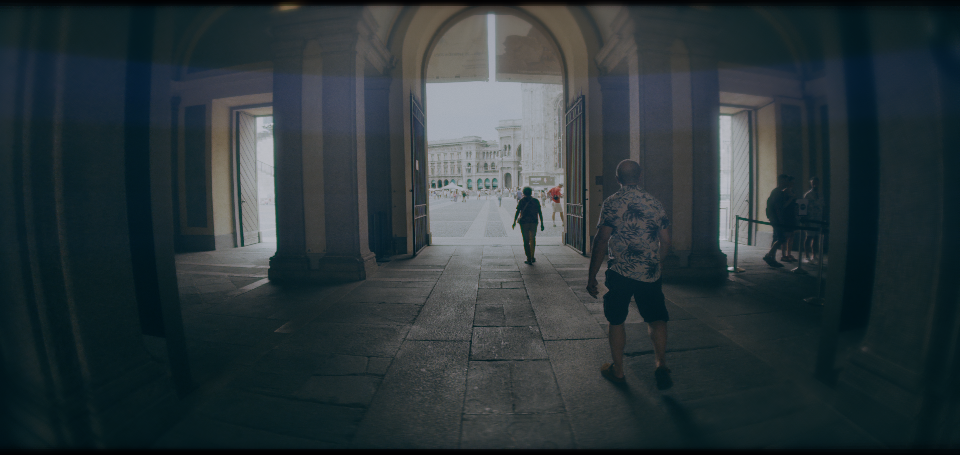
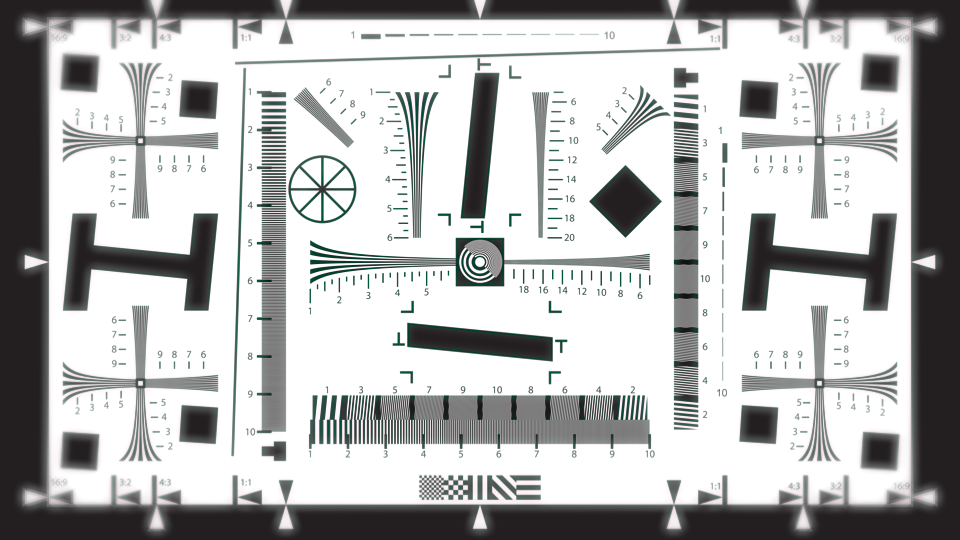
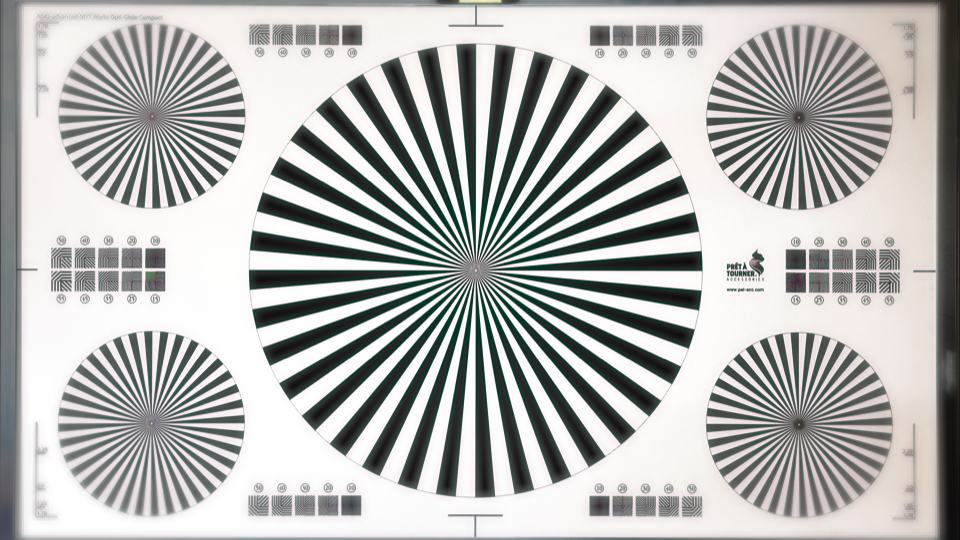
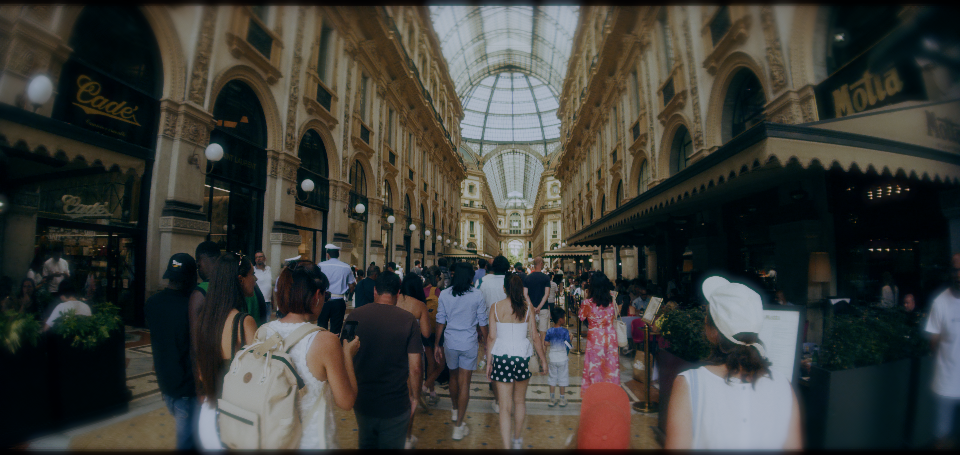
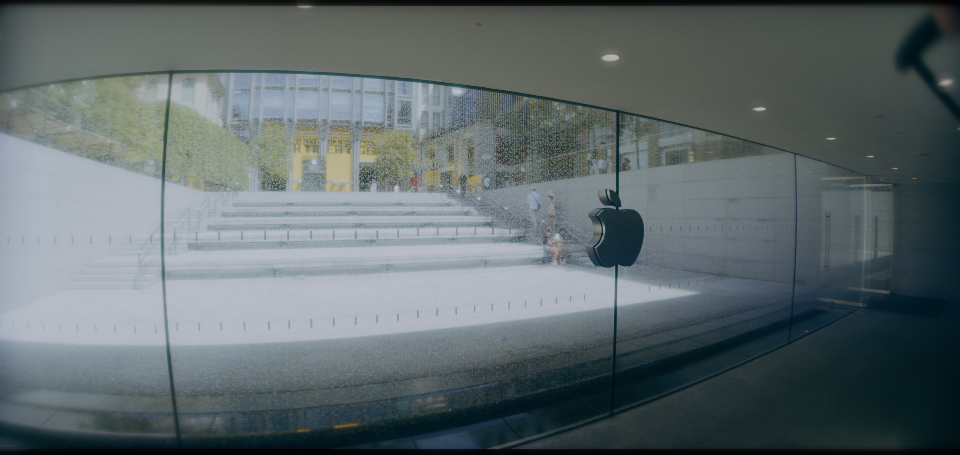
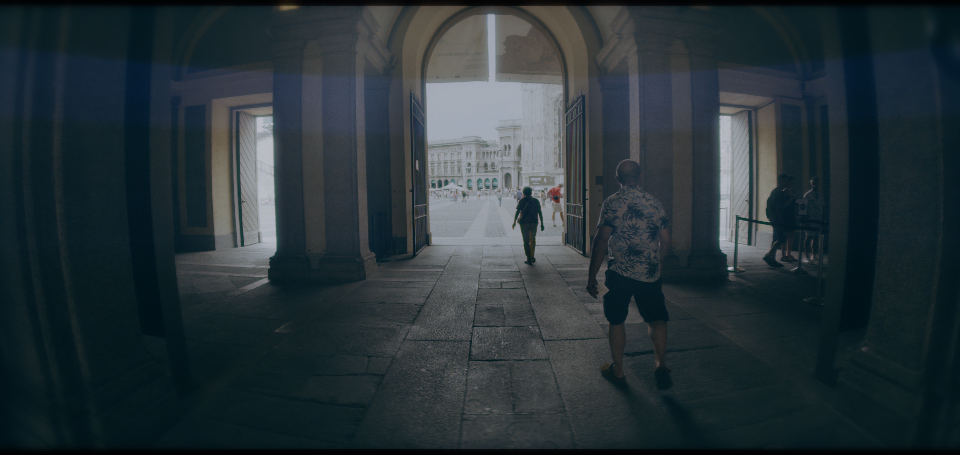
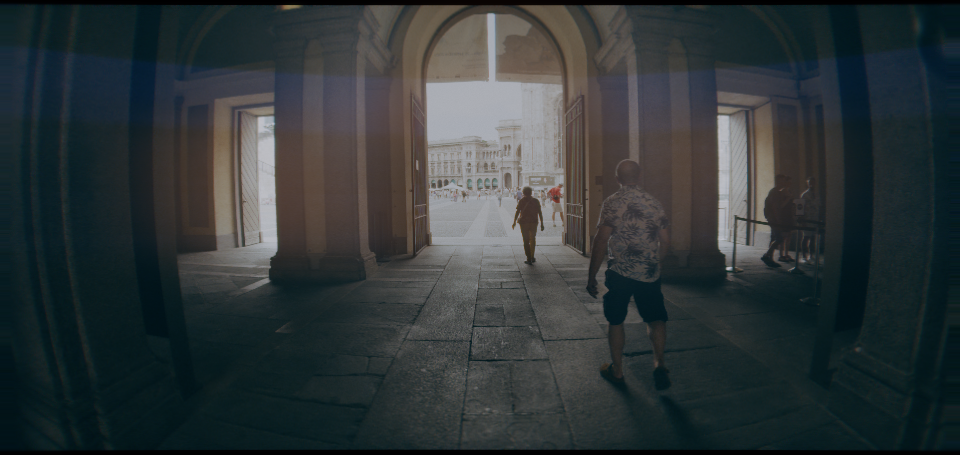
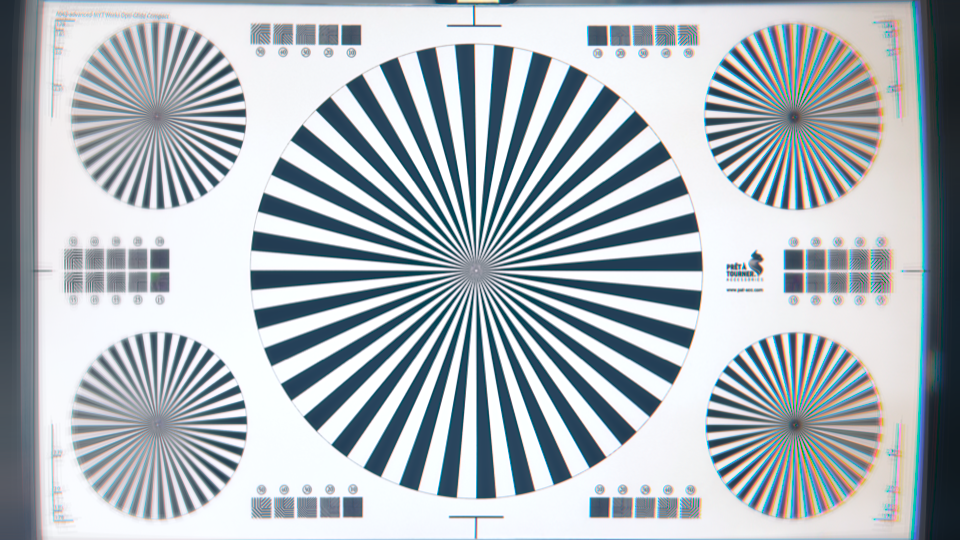
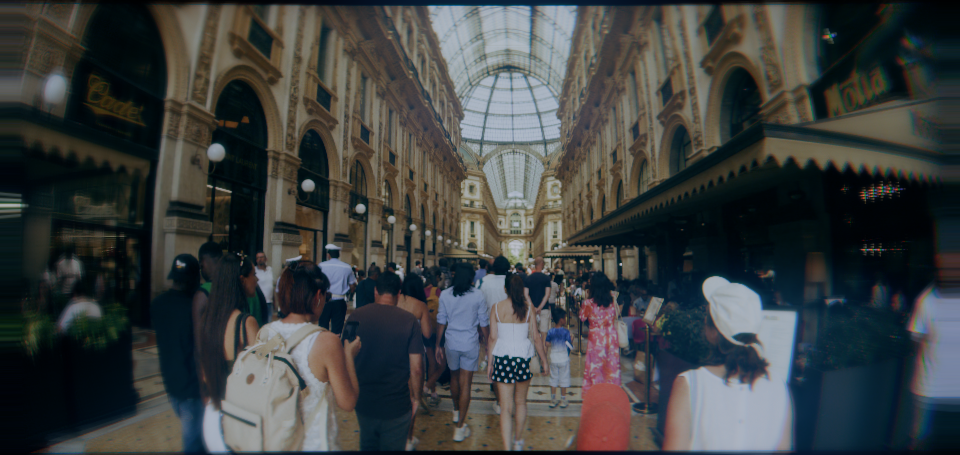
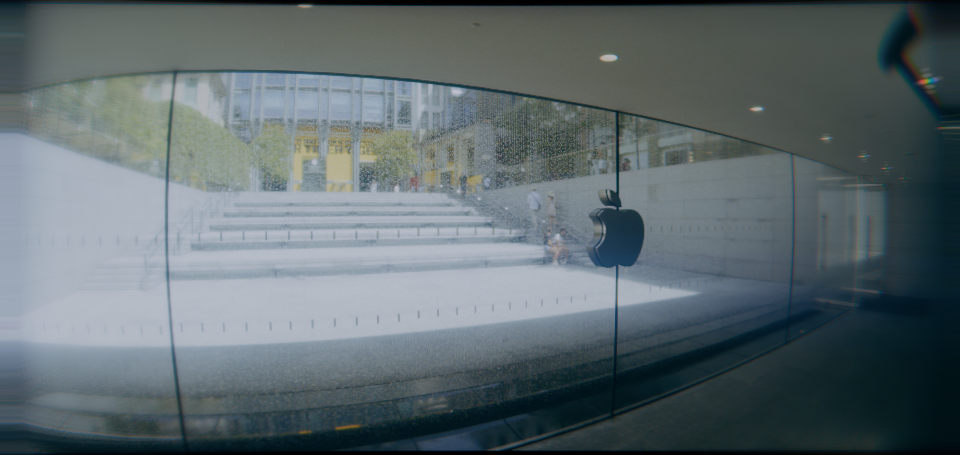
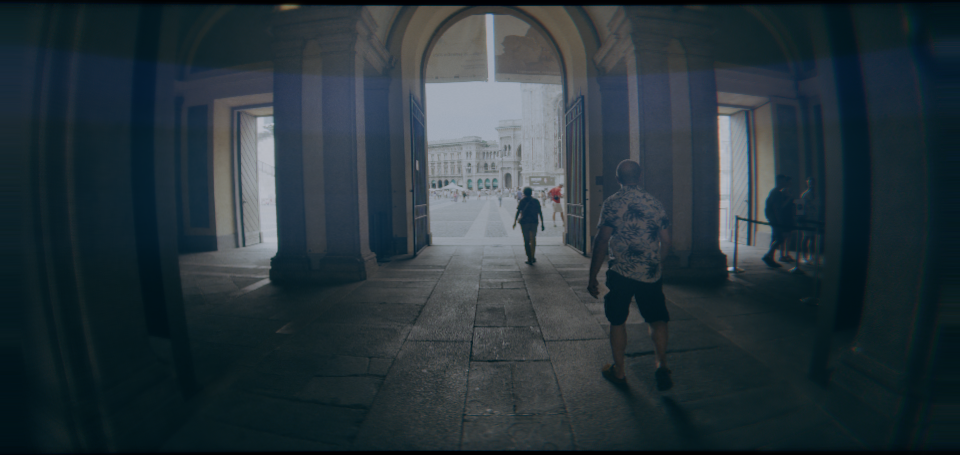
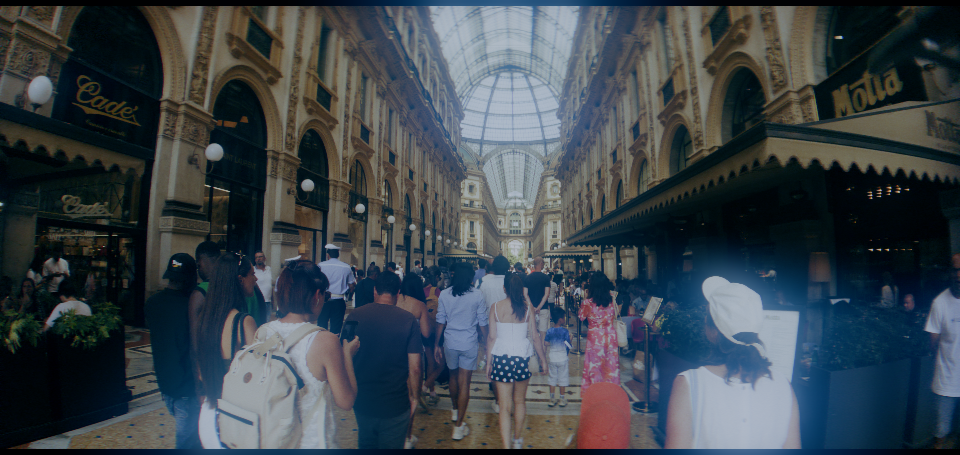
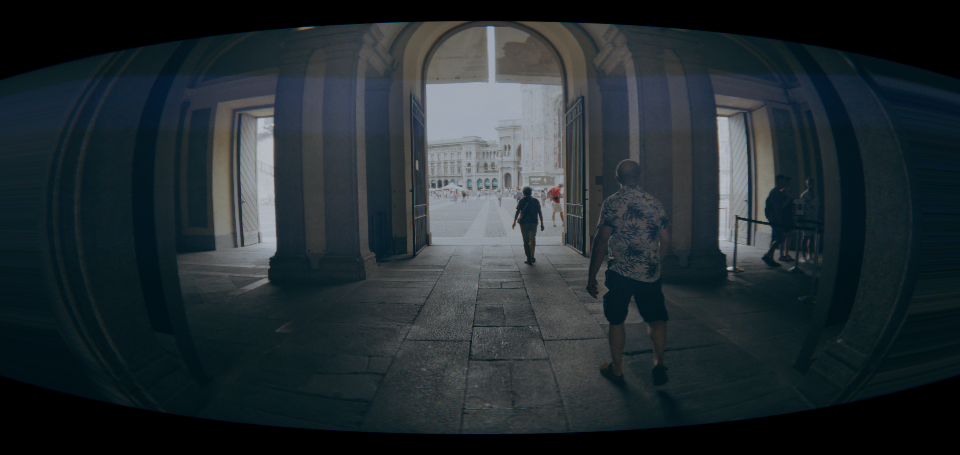
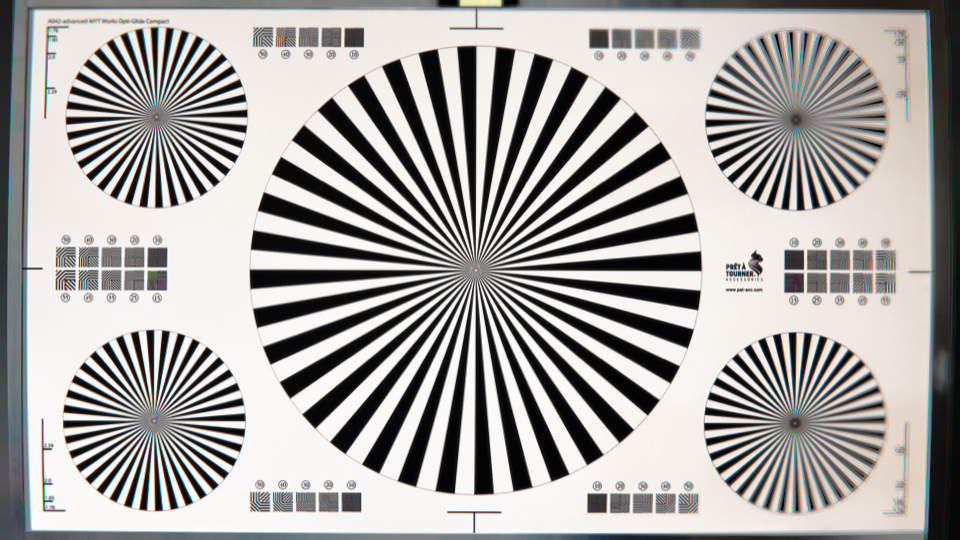
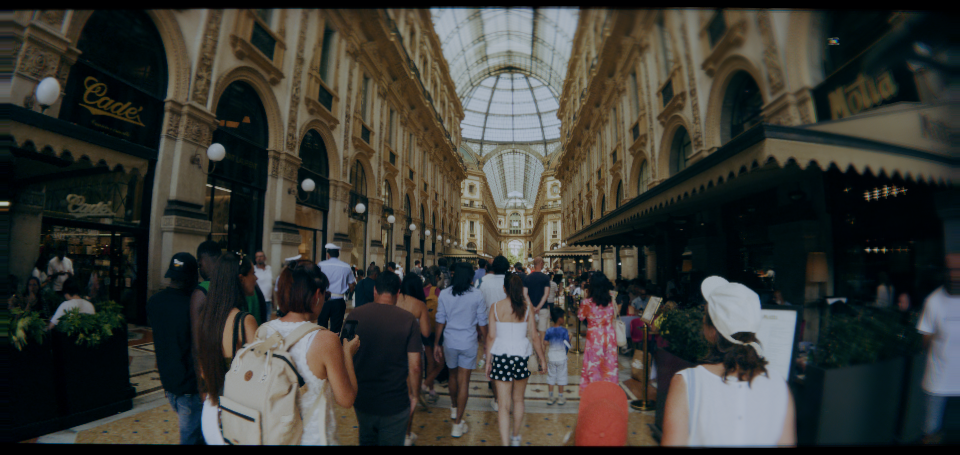
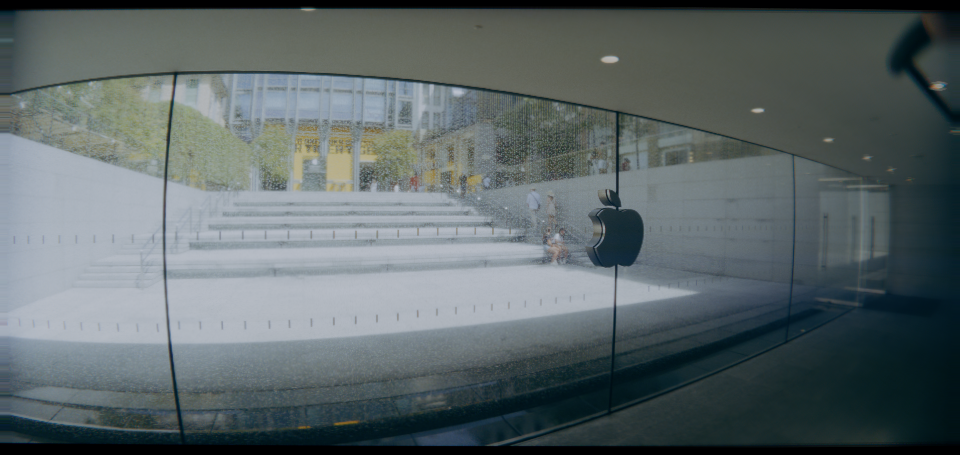
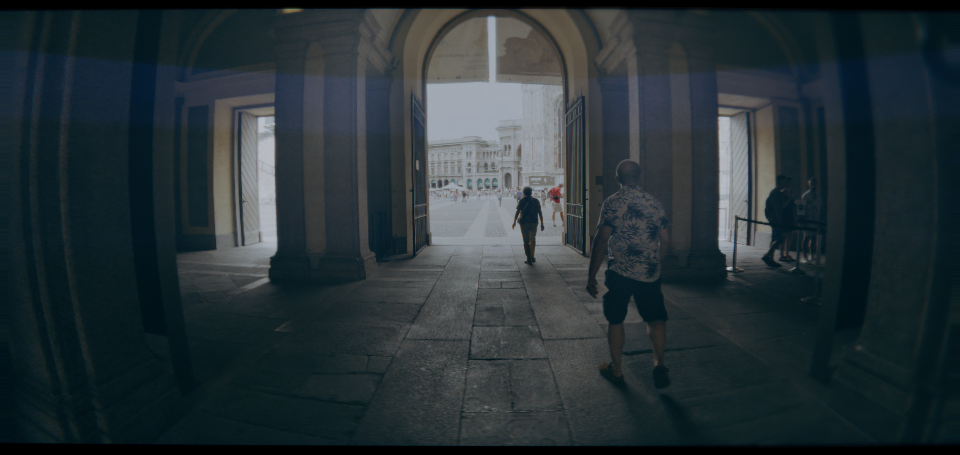
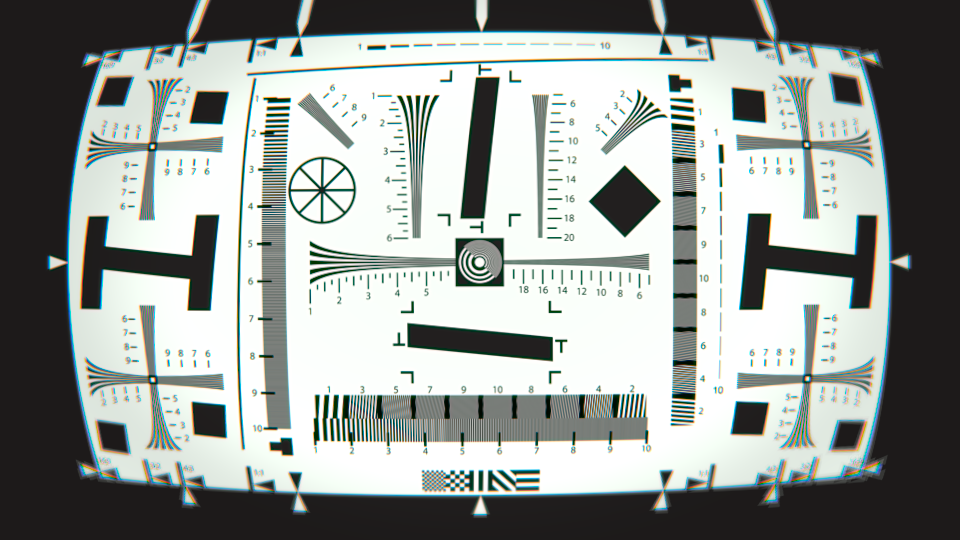
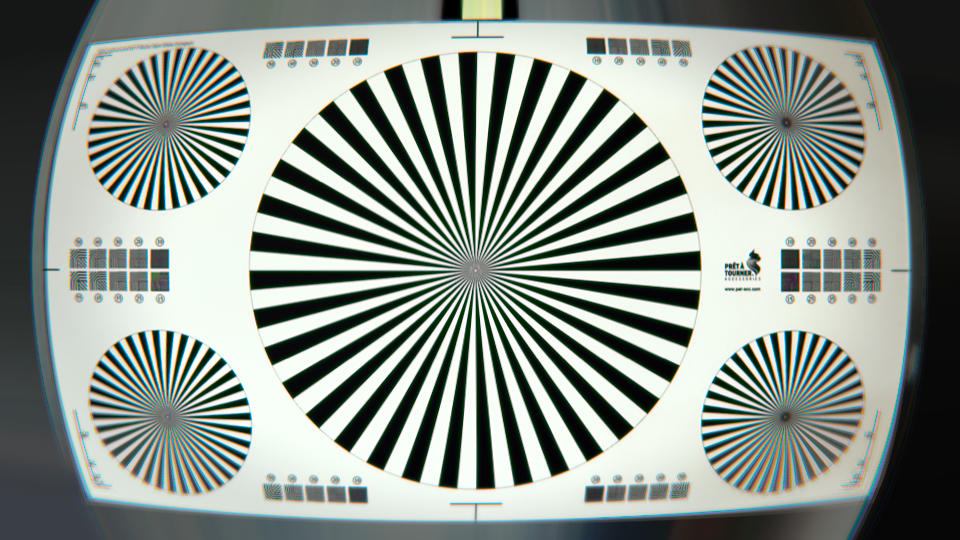
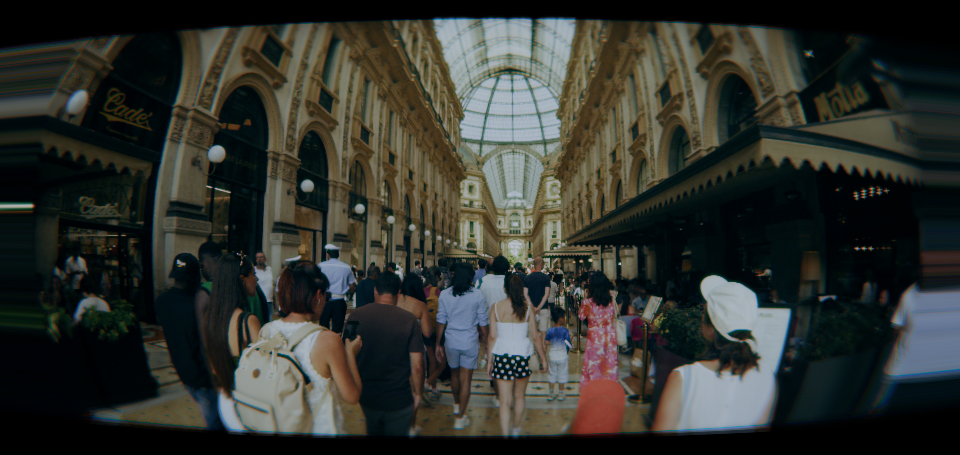
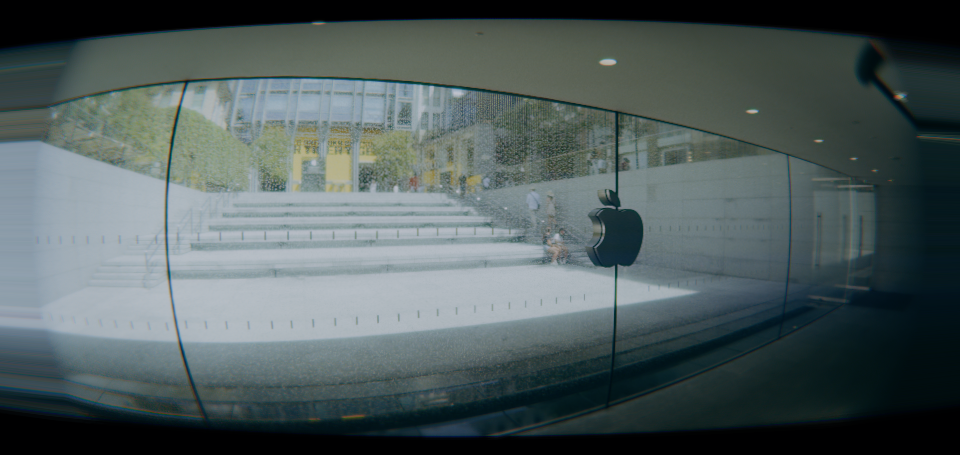
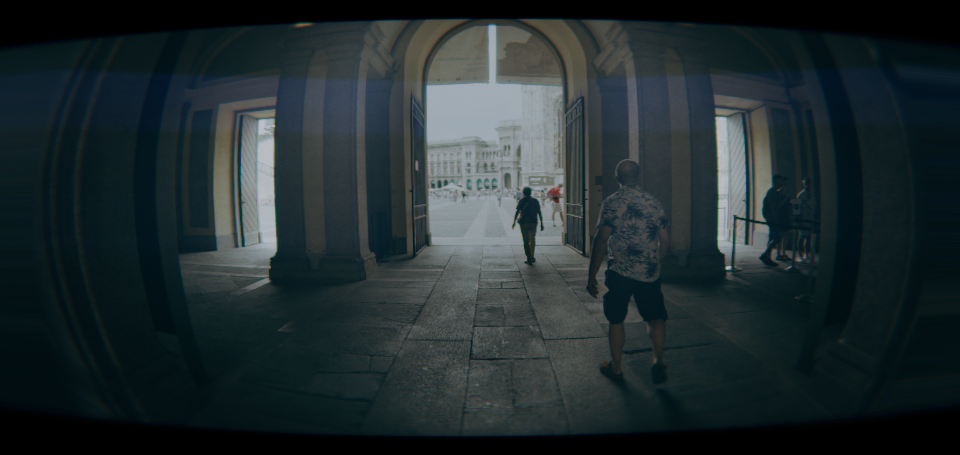
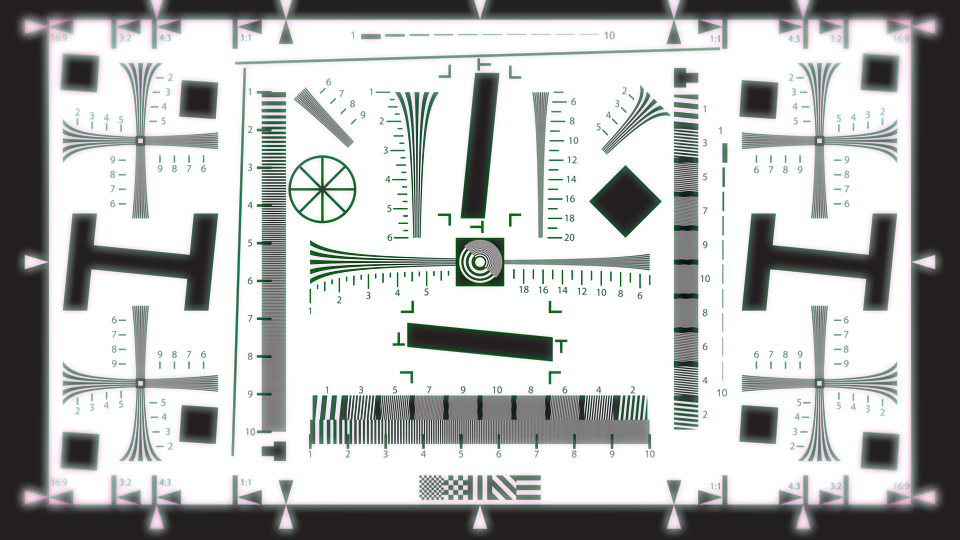
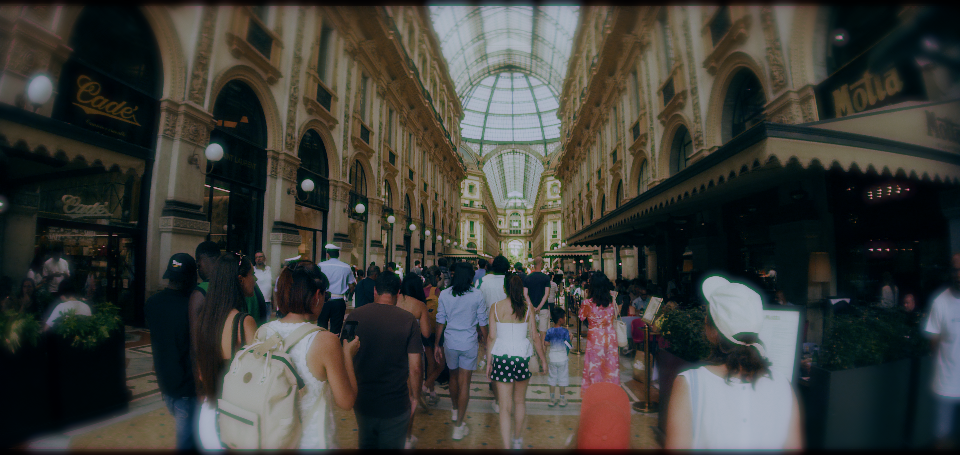
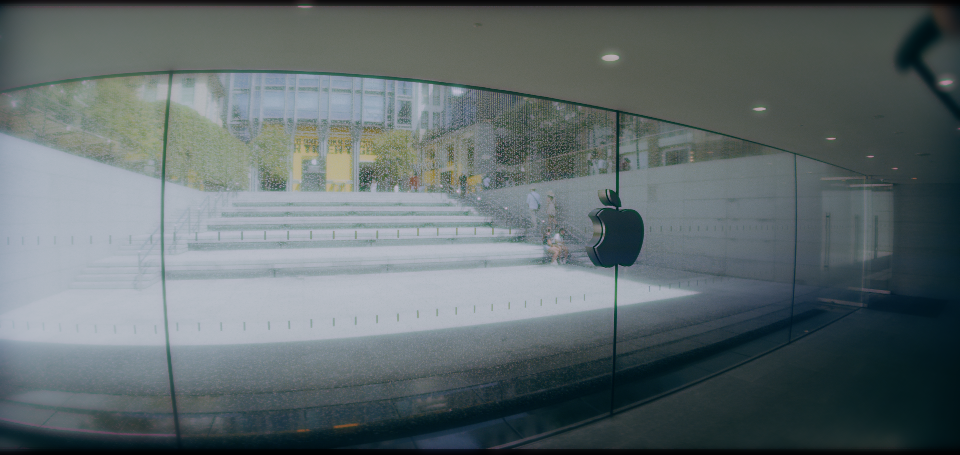
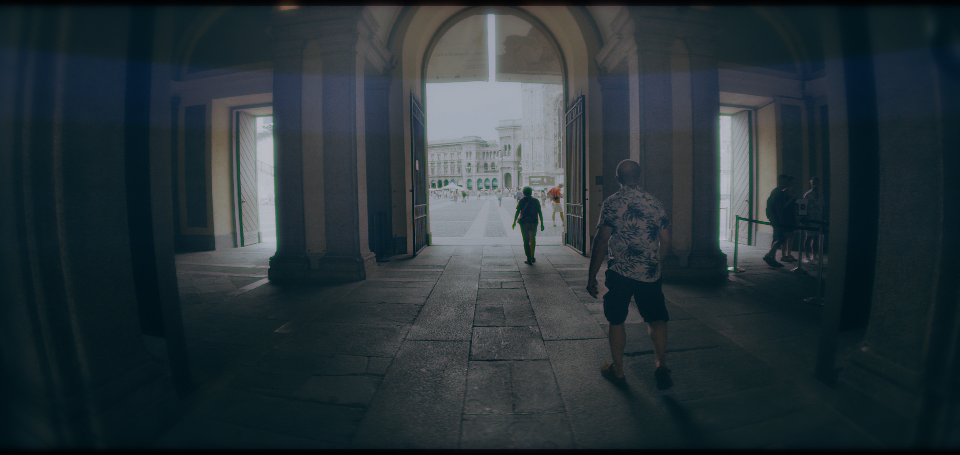
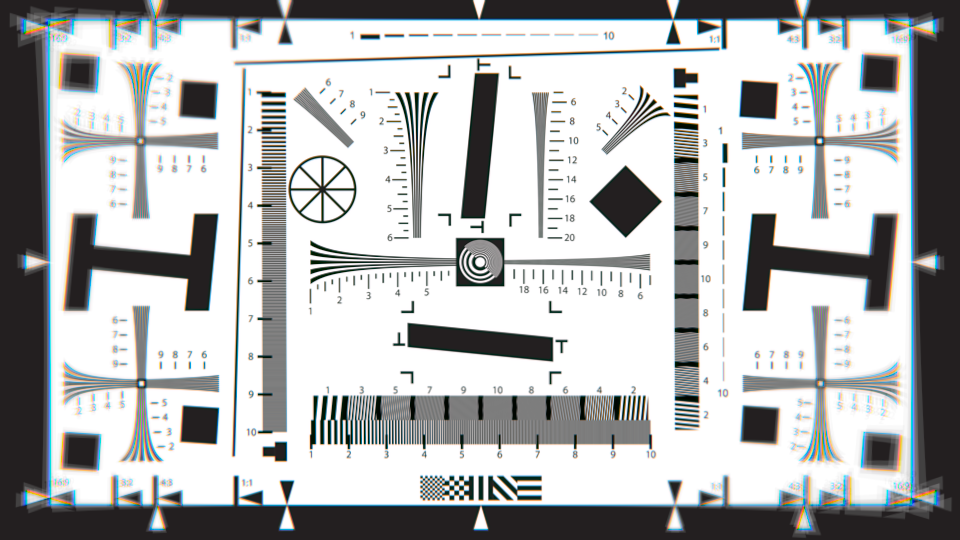
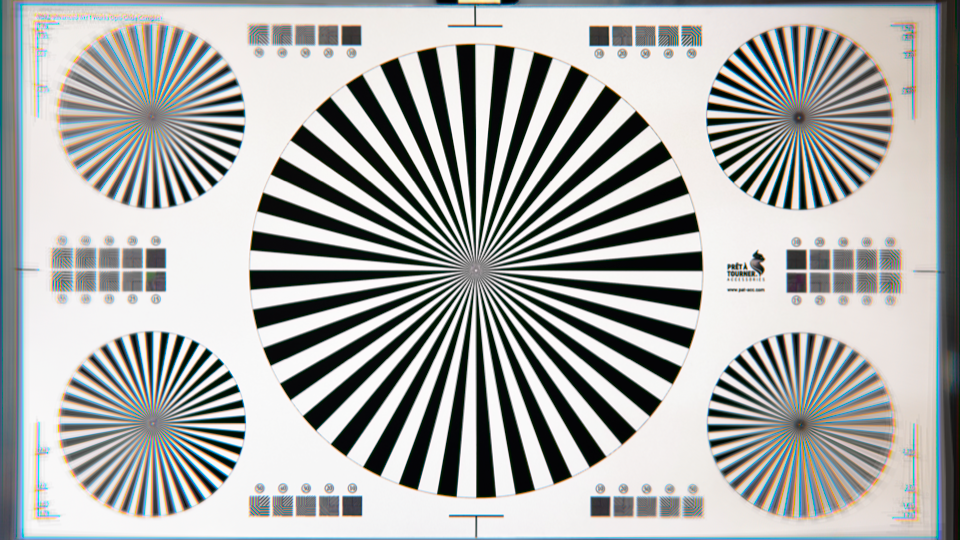
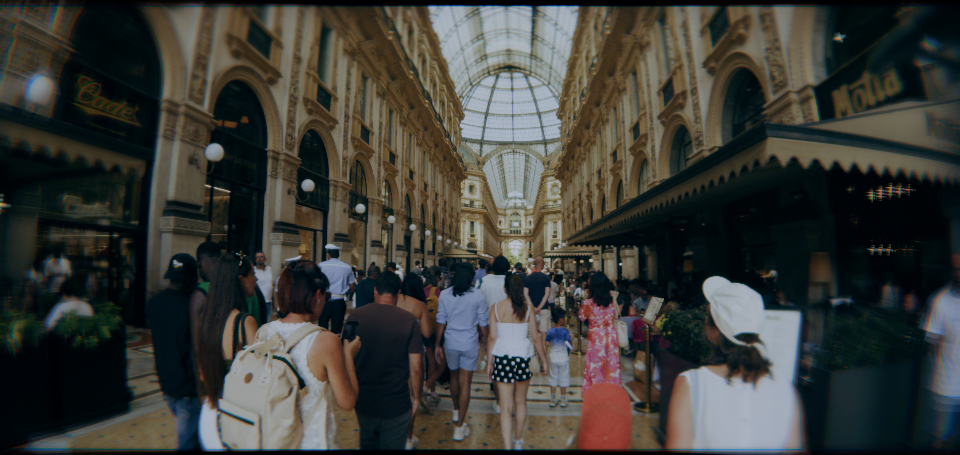
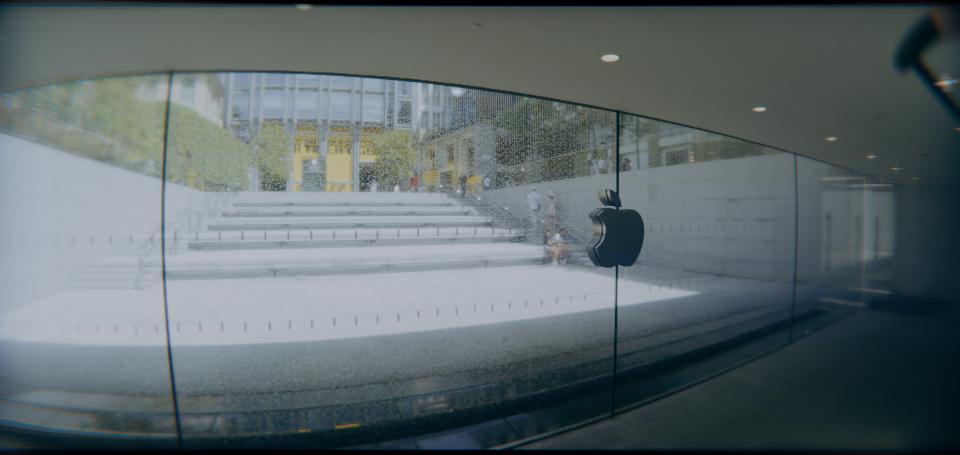
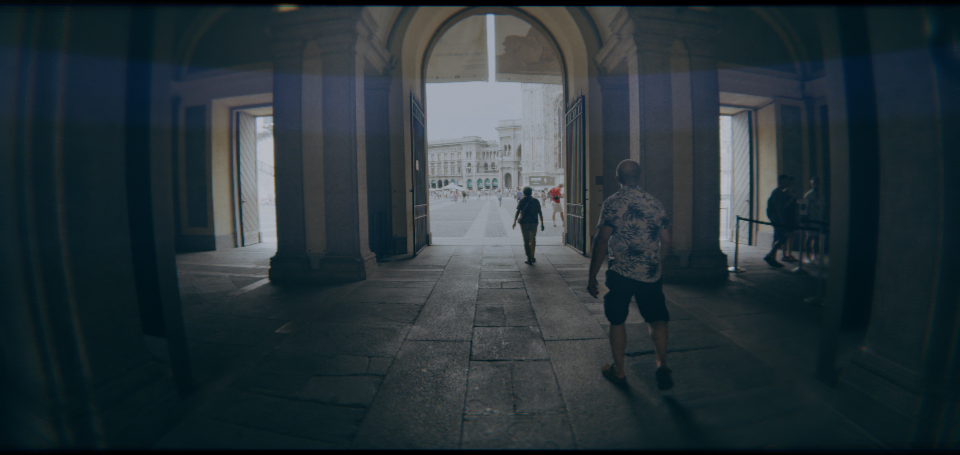
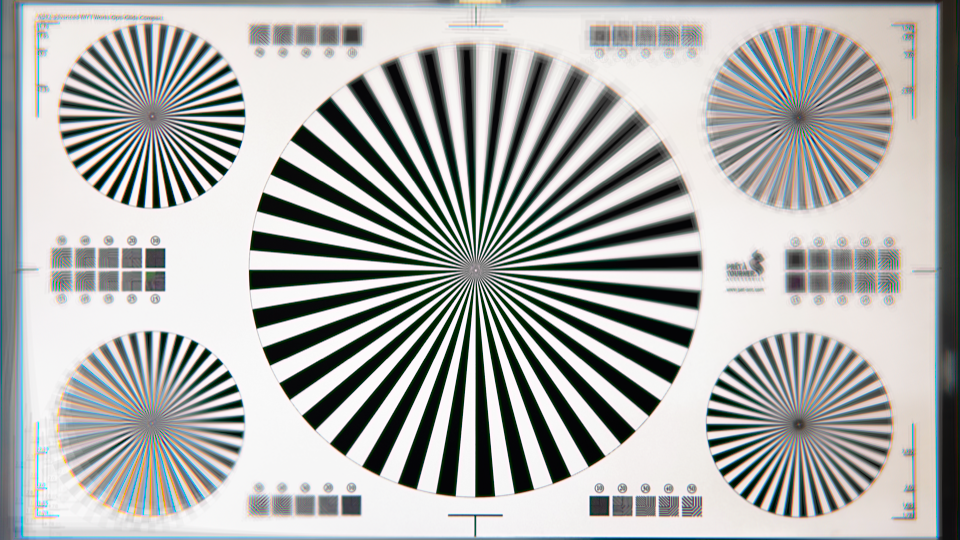
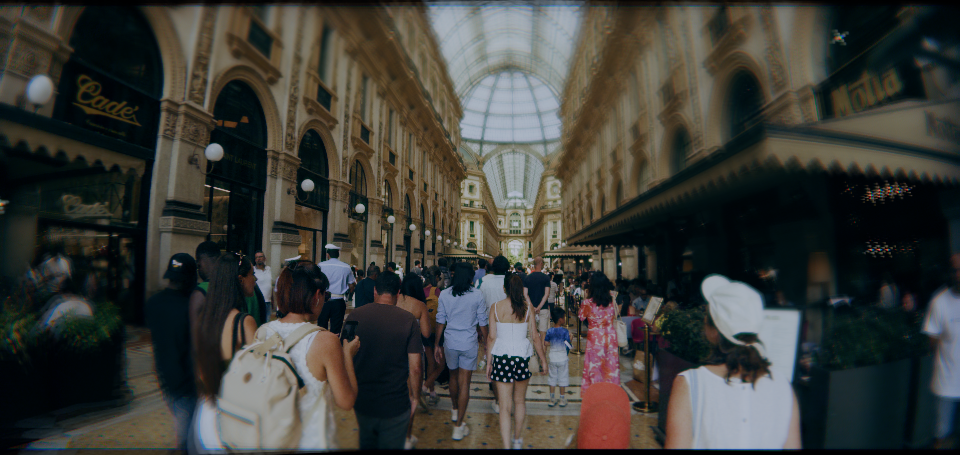
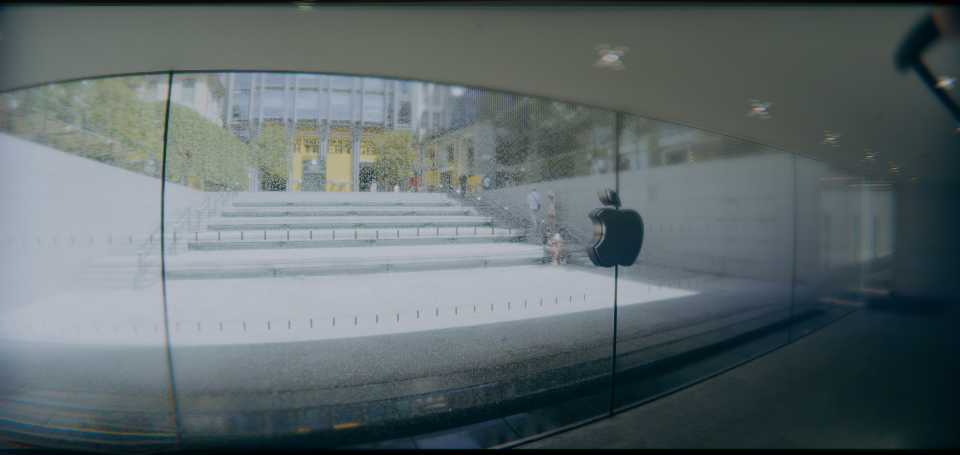
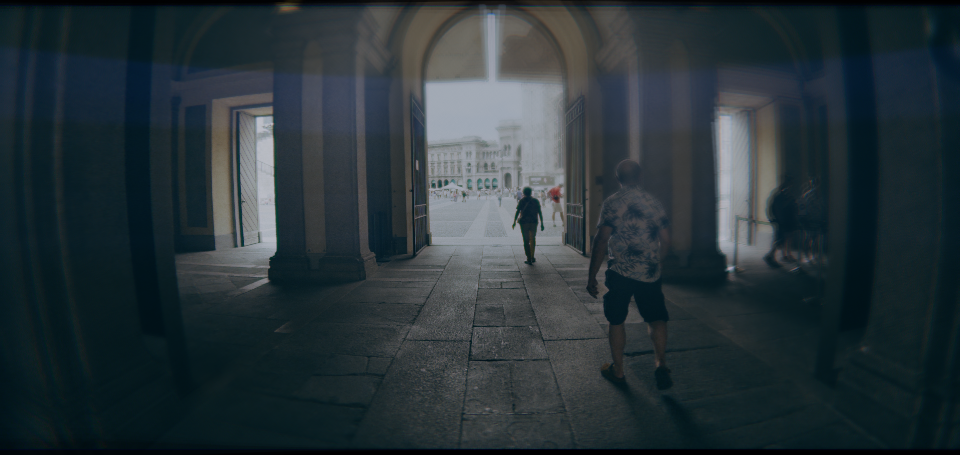
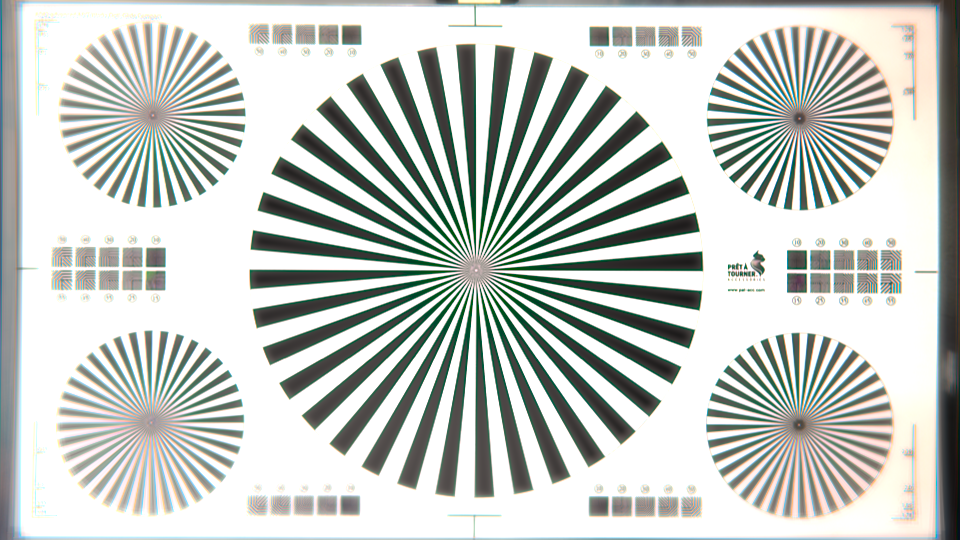
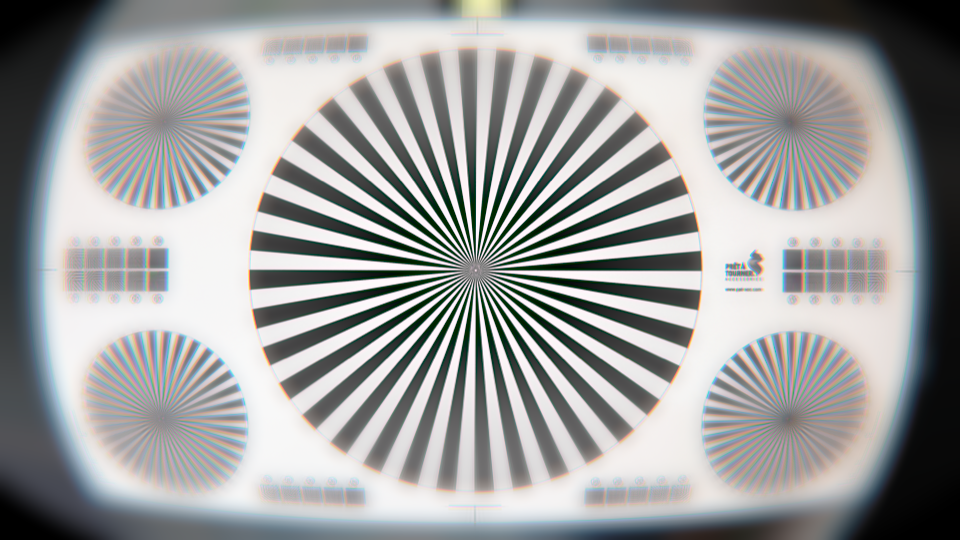
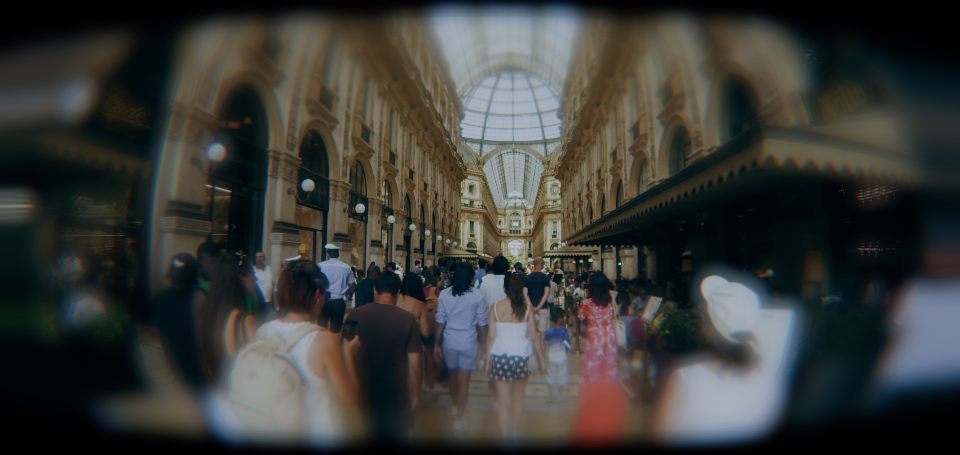
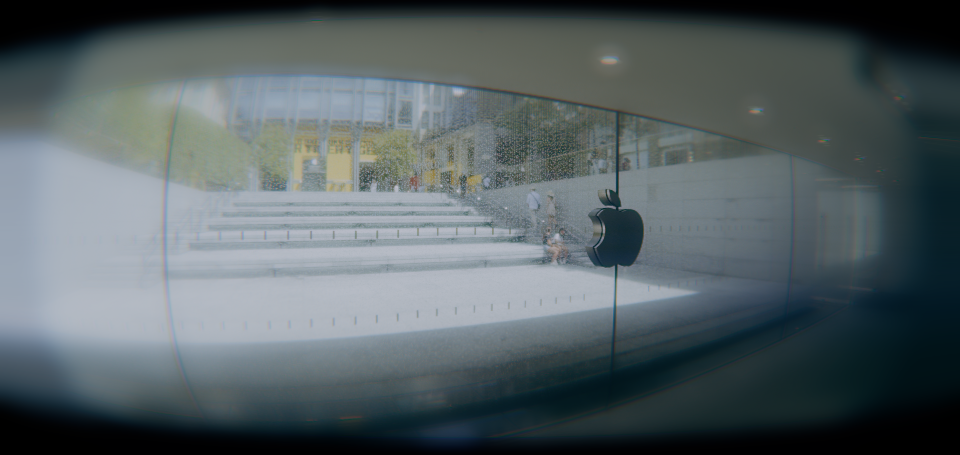
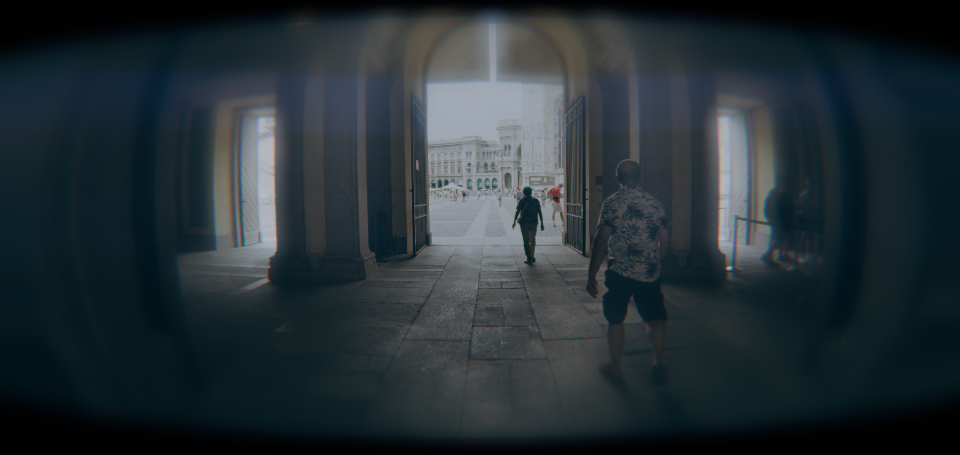
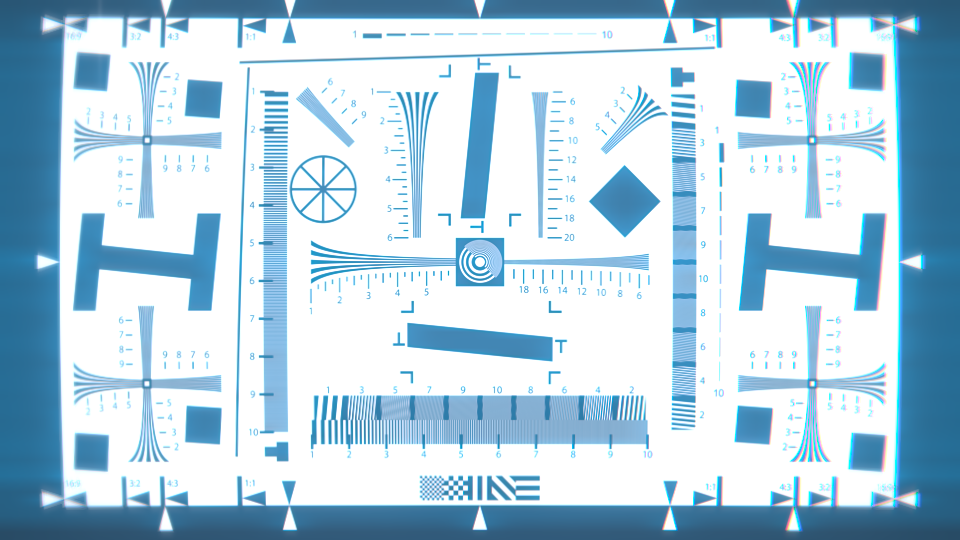
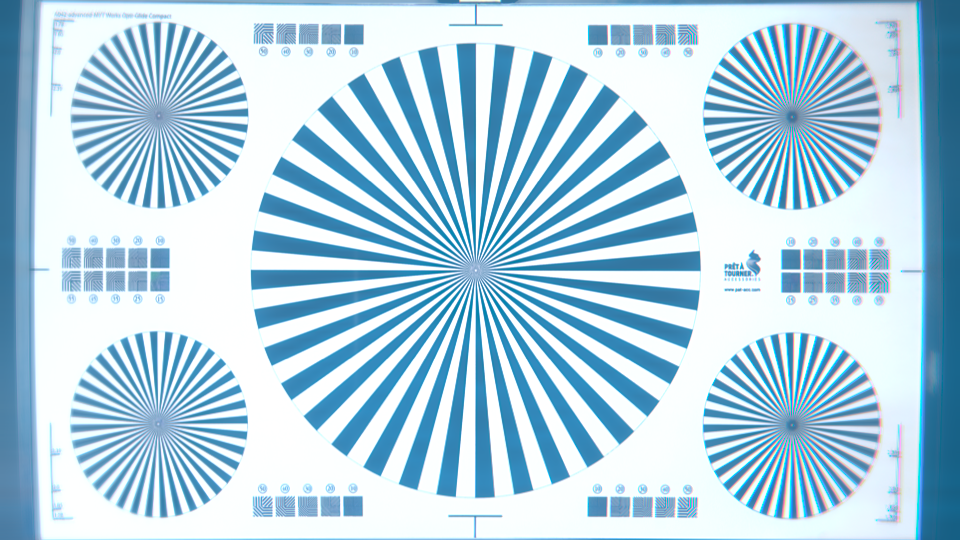
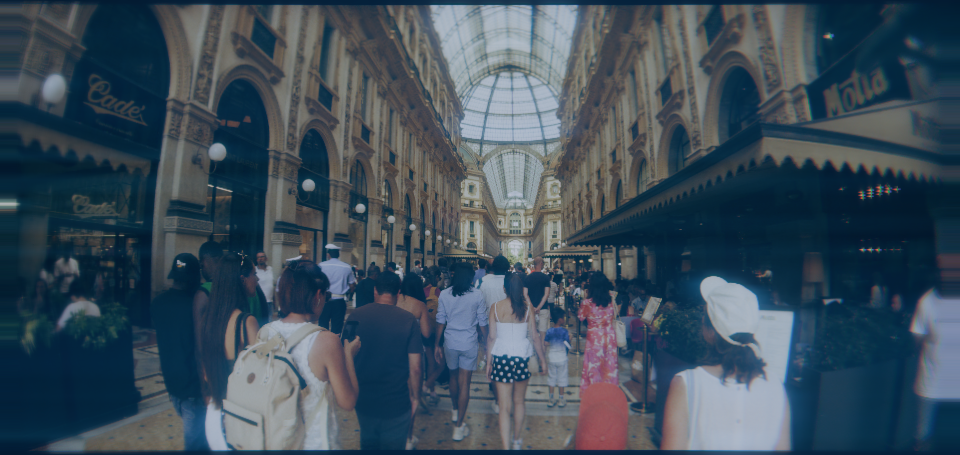
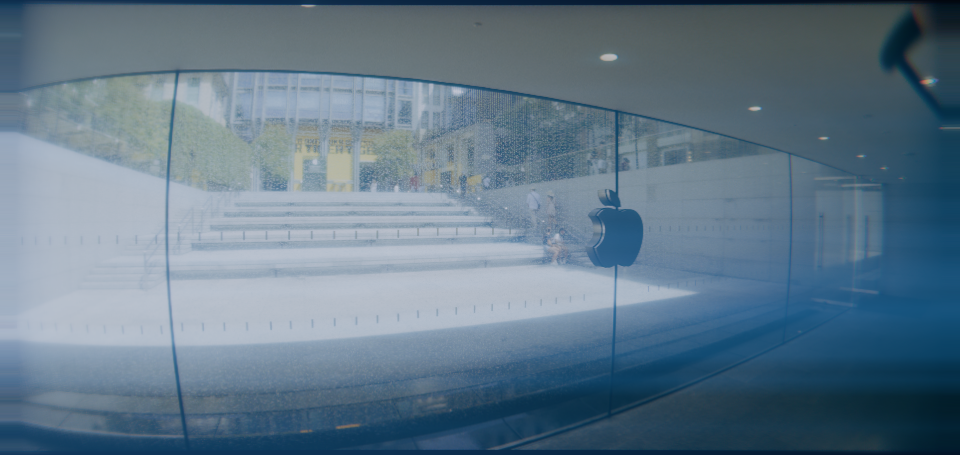
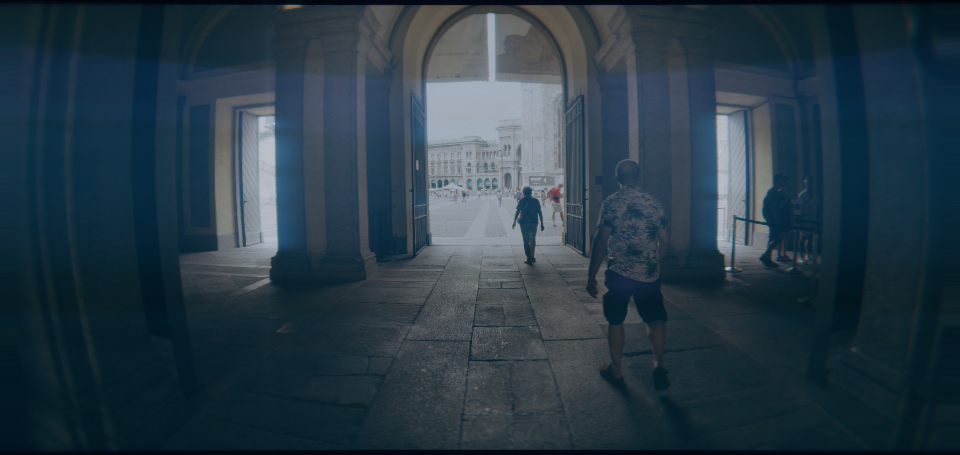
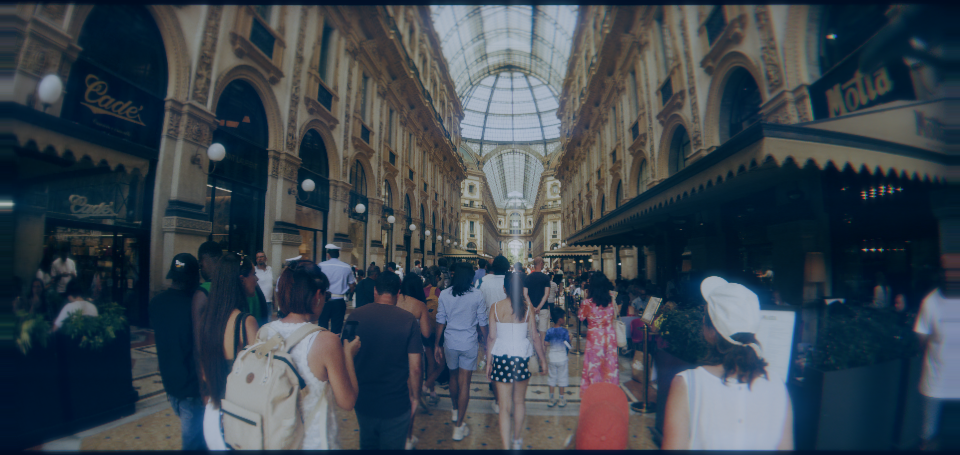
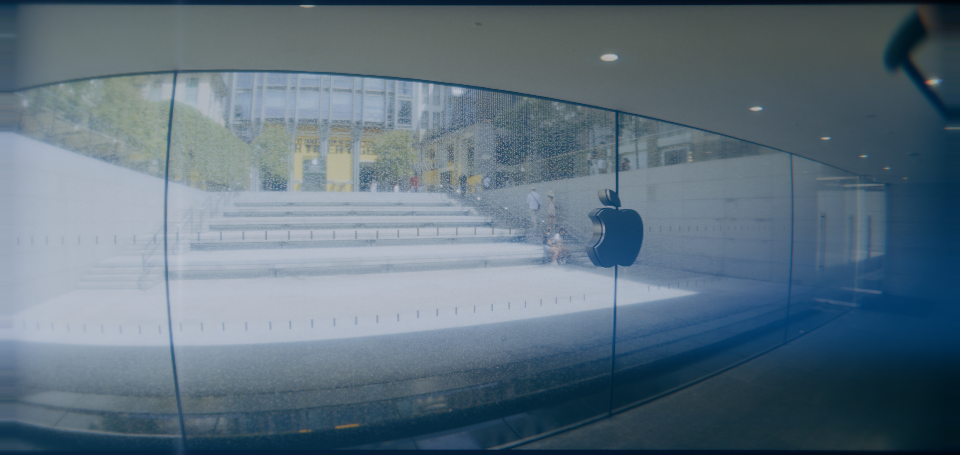
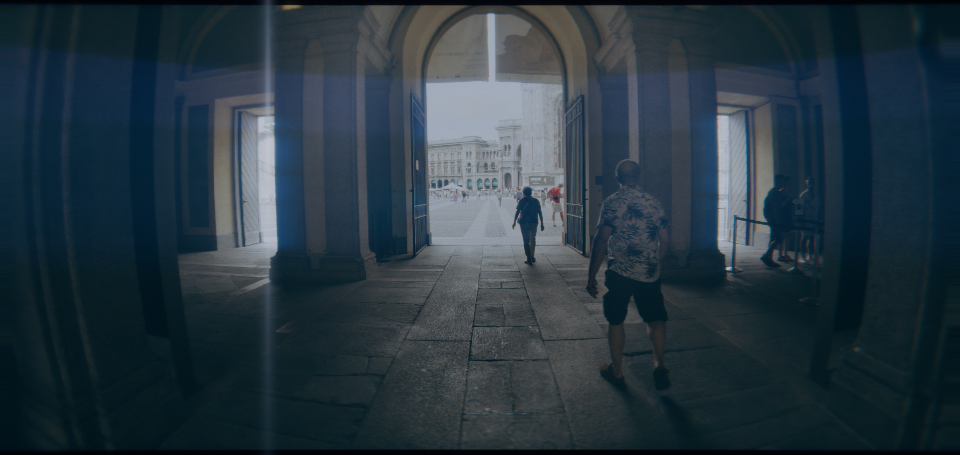
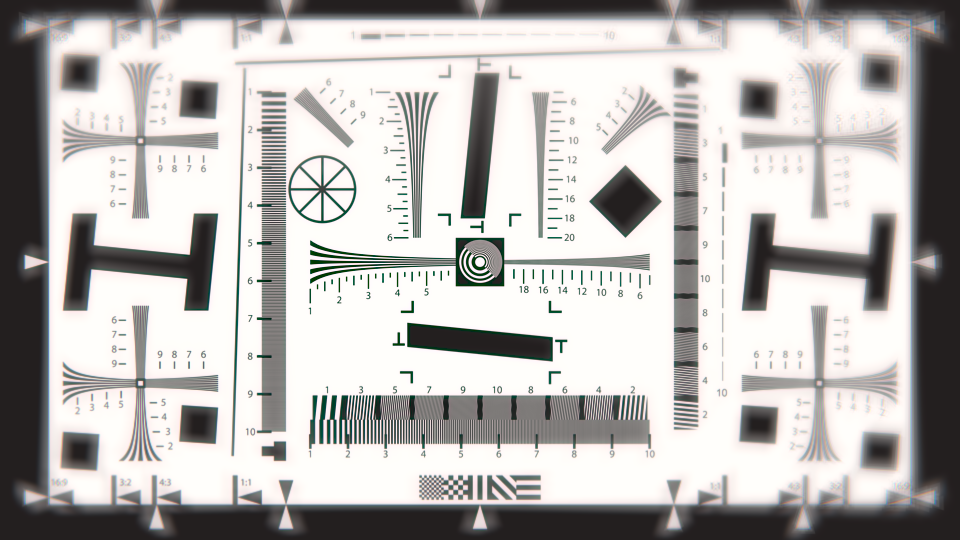
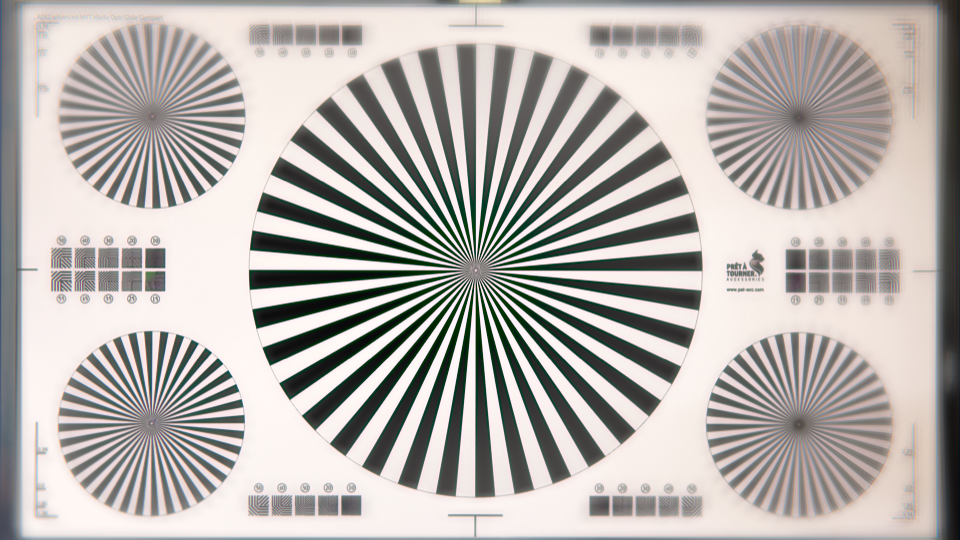
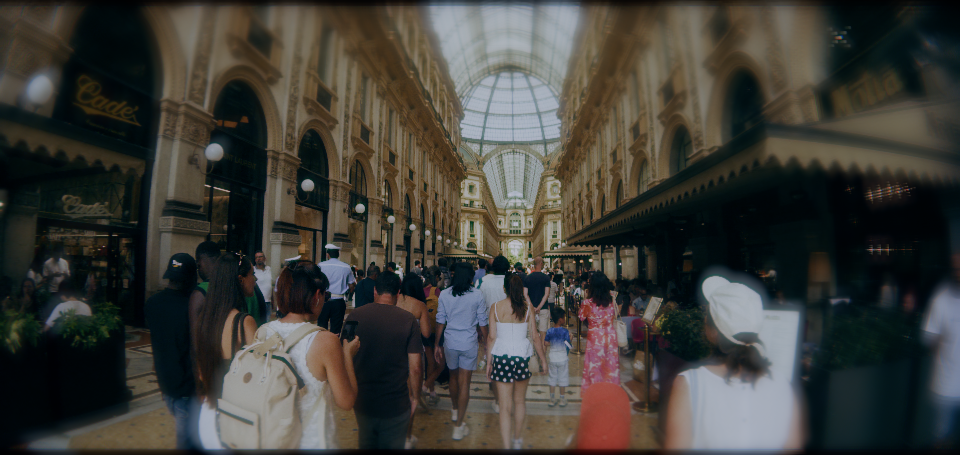
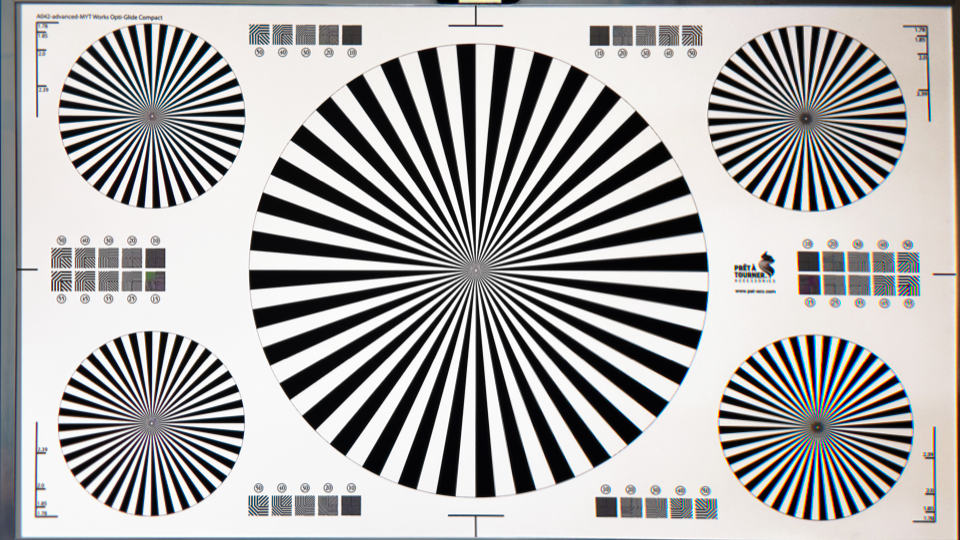
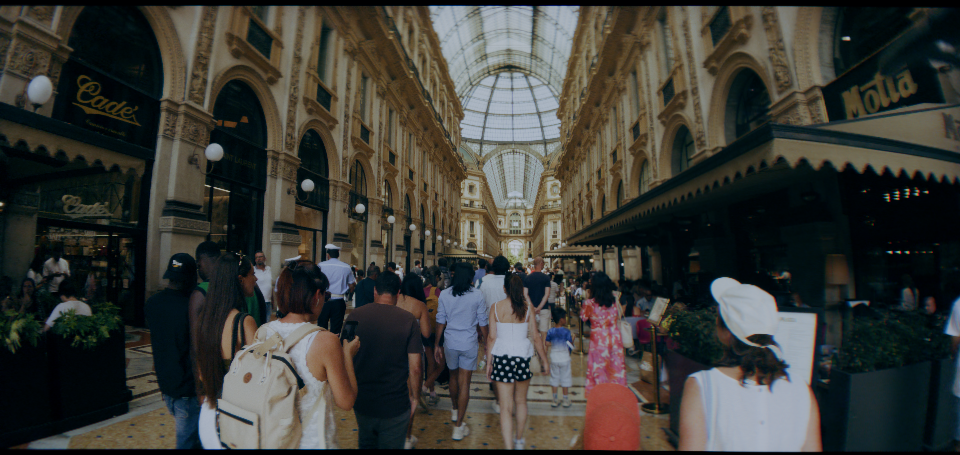
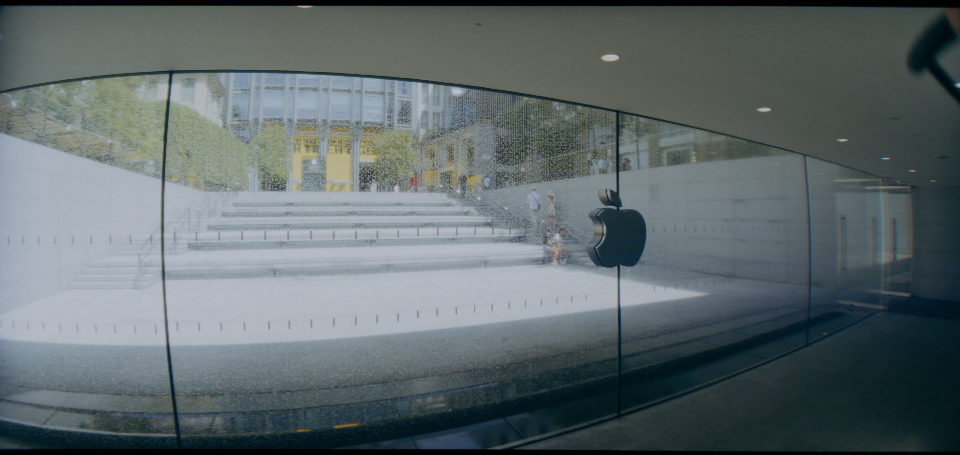
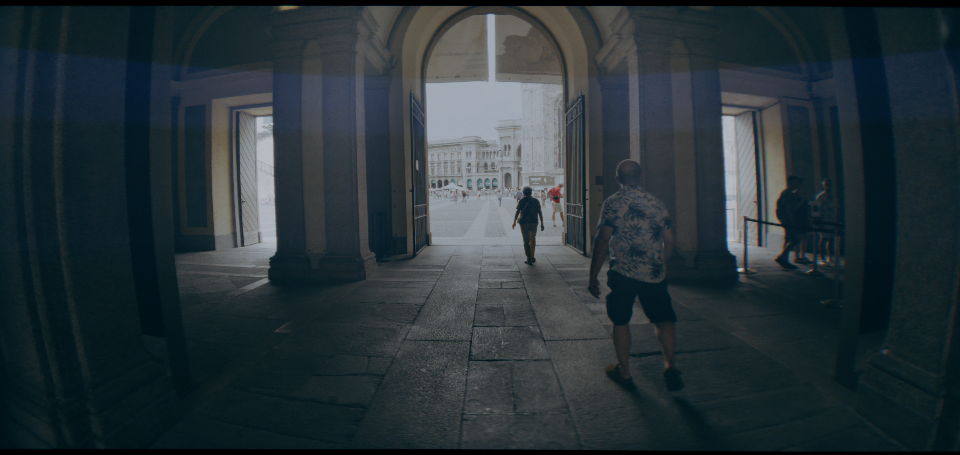
Altman's monkeys say it's a field-dependent cinematic-optics system with sampled aperture bokeh, depth-aware focus, stray light, diffraction, measured calibration, selective masking and spectral lens character.
DaVinci Resolve StudioApple SiliconBETAProvided as-isFree as in beer, not speech (for now)MAY EXPLODE YOUR 'PUTERDaVinci Wide Gamut / IntermediateARRI LogC3+C4ACES AP1Some Assembly Required
Pre-Ramble
I say: WARNING - Highly experimental software made by AI. It might be full of lies, stolen IP, and broken dreams. It may explode your computer, ruin your project, and wear your underwear when you're not at home. DOWNLOAD AND USE AT YOUR OWN RISK! No warranties, liabilities, nor support whatsoever provided. You have been duly warned.
If you came here to gripe about AI stealing your job, I hear you and I get you. Can't say I disagree with you. Probably. However, this is the new lay of Darwin's land - isn't it? Insert some "always has been..." meme image here. At least I'm not pretending it's something I came up with all on my own - I'm not claiming it's something other than slop (that might actually somewhat work). If you think Altman's creepy crawlers stole your code for this, I want to hear from you; I'd rather smother this silly little thing than knowingly let Sam the IP-Vampire abuse you further.
I made the original "Lens Debaser" for myself as a Power Grade some years ago because I love me some exotic dirty vintage optics and perfect modern optics is for OnlyFans - not for CINEMA! However, as an amateur hobbyist digital cinematographer & color grader I just couldn't keep justifying (to my wife) spending a fortune on more and more old glass, so I made myself a digital power grade that simulates a few of my favorite vintage optical "cine" kinks.
Now my old power grade still works, but it's quite limited. So this new thing here came to be as I was thinking about how I could turn my old jury-rigged "Lens Debaser" Power Grade into something with a bit more features - like into a single plug-in or something. But I'm too lazy to start learning new SDK tricks just to program a little plugin for Resolve myself, so one night I happended to casually ask the energy-hungry golden calf if it knew how the physics of chromatic aberration in vintage cinema optics work. Then it pitched me on the virtues of it learning the OpenFX SDK for me. Next thing I knew, we were knee-deep in the science of MTF, tokens started flying - and things got seriously out of hand from there.
FAQ
Yes, this thing has waaay too many controls. Yes, the UI sucks. It's more of an escape room experience than an actual production tool. But hey, this is just the first version; It's as bad as it's ever going to be, right? Right?
Yes, the source code may probably be released at some point. Yes I'm too stupid and lazy to build and test any other versions than for Apple Silicon - for now. Sorry, maybe. This may work on other platforms - very likely not at all. You probably shouldn't even try.
Yes, I'm also too dumb and lazy to verify if the physics really maths. Does it matter? No. Yes, I'm assuming the AI is lying to me. Yes, it may very well be that I too have been (finally) dunning-krugered by Altman's Mechanical Doomsday Turk; It may all be a bunch of lies neatly designed to look and sound clever to complete fools like myself and I might have finally found my own Cottingley Fairies (maybe I should rename this to Fairies OFX?), but hey - I'm just trying to make the image look more interesting here - not trying to win a science competition.
Yes, there is no support whatsoever for this right now.
Yes, I've only tested this thing in DaVinci Resolve 21-something on MacOS / Apple Silcon. It's made and tested for Apple Metal only. For now.
Yes, you probably shouldn't use the "Molasses" output quality (unless you're on a render rig that hasn't been invented yet or you're the kind of person who enjoys watching bones petrify).
Yes, you might currently have to change to a higher-than-fast output quality setting for some of the effects to be of usable quality (e.g. too stair-steppy with some blur effects). Yes, it might be too slow to actually use in production. Yes, this thing may be based on Metal, but it hasn't been optimised. Yet.
Yes, you might have to manually crop-in on the image to remove unwanted edge defects (like "holes") depending on the amount of effects applied.
Yes, there might be undocumented features in this here thing at this stage, mostly for debugging and development purposes.
Yes, the install process for the beta is stupid. Later releases (after beta) will (probably) include dev signed binaries (need to activate my old Apple Dev ID or create a new one first) and an automated installer. For now, you have to put in a little work to make it happen.
Feedback
For now, I just want your feedback on what is working, what sucks ass, the most idiotic features that should be best buried with Hoffa, what needs to be redesigned in the UI for the whole thing to actually make any kind of sense. If you give me feedback, I'll give you new updates for free.
Optical processing order
The current version evaluates geometric, focus, spectral and transmission behavior in optical order:
1Lens shift establishes the effective optical axis
2Distortion and wavelength displacement map output rays into the source
3The selected focus surface contributes defocus to the unified spectral PSF
4Natural and mechanical vignetting attenuate lens transmission
5The creative dry/effected Blend forms the complete Lens Debaser result
6The optional global mask blends that complete result against the untouched source
Linear, radial, elliptical, curved, dual-band and map-driven blur are part of the lens PSF rather than post-process gradient blurs. Shift changes field relationships without translating the recorded frame.
Portable preset files
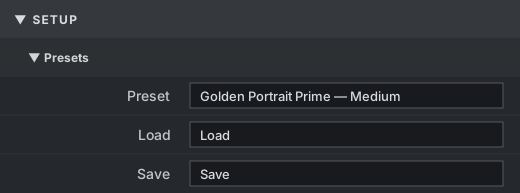
The current version uses a single active-preset menu and native macOS Open and Save dialogs. Preset loads are grouped into one host undo operation, and a malformed file is rejected before any control is changed.
Preset
Shows Custom until a preset has been loaded or saved. After Lens Debaser learns a preset folder, the menu lists every .ldpreset in that folder. Selecting a name loads that file immediately. If an image-forming setting no longer matches the loaded preset, the menu returns to Custom. A fresh, neutral instance also correctly reads Custom.
Load preset…
Opens a native file browser immediately. Select an existing .ldpreset and click Load. Lens Debaser applies every eligible optical, color-contract, sampling, edge, mask-shape and measured-data-path setting, remembers that folder, and populates the Preset menu with its other preset files. The many control changes are applied as one render batch, so Resolve should calculate one completed look rather than queueing an intermediate frame for every changed control.
Save preset…
Opens a native save browser immediately. Enter a name and select the destination folder; .ldpreset is appended automatically. The file is written atomically so an interrupted write cannot leave a partial preset. The saved look becomes active and its folder populates the Preset menu.
Included preset catalog
Production starting points: Modern Clean Prime, Warm Cinema Prime, Classic Portrait Spherical, Wide Documentary, Subtle Anamorphic, Telephoto Portrait, Tabletop Tilt, Petzval Portrait, Uncoated Low Light and Stopped Down Night.
The wild presets are artistic approximations of recognizable optical behavior, not measurements of particular lens specimens. Each bundled preset contains a complete reusable lens state. Working Color Space remains a separate pipeline choice.
Twenty included looks
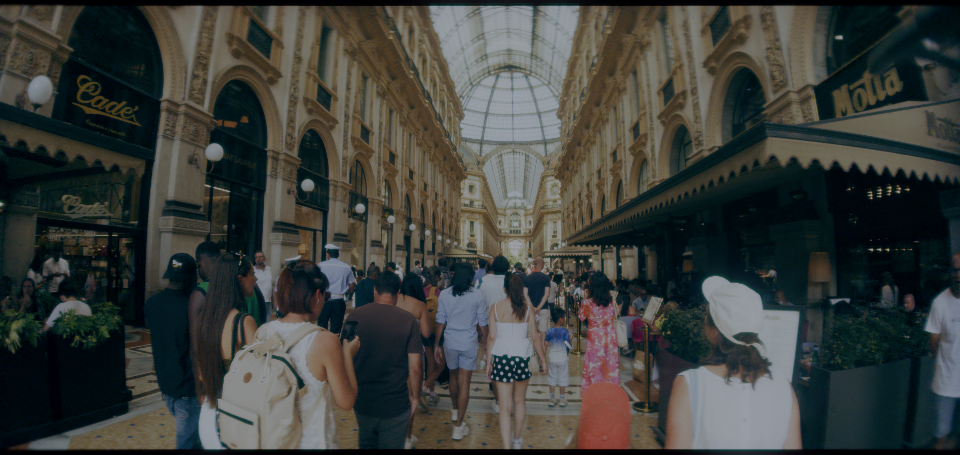
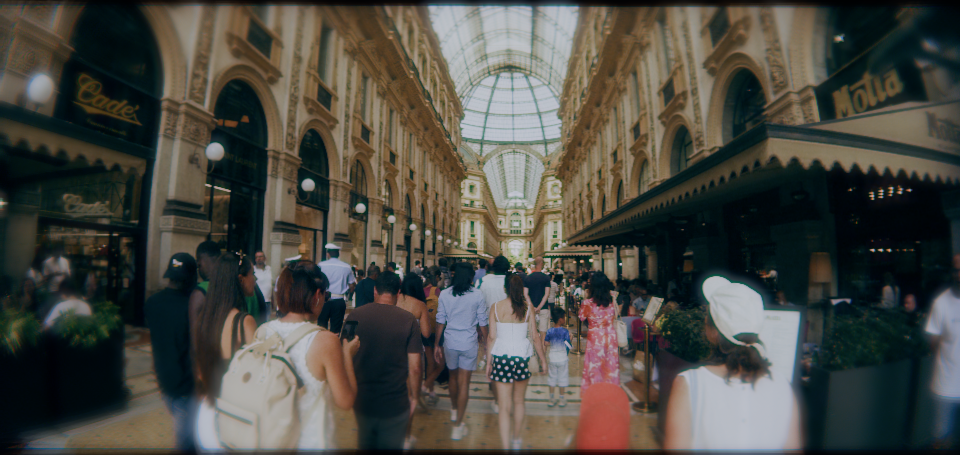
Each comparison is rendered from the complete preset file. The first ten are practical starting points; the final ten deliberately push recognizable vintage-optics traits into creative territory.
How the current interface is organized
The Resolve inspector is one ordered workflow. Presets is first, followed by Output quality, Working color space and a collapsed Advanced quality subgroup. The primary sequence is Optical centre, Lens distortion, Vignetting, Optical character, Chromatic displacement, Focus, bokeh and blur character, then MTF / contrast transfer. The focus family separates Defocus, Aperture and bokeh shape, and Blur character / wavefront. Extended lens behaviour and Flare, glare and diffraction retain focused subgroups. Global Mask is intentionally one continuous group so its window, guides, shape and mask-driven focus controls remain visible together. Global blend is the last image-forming restraint; outside-image handling is penultimate, and frame-time estimation is last.
The renderer chooses Metal automatically whenever it is available. There is no CPU/GPU selector; the frame-time result reports whether Metal was used or if the automatic CPU fallback was called.
Grey (ghosted out) controls means they are currently unavailable. Turn on the module above them, or select a non-Off recipe in the pull-down menu. A named recipe (preset) shows its resolved subordinate settings but keeps them read-only; select Custom to edit those internals.
Lens Debaser supplies a plain-language OFX hint for every group and control. Resolve shows it as a hover tooltip when its window has focus. A newly saved preset immediately becomes selected and changes to Custom only after a stored lens setting changes.
Working color space and linear-light optics
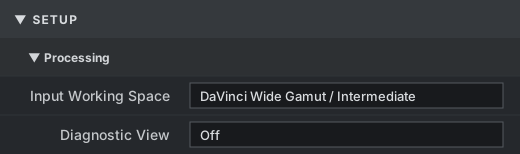
Working color space must match the RGB gamut and transfer function entering the Lens Debaser node. Lens Debaser currently supports DaVinci Wide Gamut / Intermediate, ARRI Wide Gamut 3 / LogC3 at EI 800, ARRI Wide Gamut 4 / LogC4, and ACES AP1 / ACEScct. DaVinci Wide Gamut / Intermediate is the default.
Lens Debaser decodes only the selected transfer function, performs energy-changing optics in scene-linear RGB using that same gamut, and then encodes the result back into the identical transfer function. It does not convert the gamut and never converts to Rec.709 or another display space. Resolve remains responsible for color management and the final output transform.
A mismatch produces invalid results. If the node receives DWG/Intermediate, select DWG/Intermediate. If it receives LogC4/AWG4, select LogC4/AWG4. The menu is deliberately not stored in lens presets because it describes the host pipeline rather than the lens look.
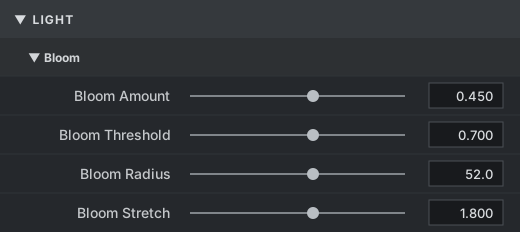
Bloom, glare and diffraction now derive one highlight mask from gamut-correct linear luminance and use it to carry the original RGB proportions. This replaces independent red, green and blue thresholding, substantially reducing artificial hue and saturation shifts in wide-gamut highlights.
Complete control reference
Controls are evaluated in optical order. Geometry determines where each RGB proxy wavelength lands; the spectral PSF determines how energy spreads around that location; Blend is applied only after the simulated lens image has been formed.
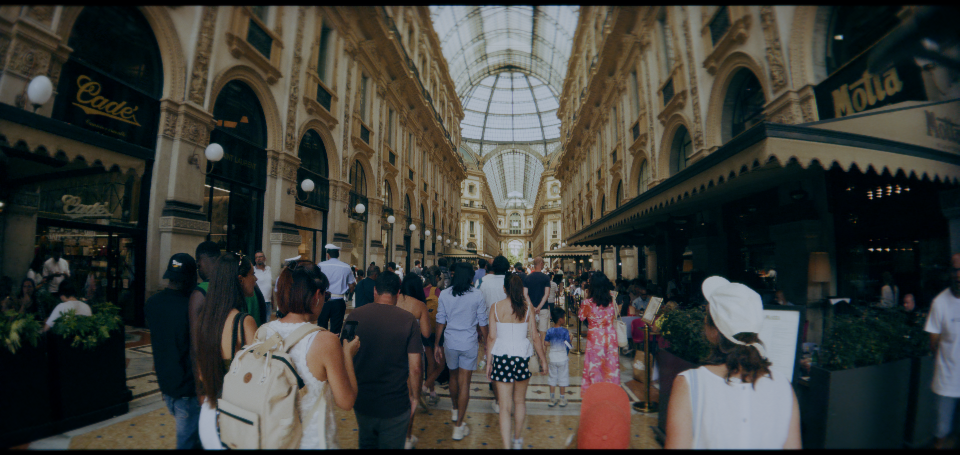
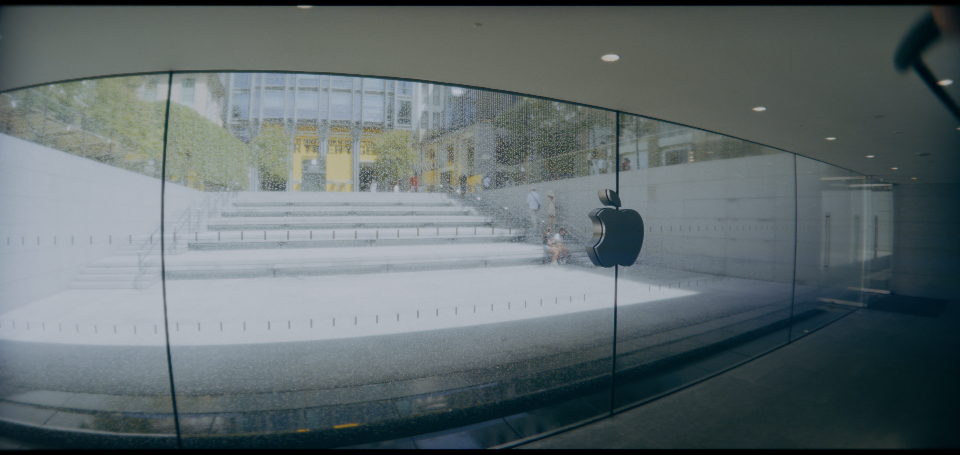
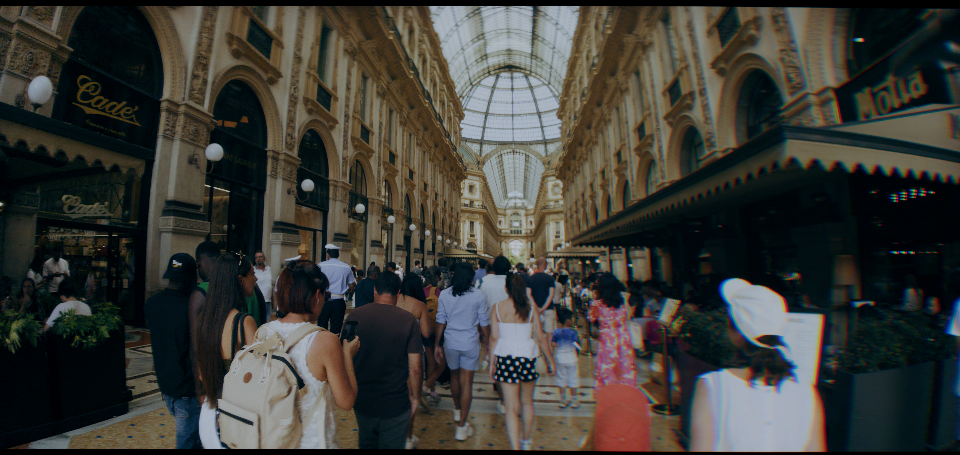
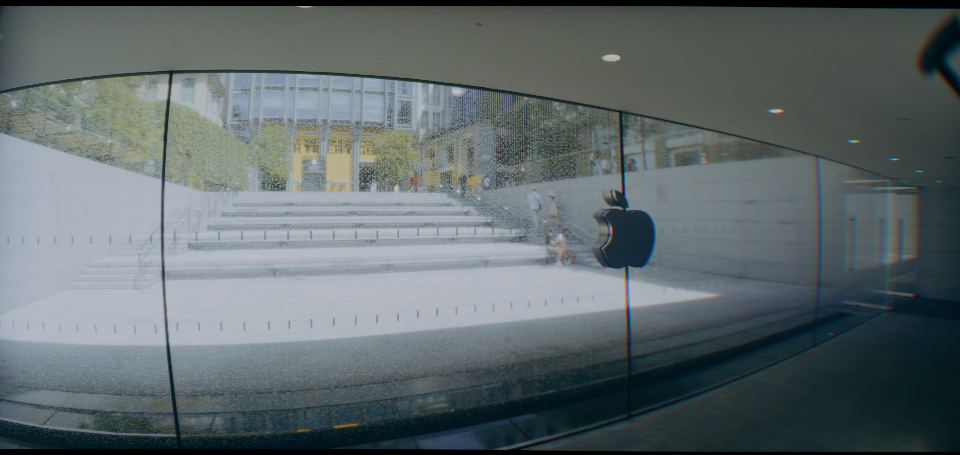
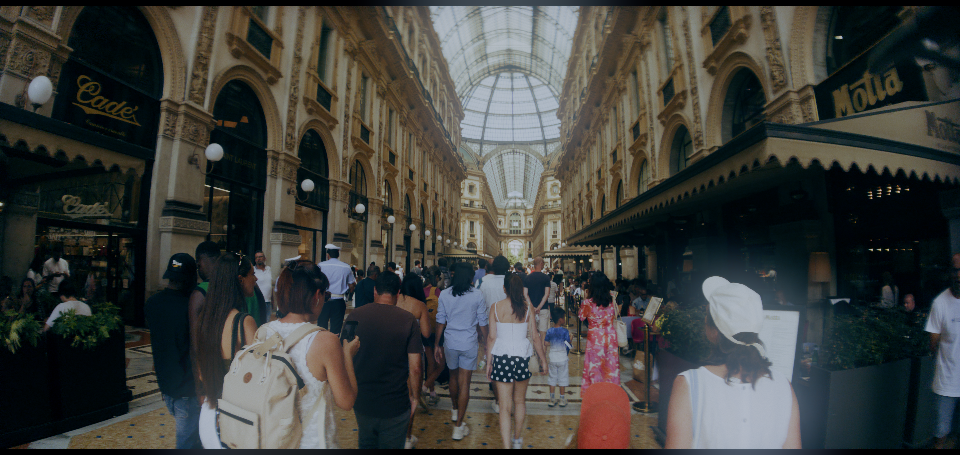
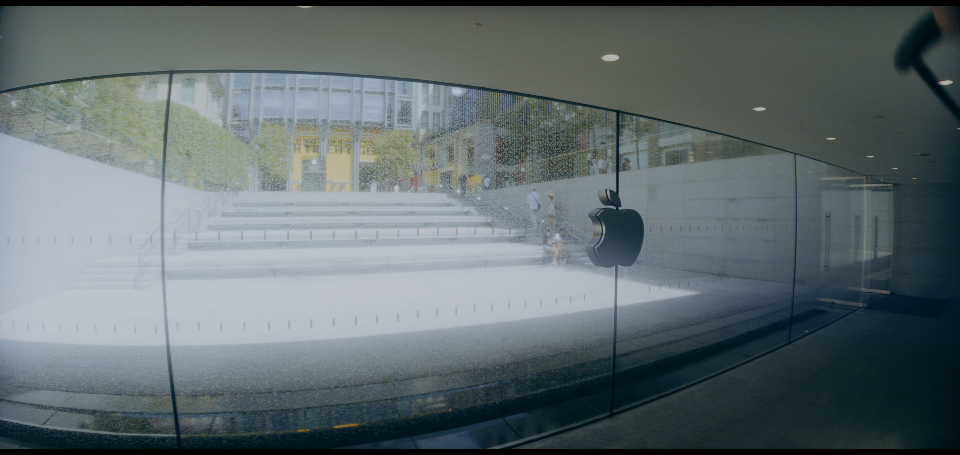
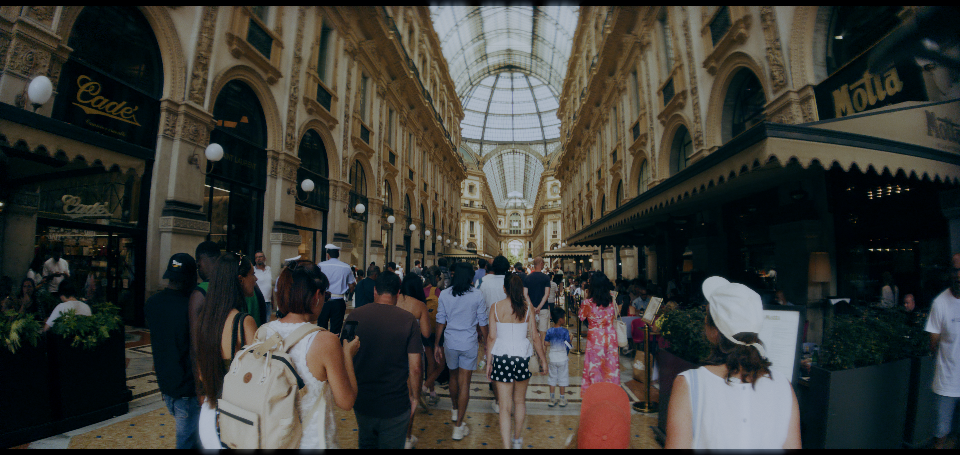
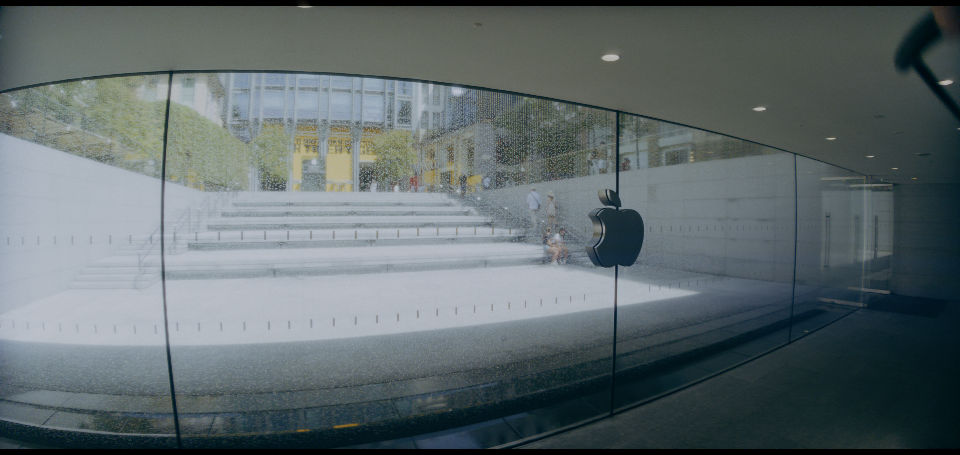
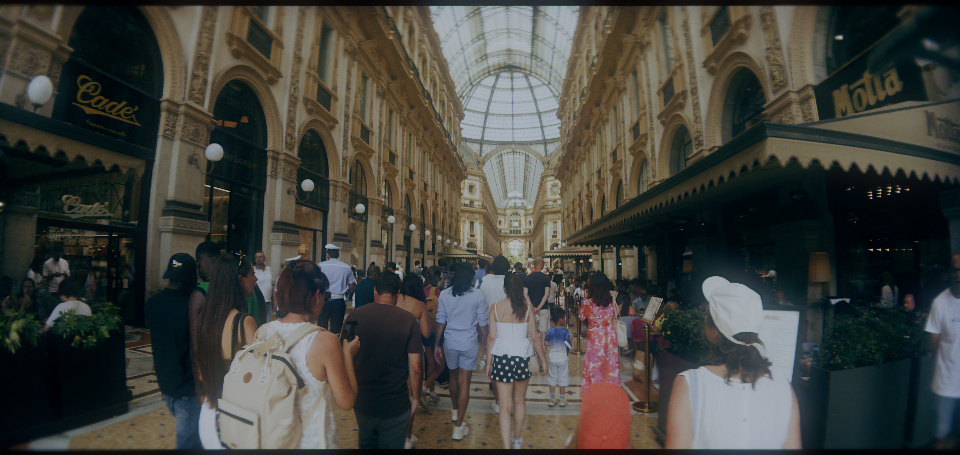
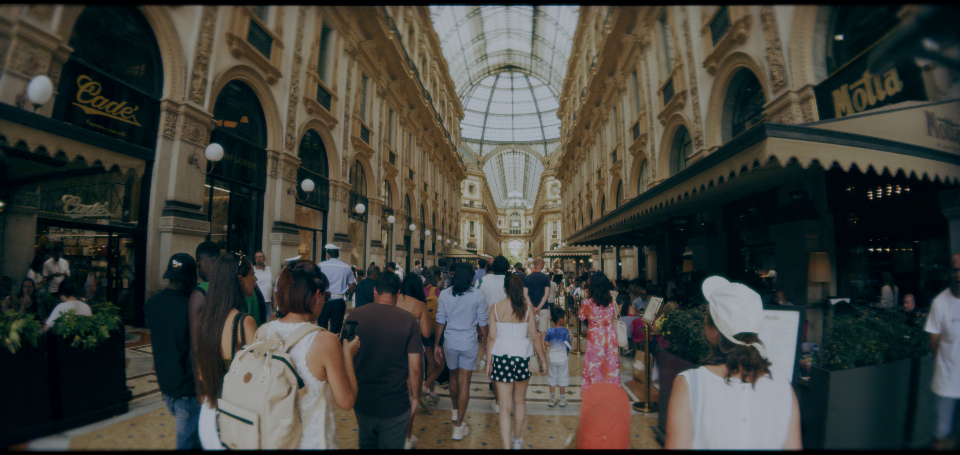
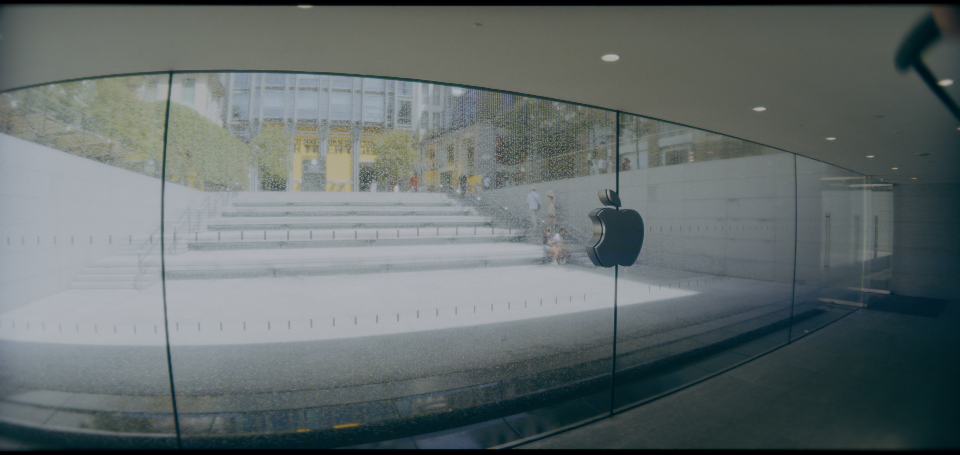
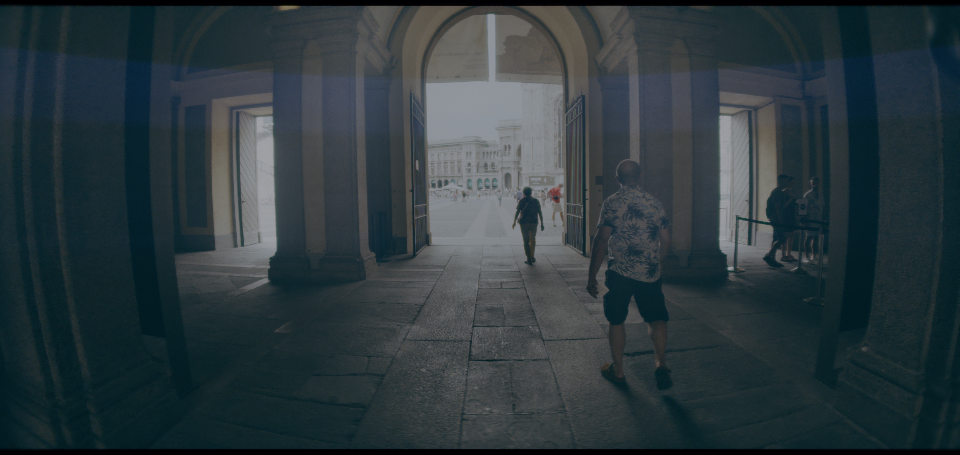
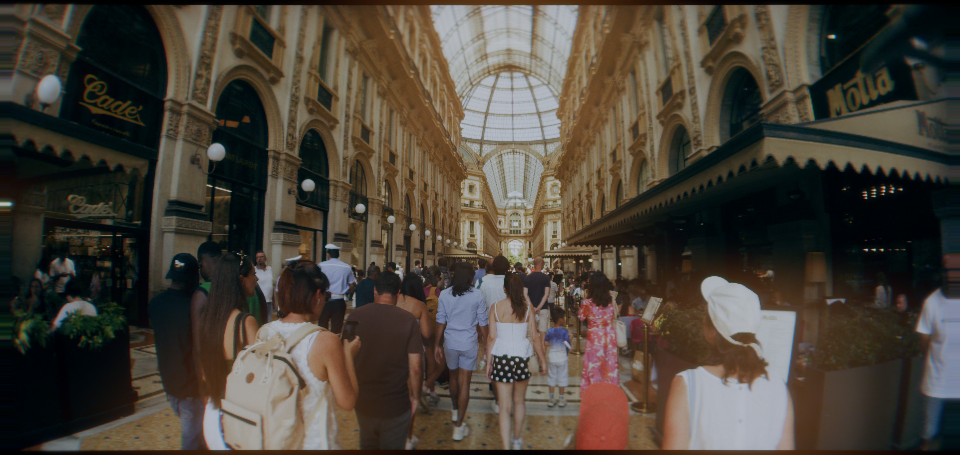
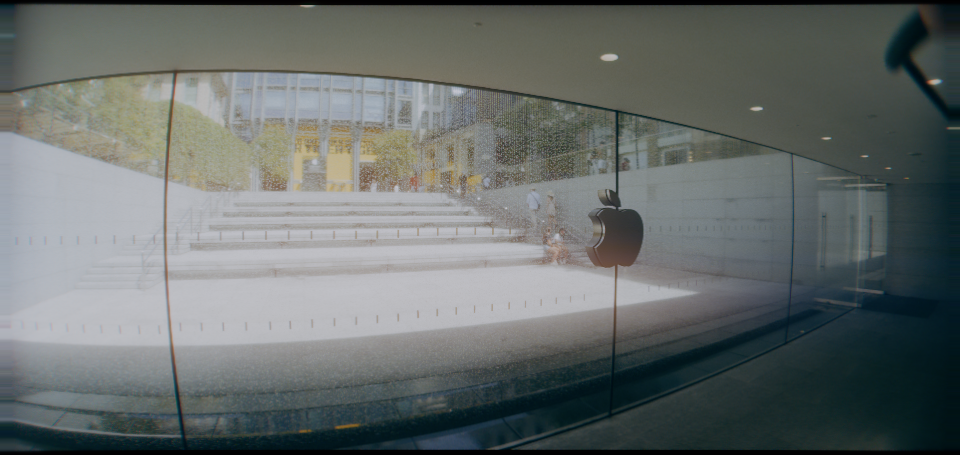
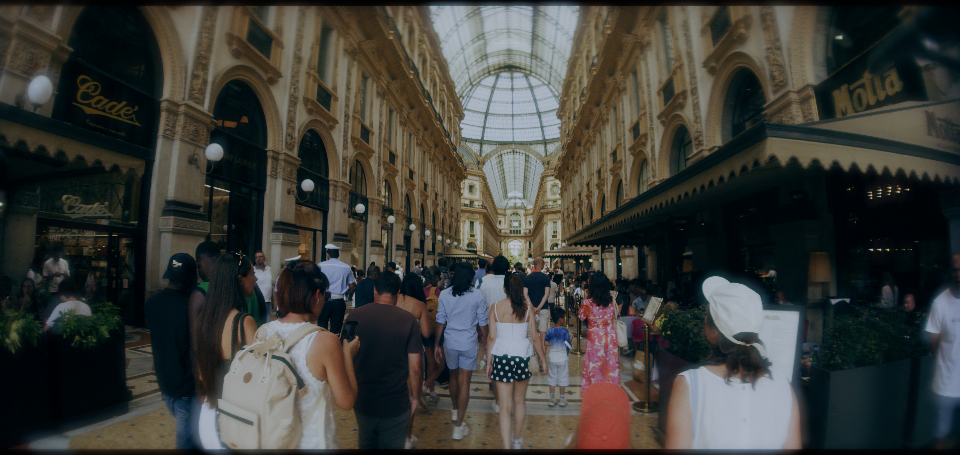
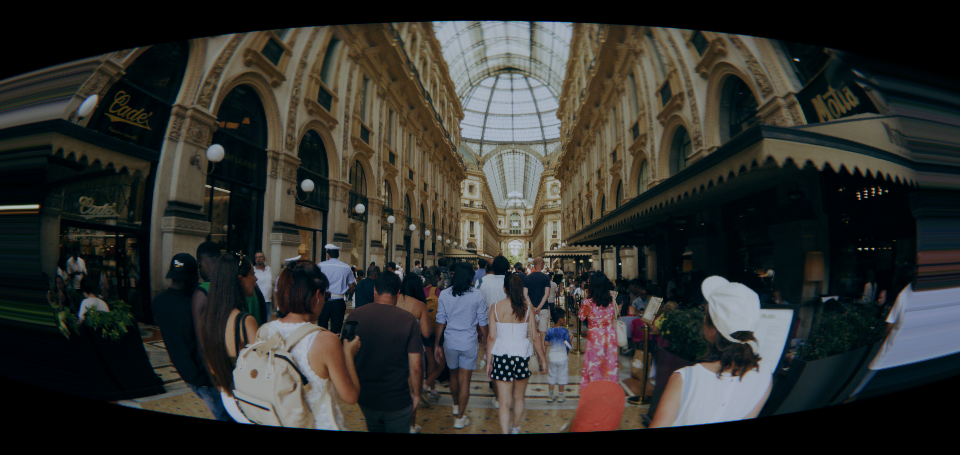
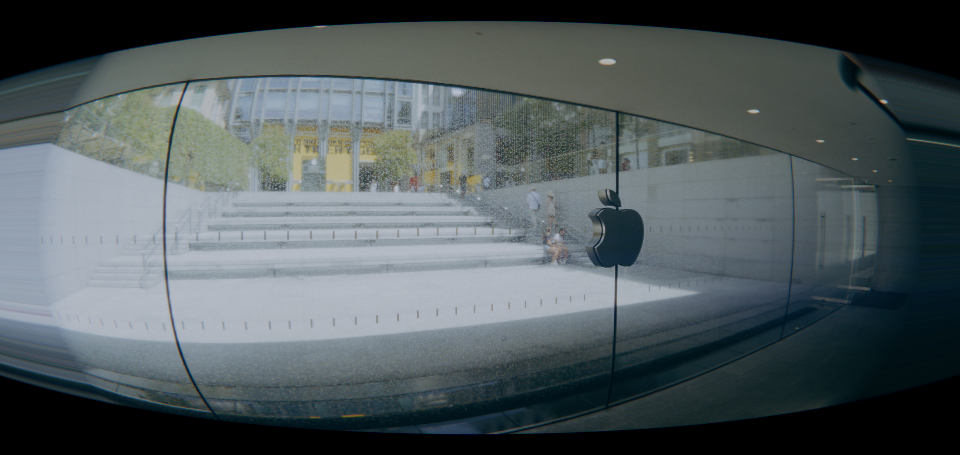
Drag each image slider to compare the untouched original with the full-frame Lens Debaser result. The ARRI scene is transformed to Rec.709 / Gamma 2.4 only after the optical effect.
1. Global selective mask
Enable global mask
Default Off
Turns on a true final-result power window. Lens Debaser first calculates its complete optical result, including the global Blend setting, and then blends that result against the untouched source using the evaluated mask. White means complete rendered result, black means untouched source, and grey is a proportional blend. The mask no longer changes individual lens parameters.
Show guides
Default On
Shows or hides the non-rendering viewer overlay without disabling the mask. Cyan marks the clean-source boundary, yellow marks the full-effect boundary, and the white crosshair marks the centre. Turning guides off automatically stops editing and provides a completely clean image view.
Edit mask / Stop edit
Edit mask intentionally arms viewer interaction and is replaced by Stop edit while active. Orange handles adjust width and height, purple adjusts rotation, yellow adjusts fall-off, and the centre crosshair moves the mask. With editing stopped, guides remain visible but click through without changing the mask. Editing state is UI-only: it is not rendered, keyframed, exported, or stored in presets.
Invert mask
Exchanges the untouched-source and complete-effect regions after shape and falloff are evaluated.
Preview mask
Outputs the evaluated mask as grayscale for positioning. White represents full control influence and black represents neutralized influence.
Mask shape
Circle / Ellipse / Rectangle / Rounded rectangle / Linear
Selects the shared procedural mask geometry. Circle uses Width as its diameter; Ellipse and rectangular shapes use independent Width and Height; Linear creates a rotatable gradient.
Mask centre X / Y
Positions the mask independently from Optical Centre and lens shift, allowing the selective region and the implied lens axis to occupy different locations.
Mask width / height
Sets normalized dimensions. Values above one extend the mask beyond the recorded frame.
Mask rotation
Rotates ellipses, rectangles and the linear gradient around Mask Centre.
Mask fall-off
Creates one continuous smoothstep roll-off from the complete Lens Debaser result at the yellow inner guide to the untouched source at the cyan outer guide. Feather has been removed so there is one predictable transition control.
Mask expansion
Expands or contracts width and height together before falloff is evaluated. Negative values shrink the active region.
Mask strength
Scales the final window opacity. At zero the output is the untouched source everywhere; at one the white part of the mask reveals the complete Lens Debaser result. Disable the mask—not Strength—when a full-frame effect is wanted.
2. Geometric lens distortion
Lens distortion
Default None6 choices
Selects the geometric mapping model. None leaves image geometry unchanged. Barrel bends straight lines away from the frame centre and compresses peripheral magnification. Pincushion bends them inward and increases peripheral magnification. Moustache / Wave combines opposing low- and high-order radial terms so curvature can reverse between the middle field and corners. Anamorphic Barrel supplies a barrel-dominant model with a small asymmetric component. Custom enables the four coefficient controls below.
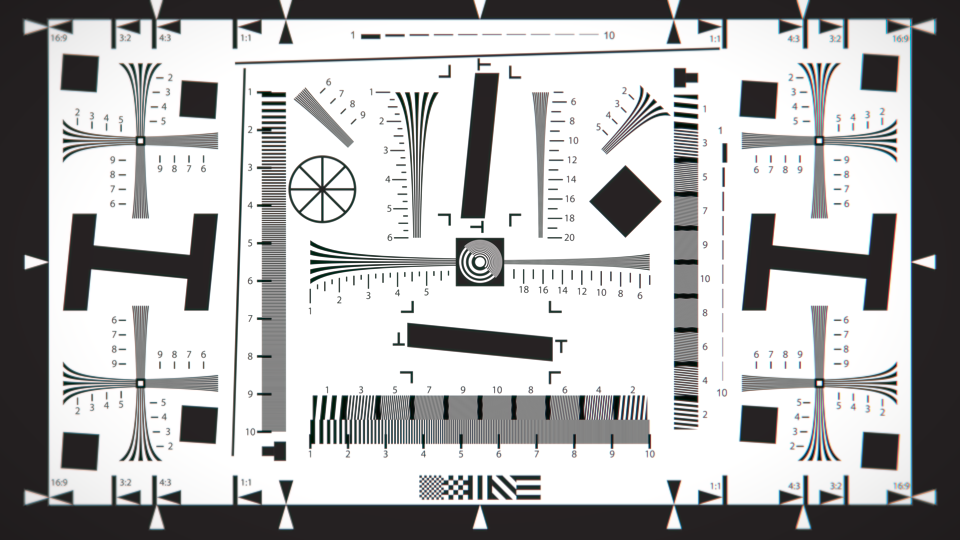
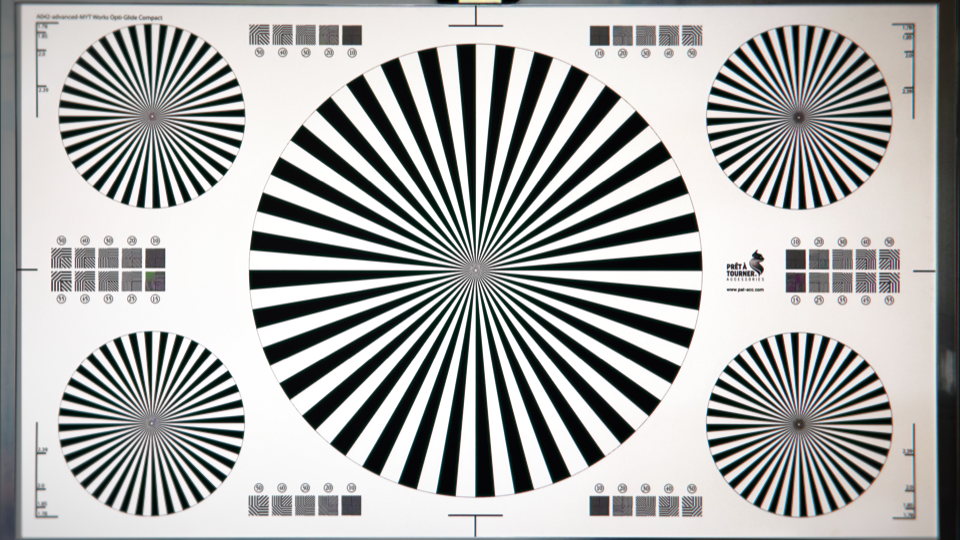
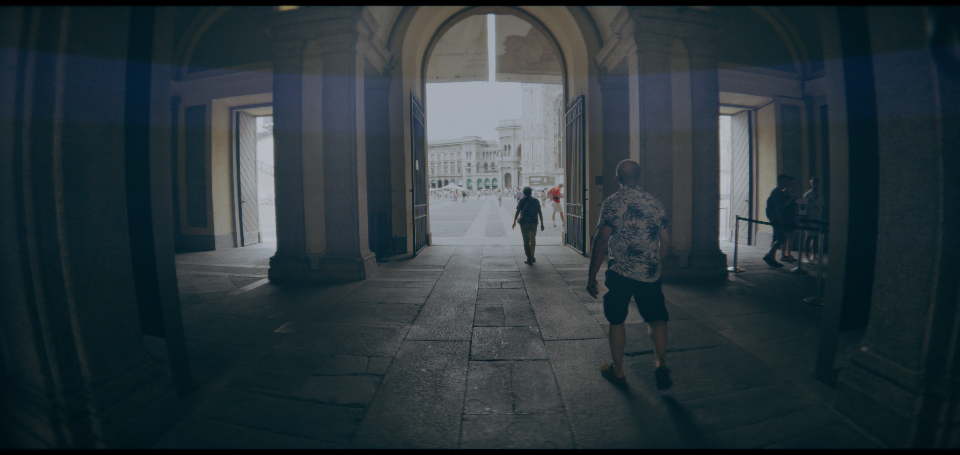
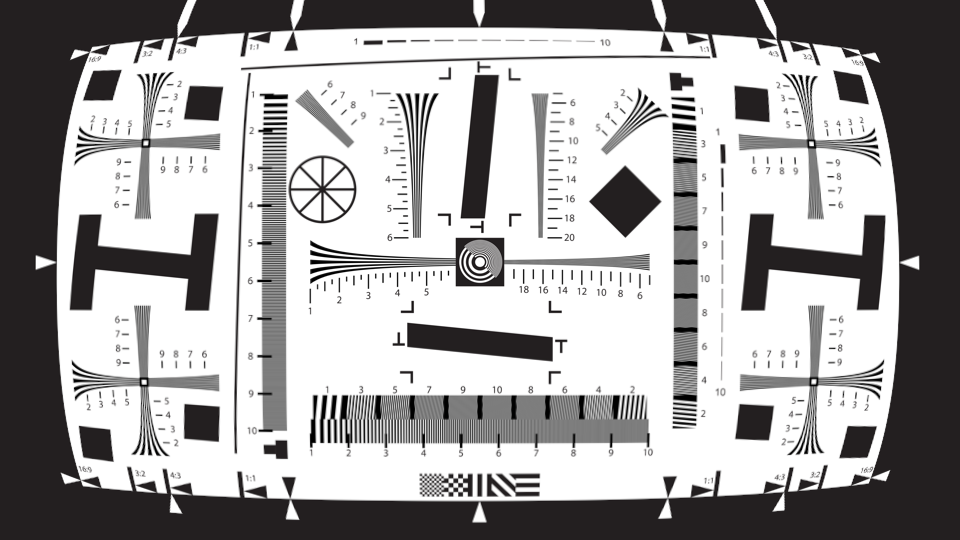
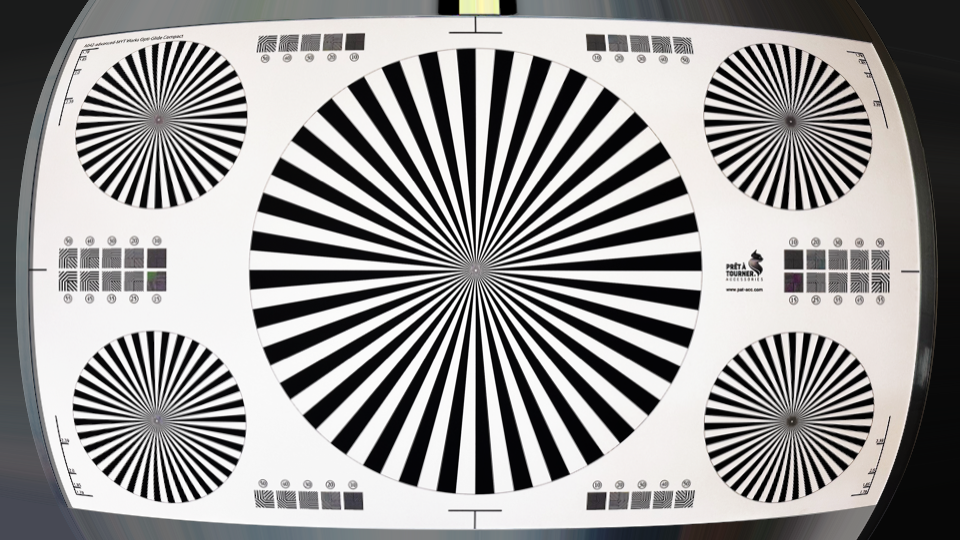
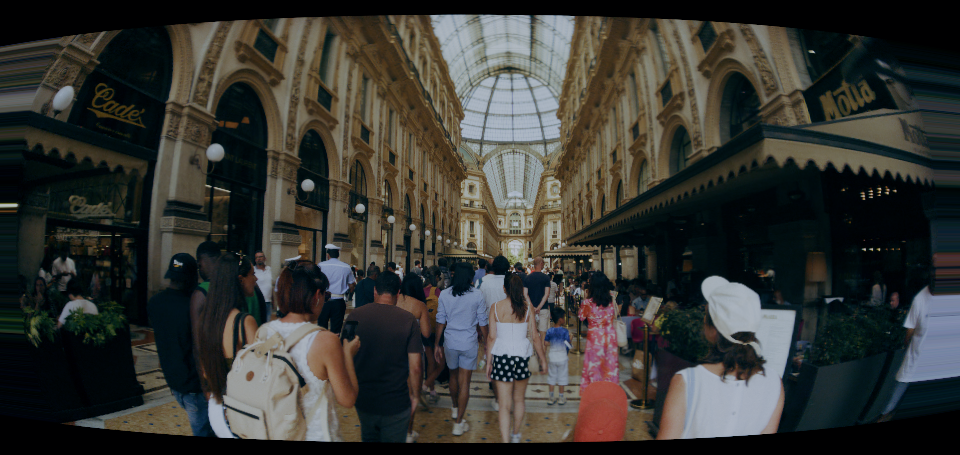
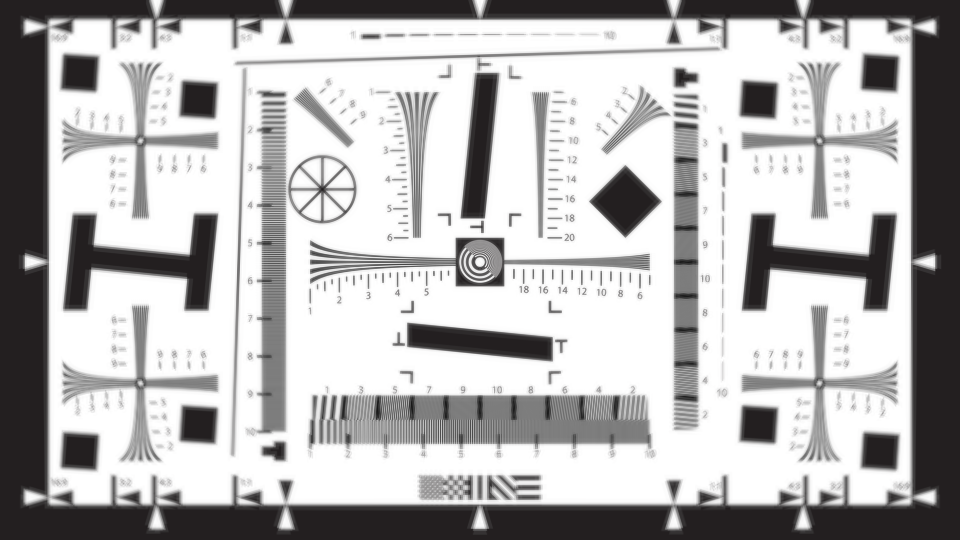
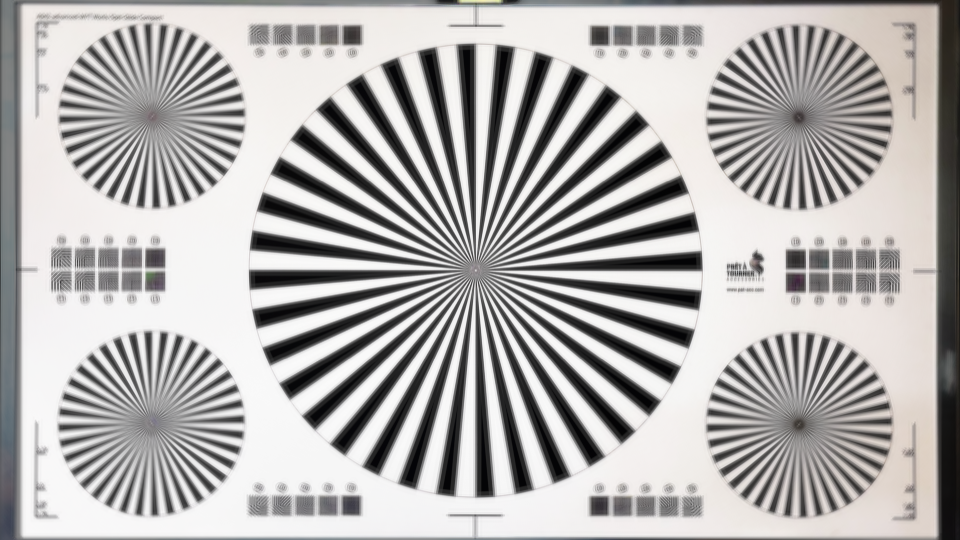
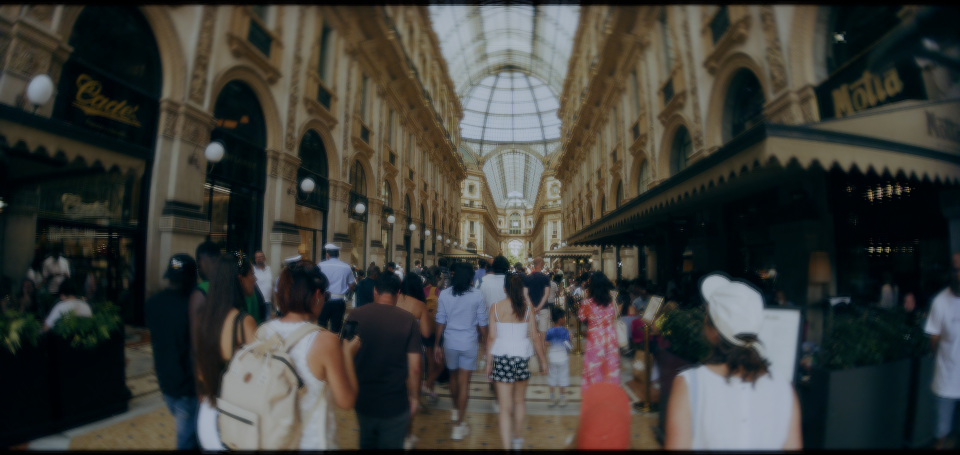
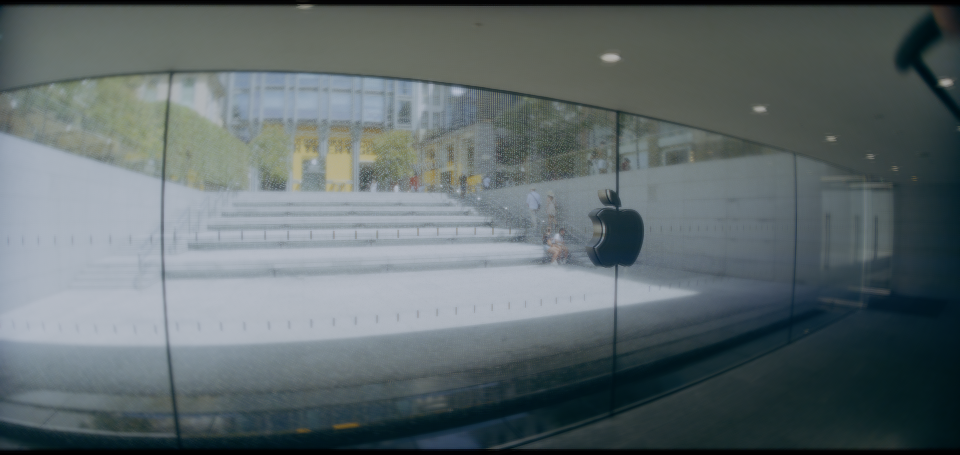
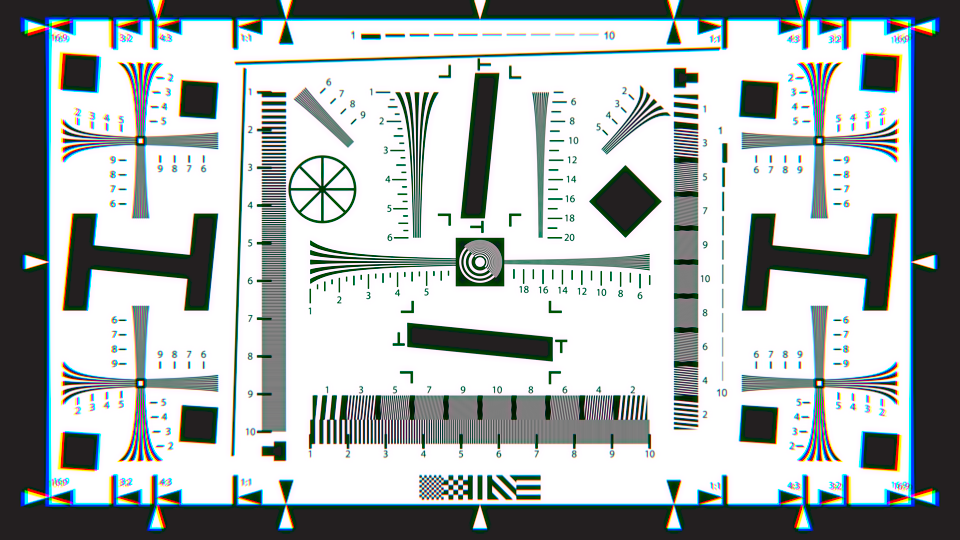
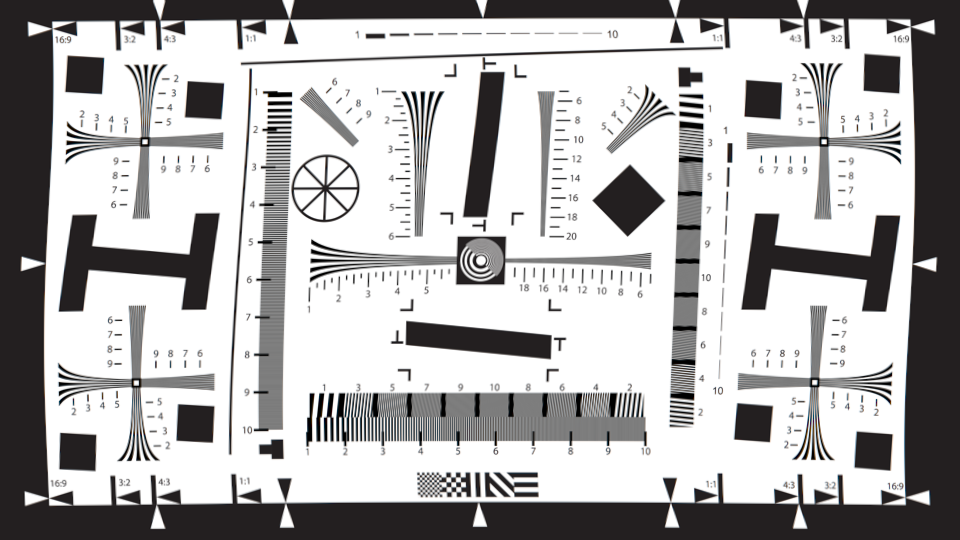
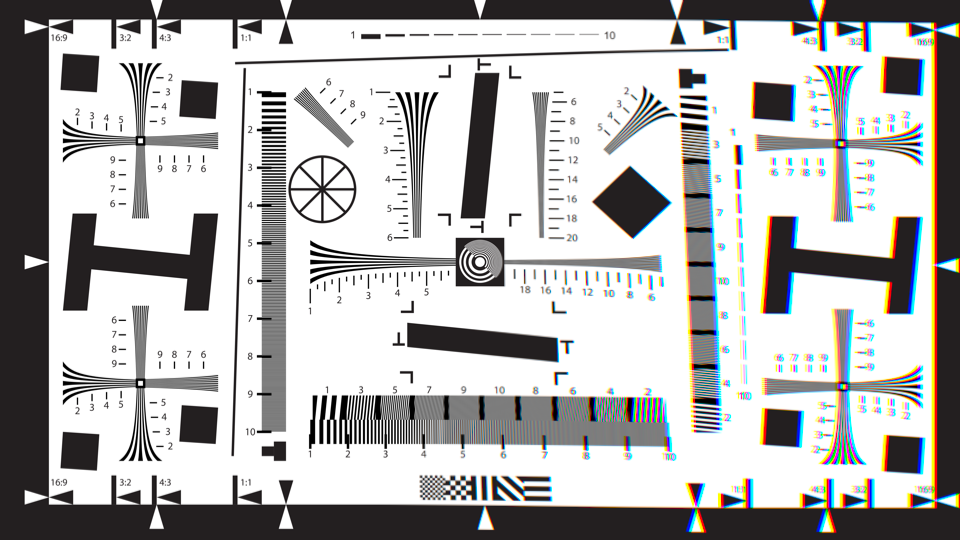
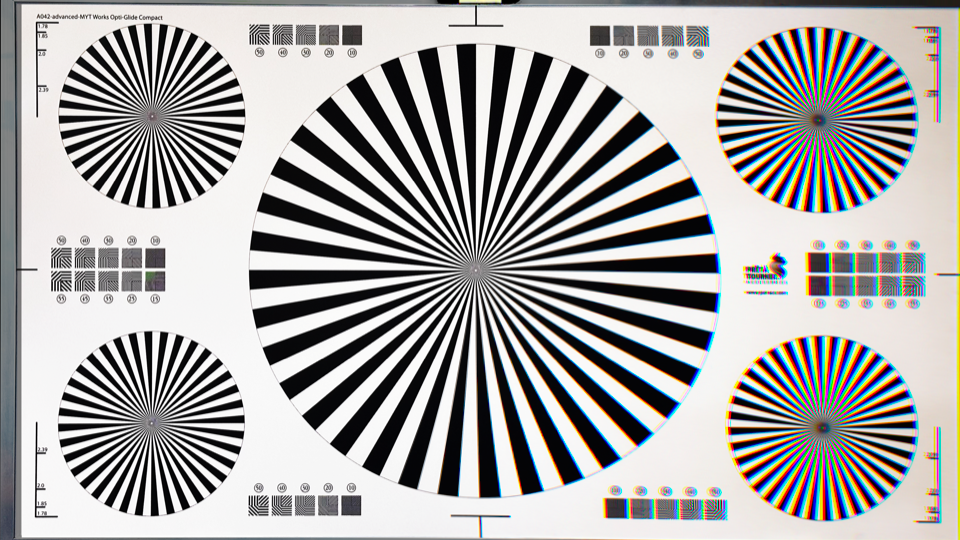
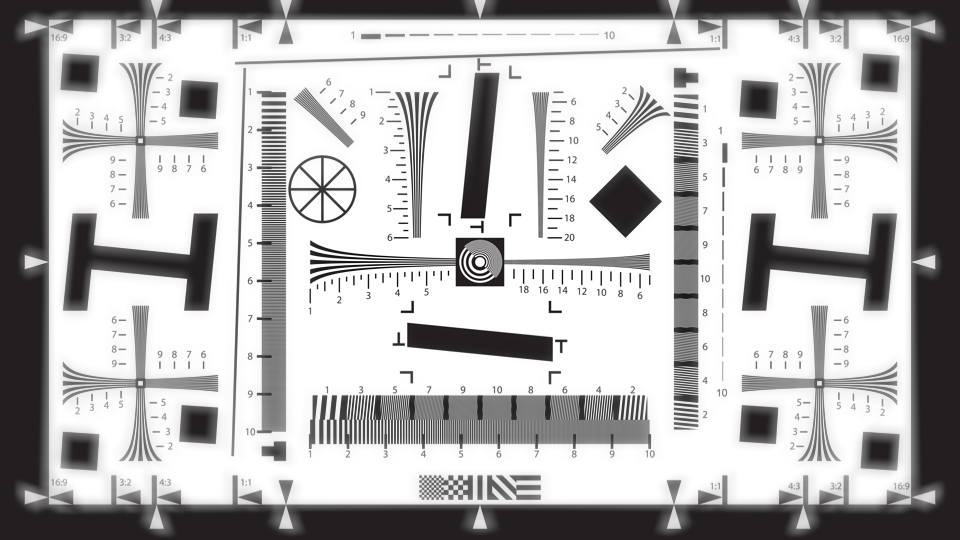
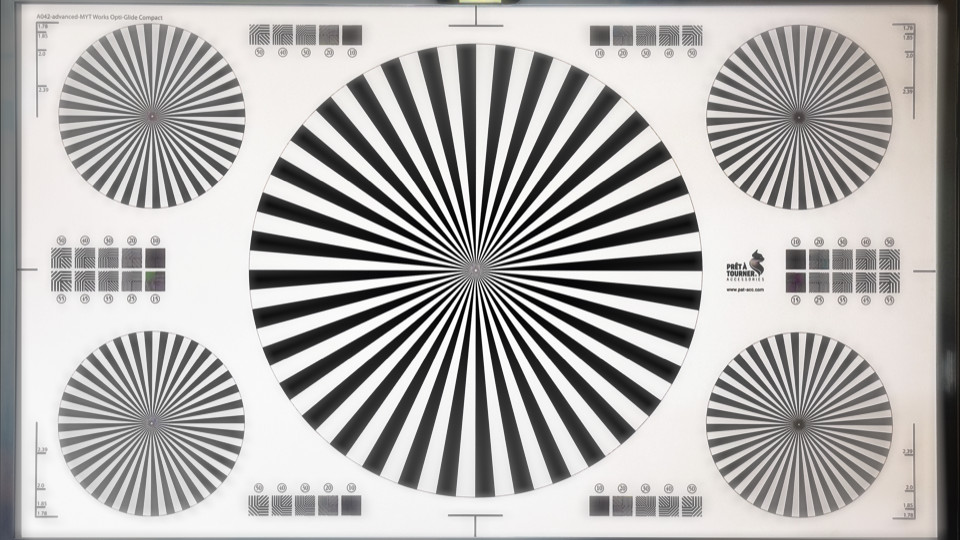
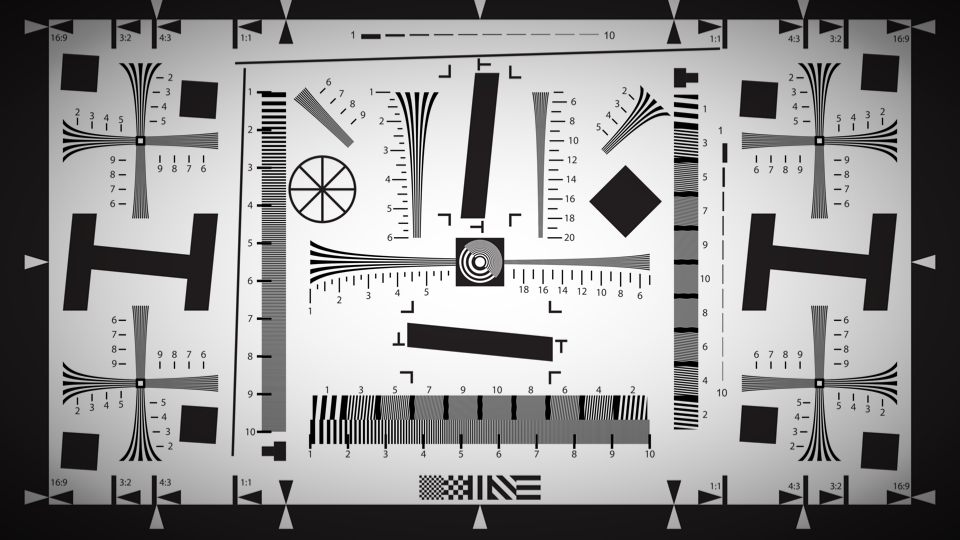
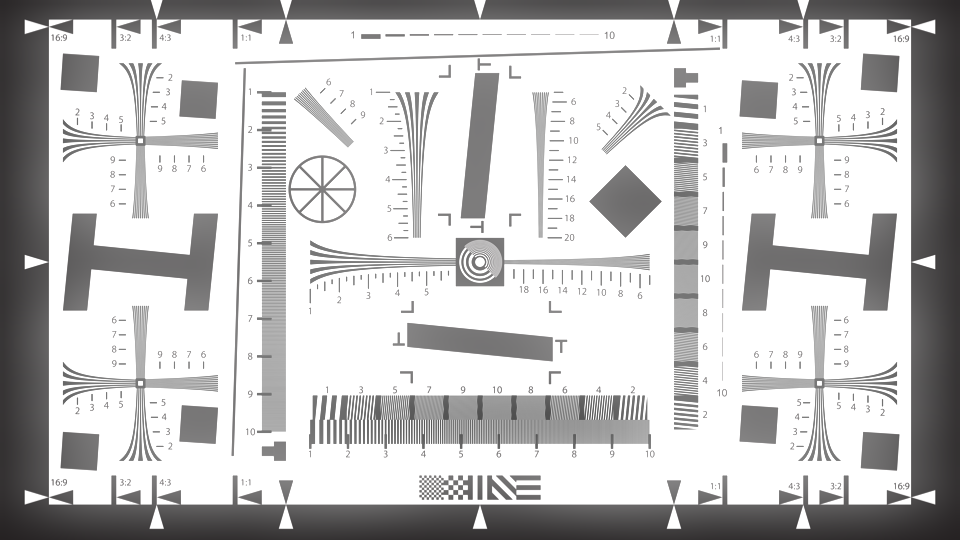
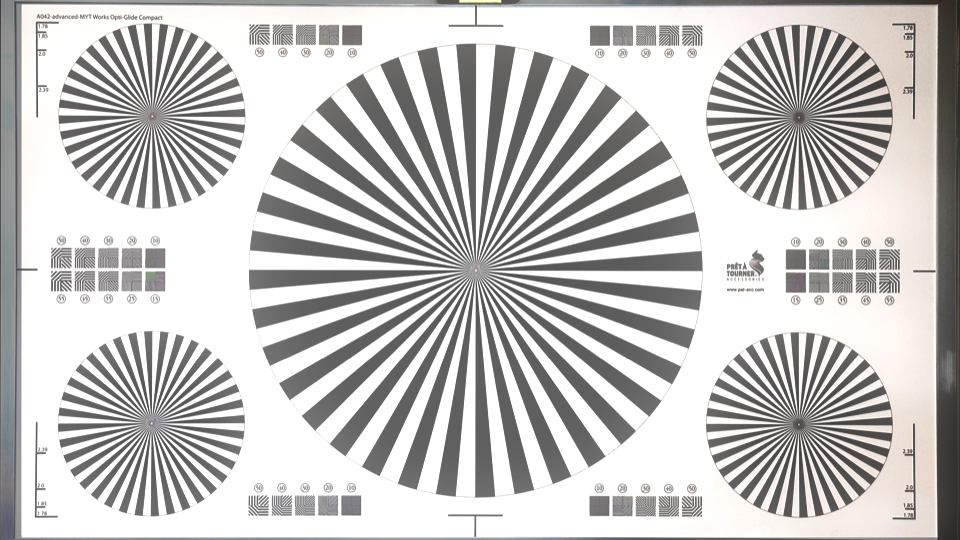
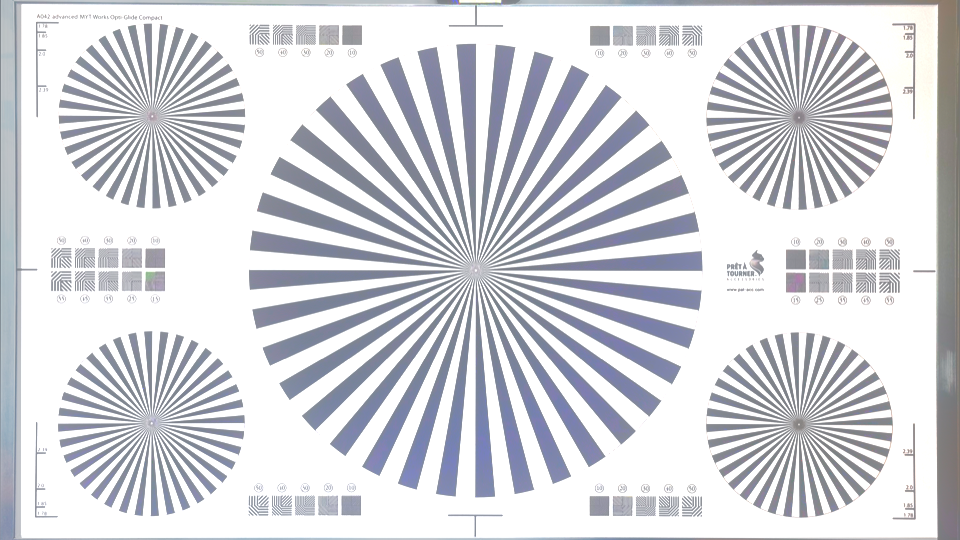
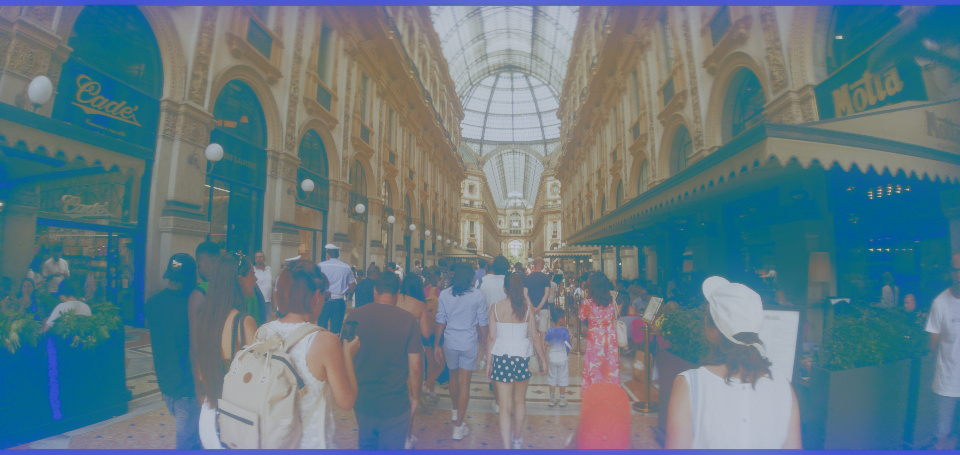
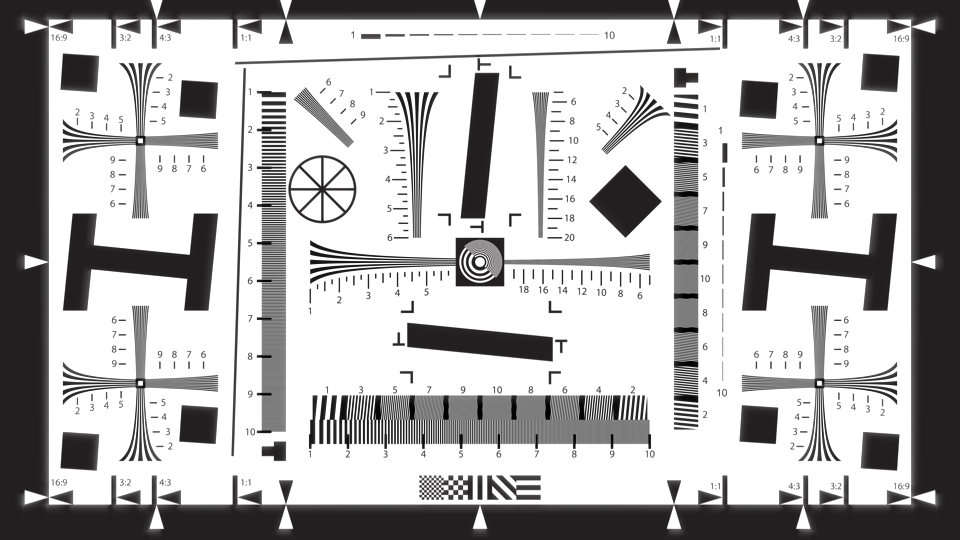
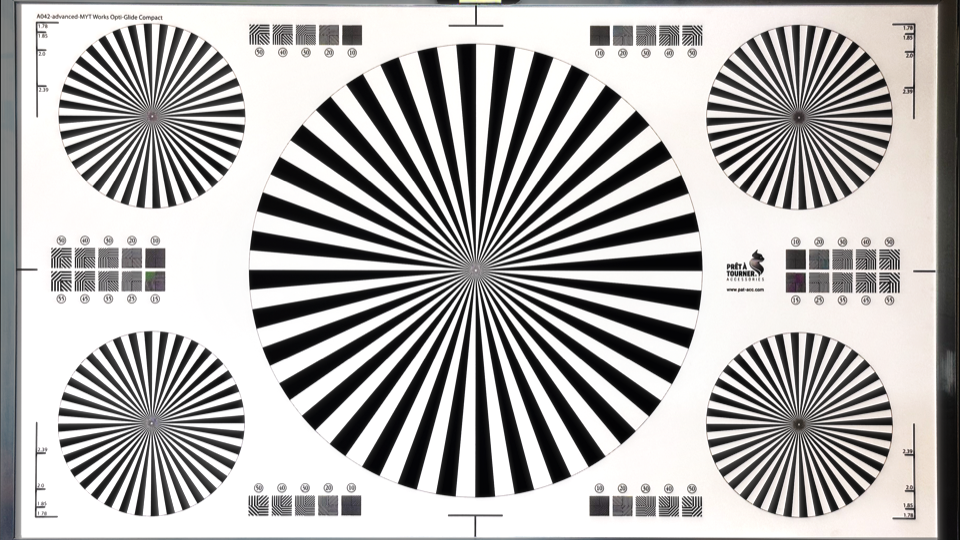
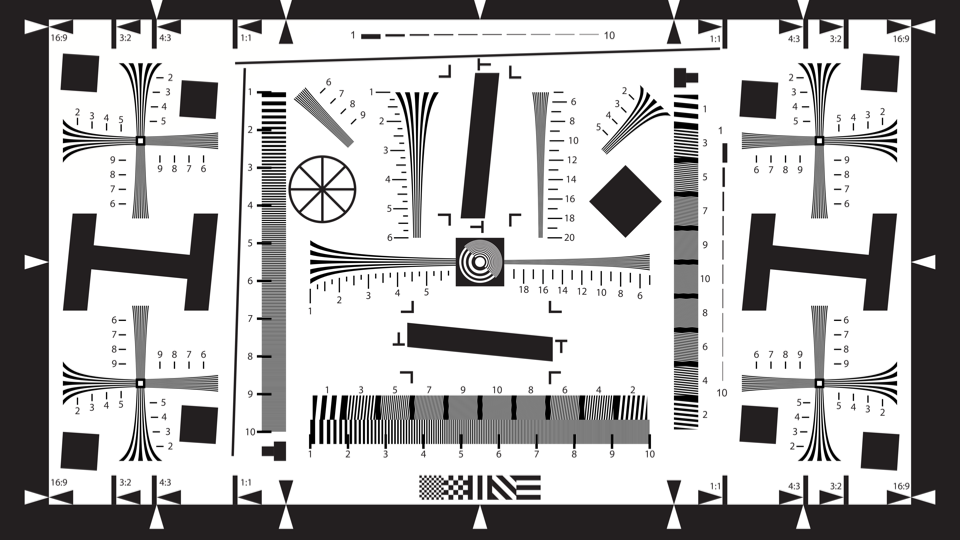
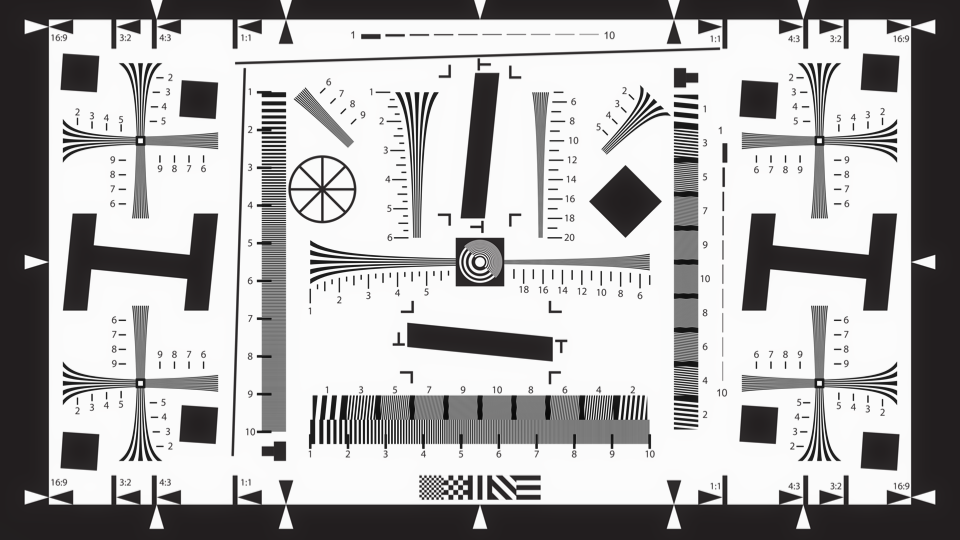
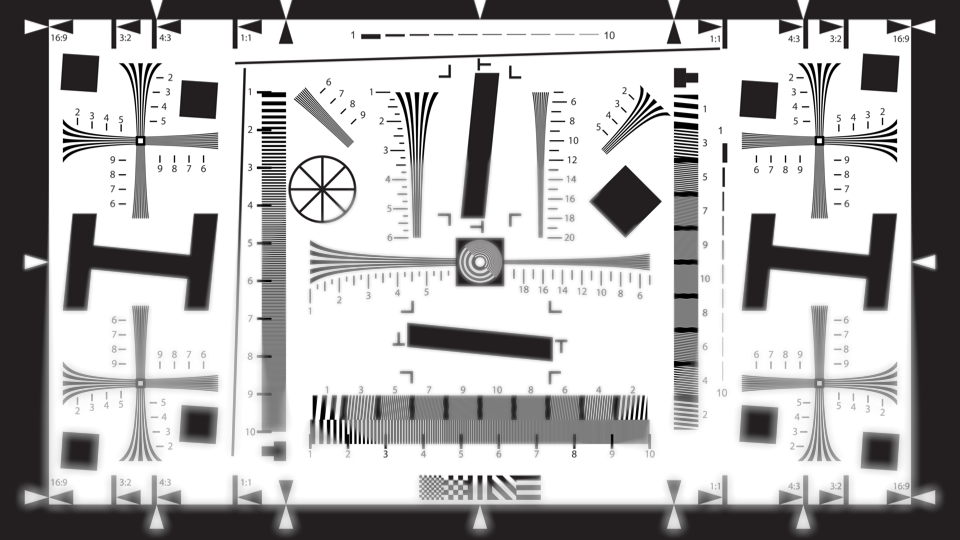
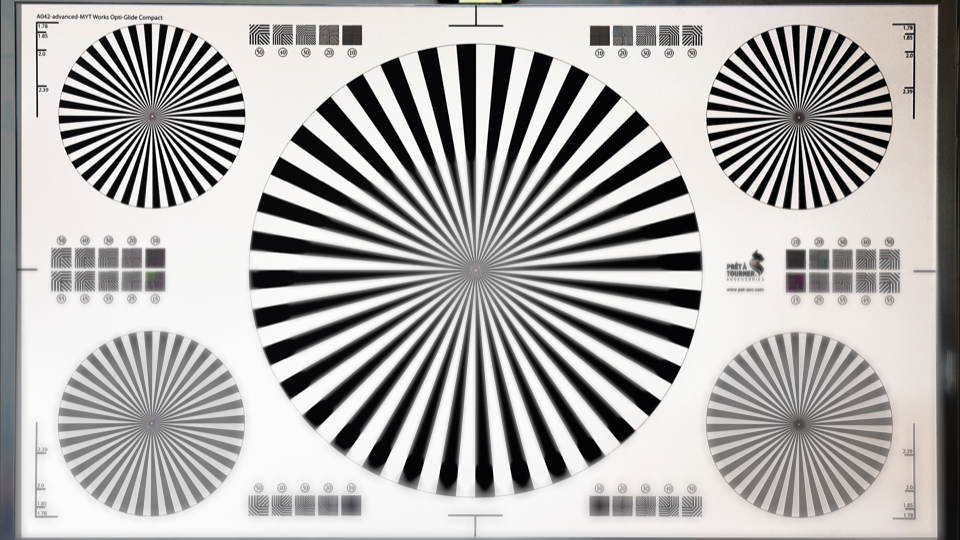
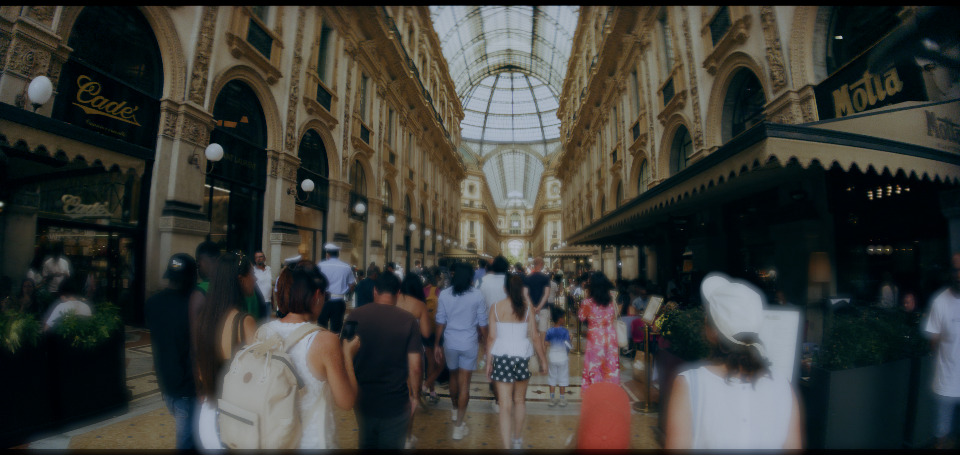
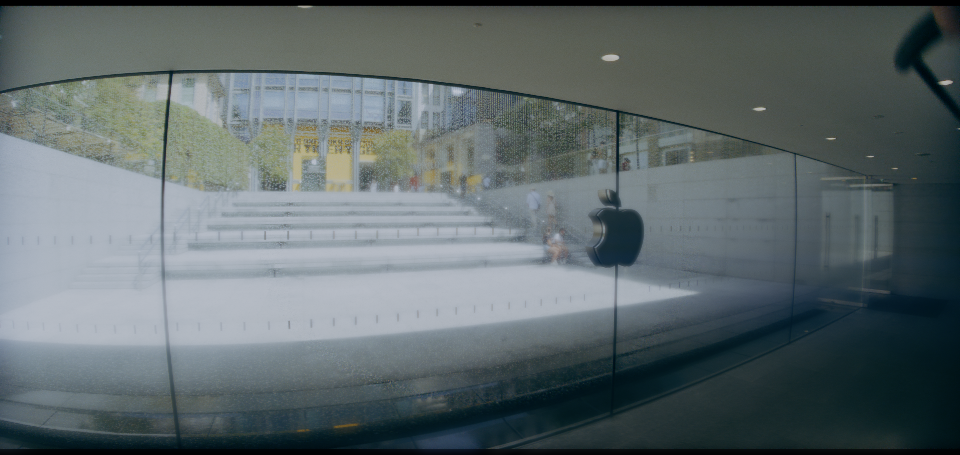
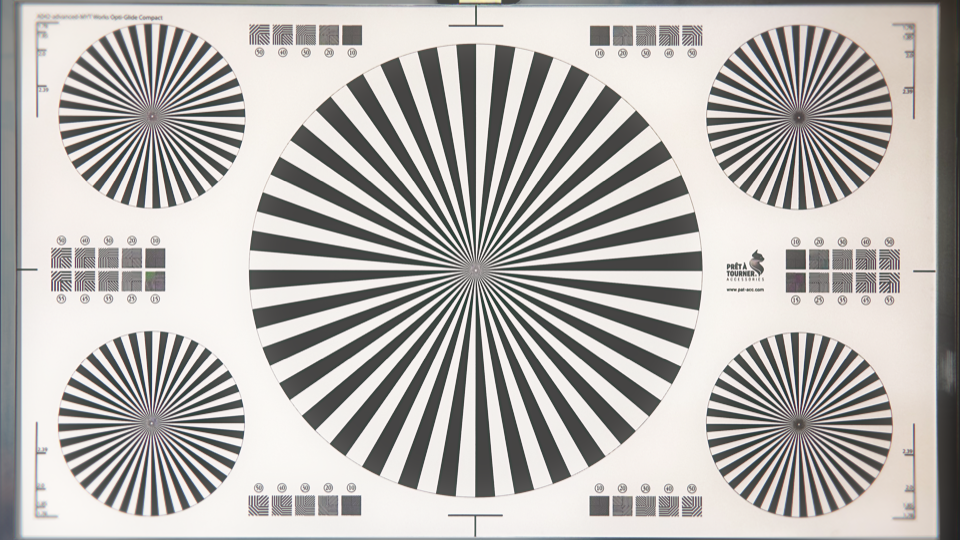
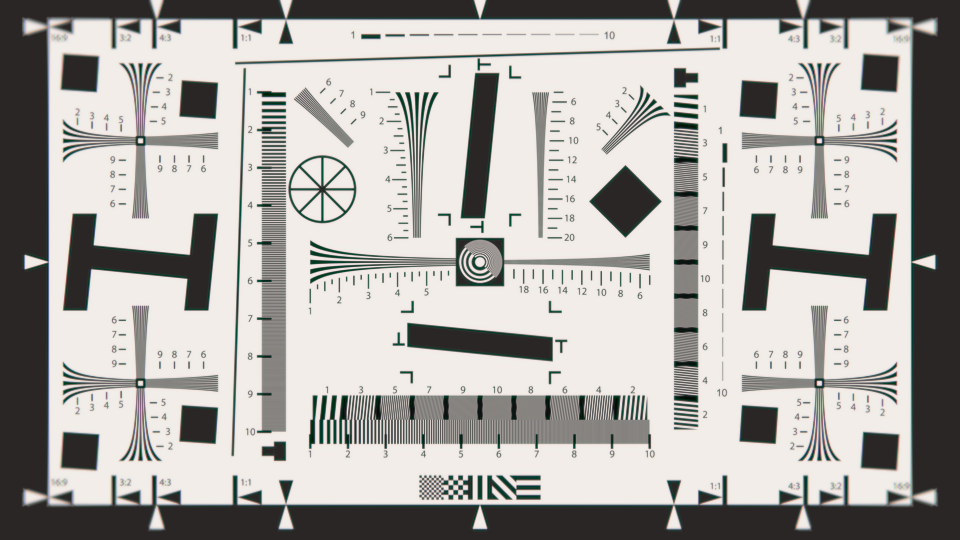
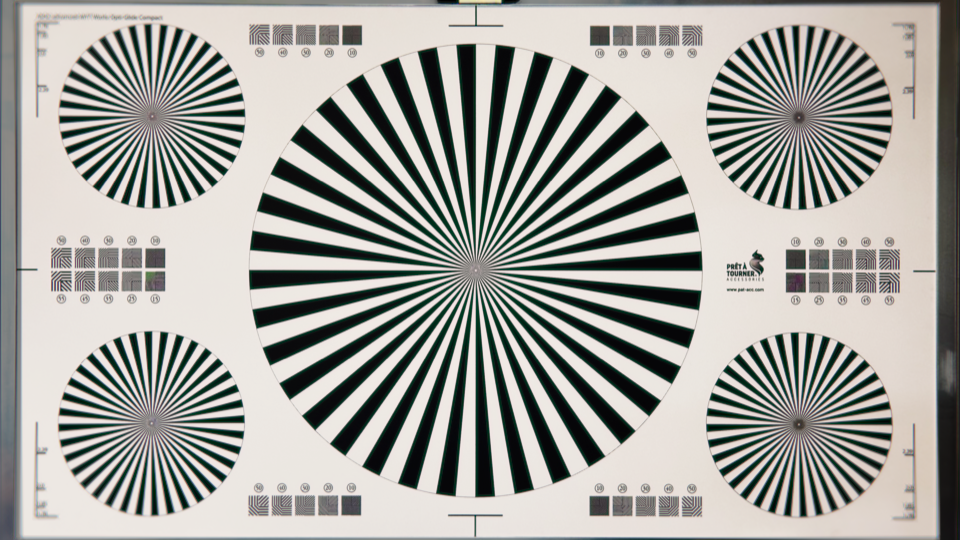
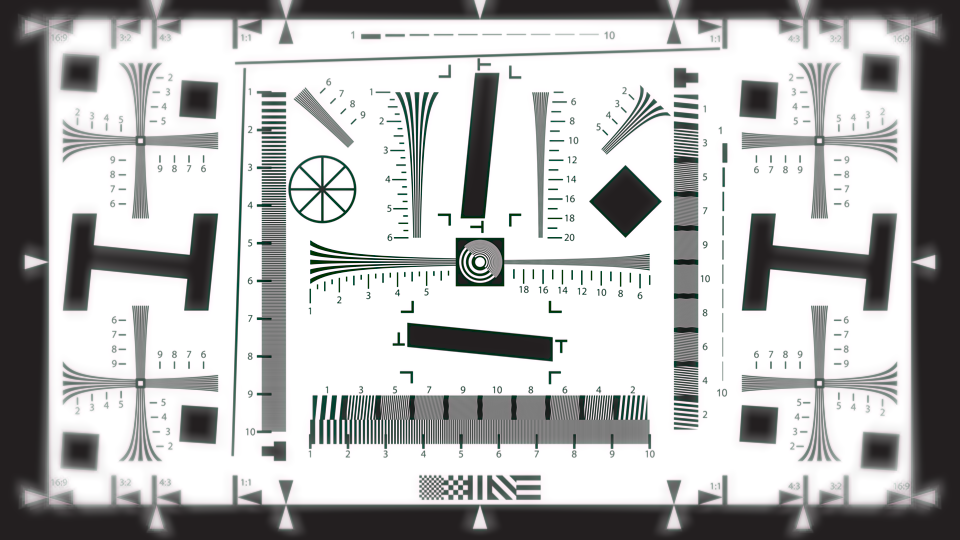
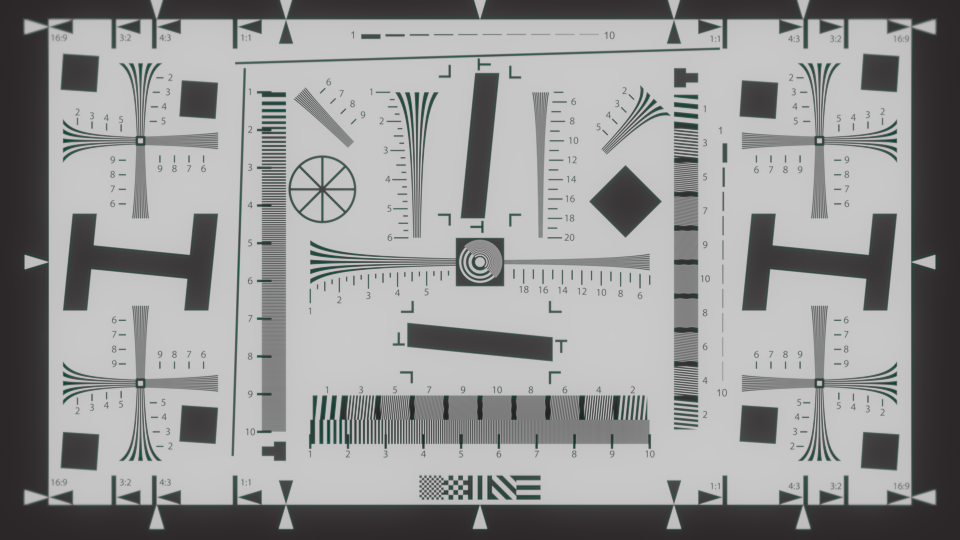
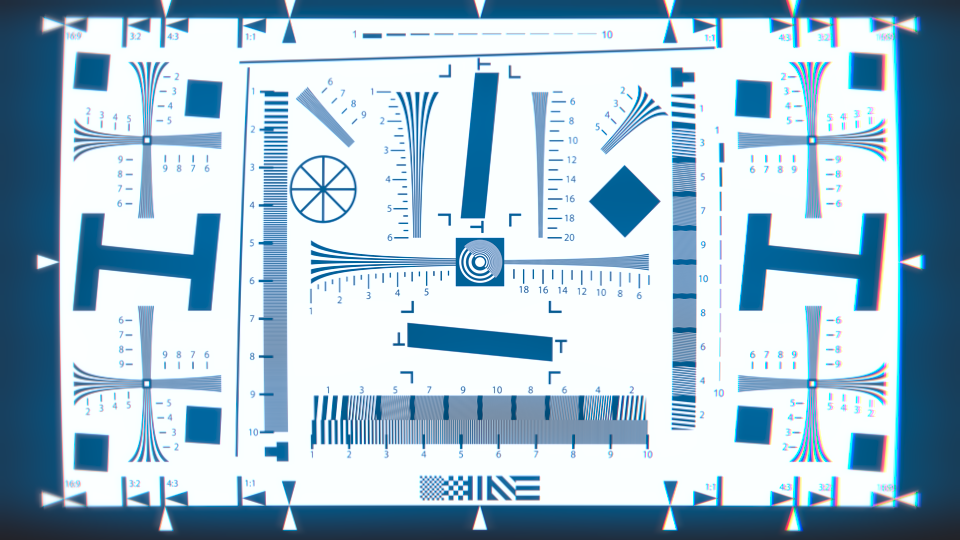
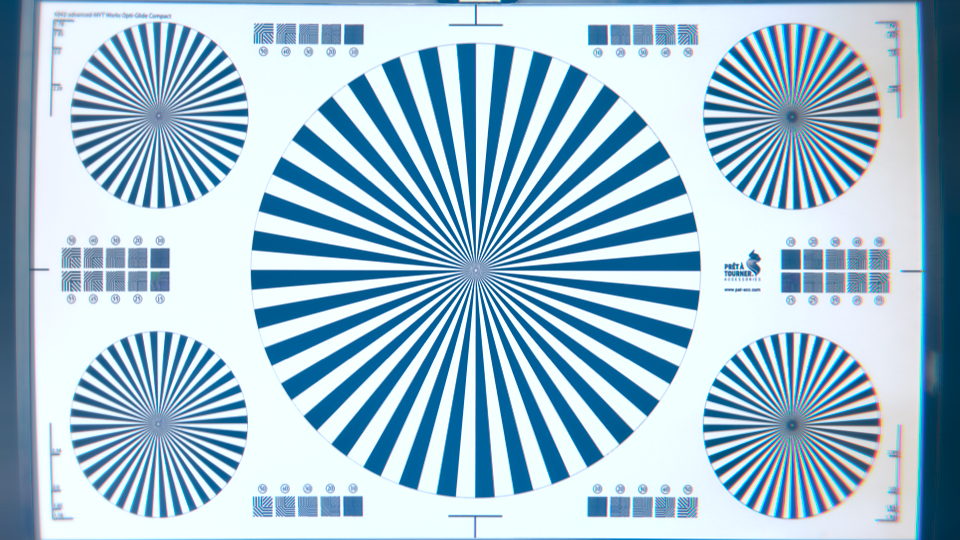
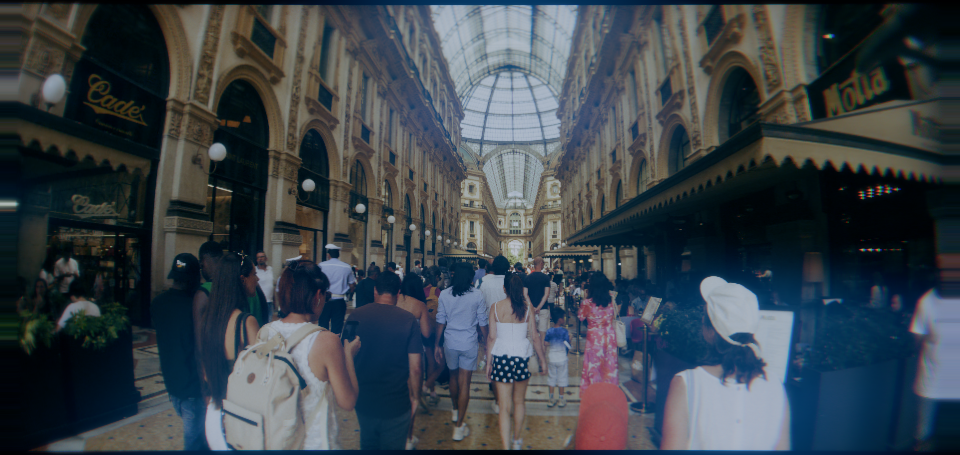
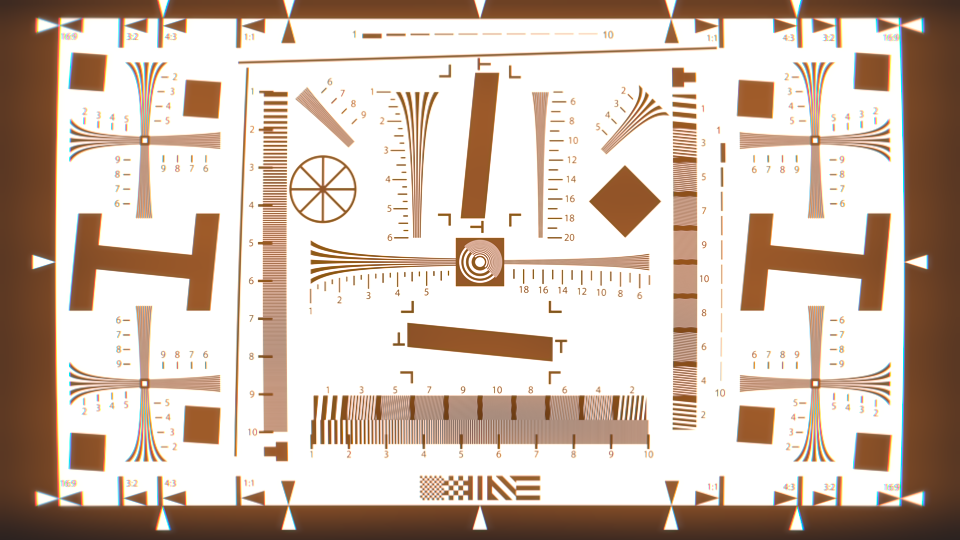
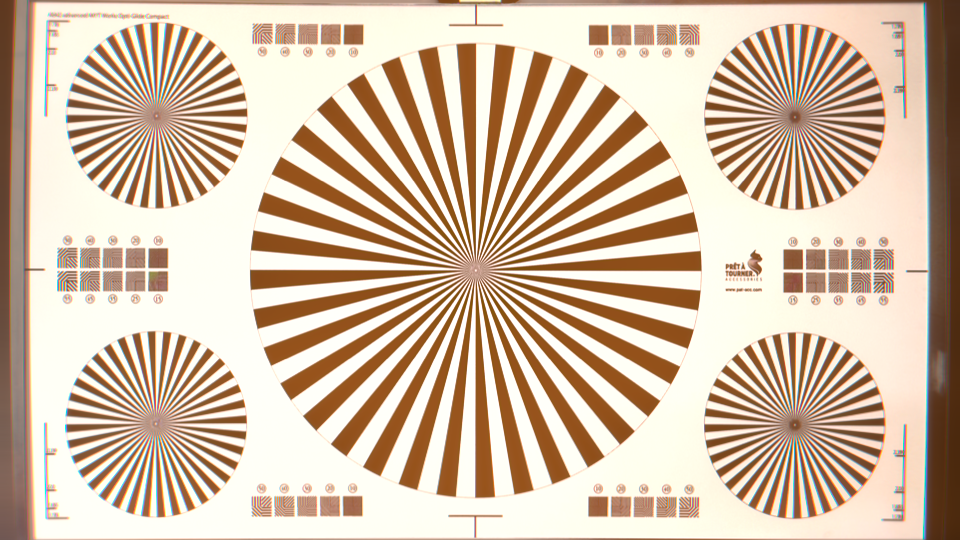
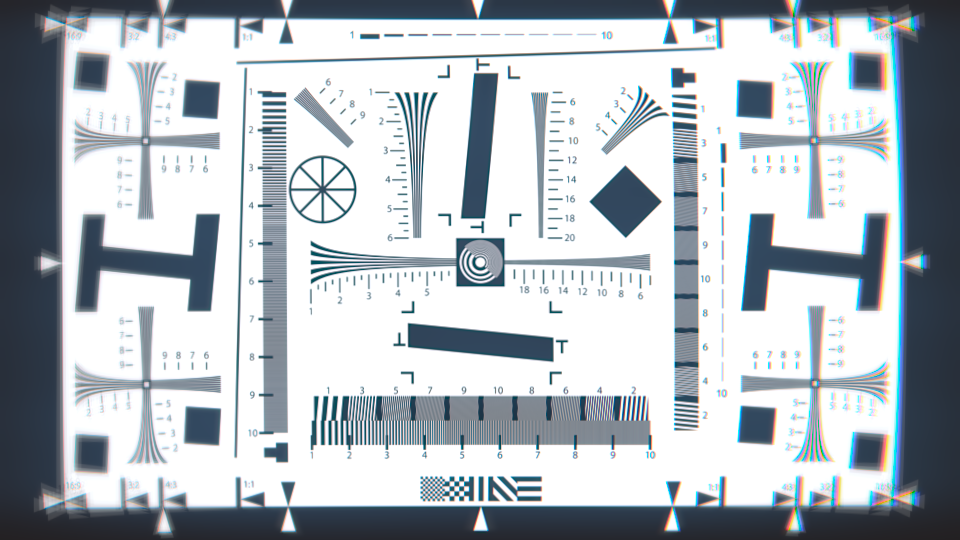
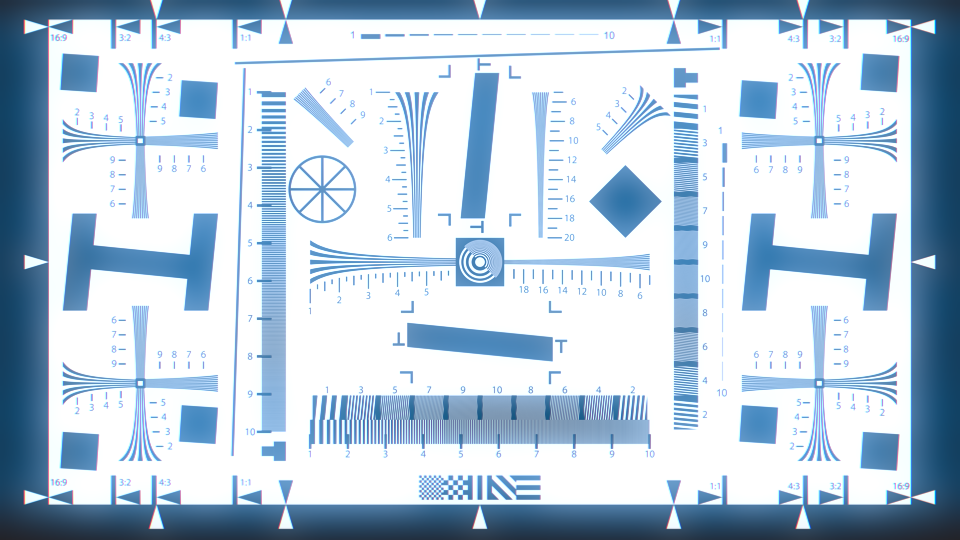
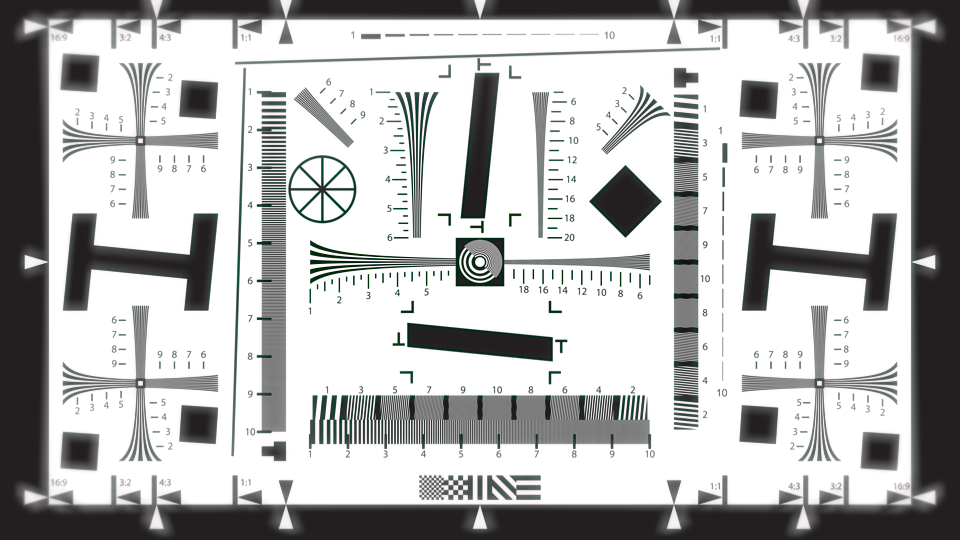
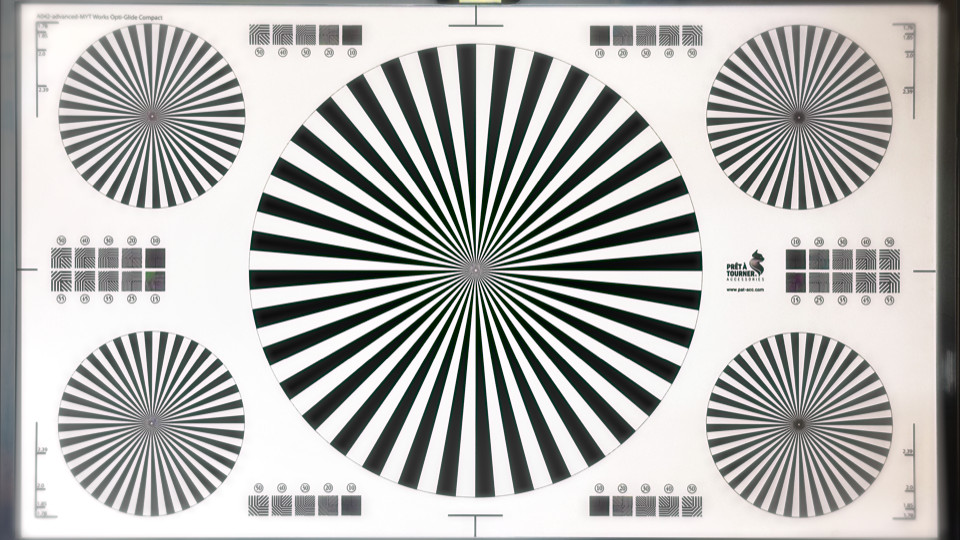
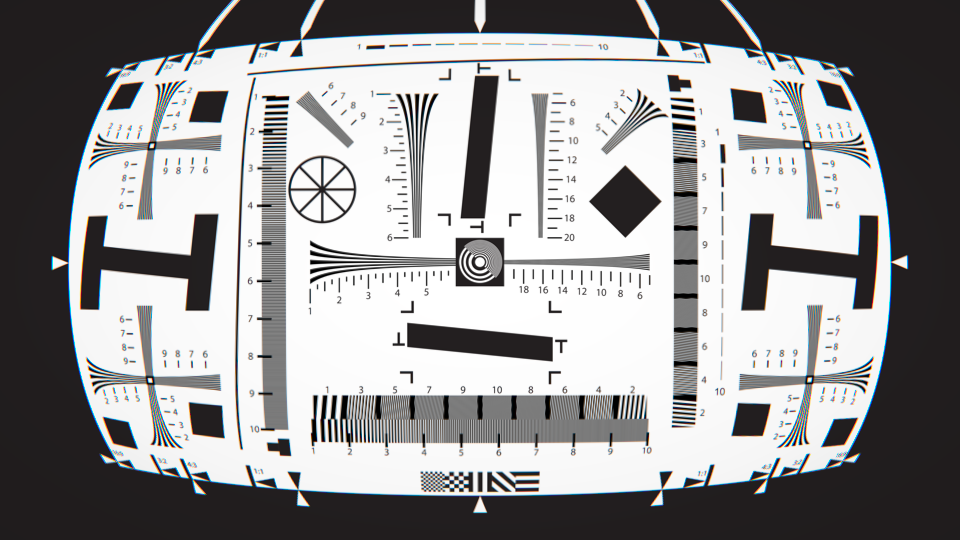
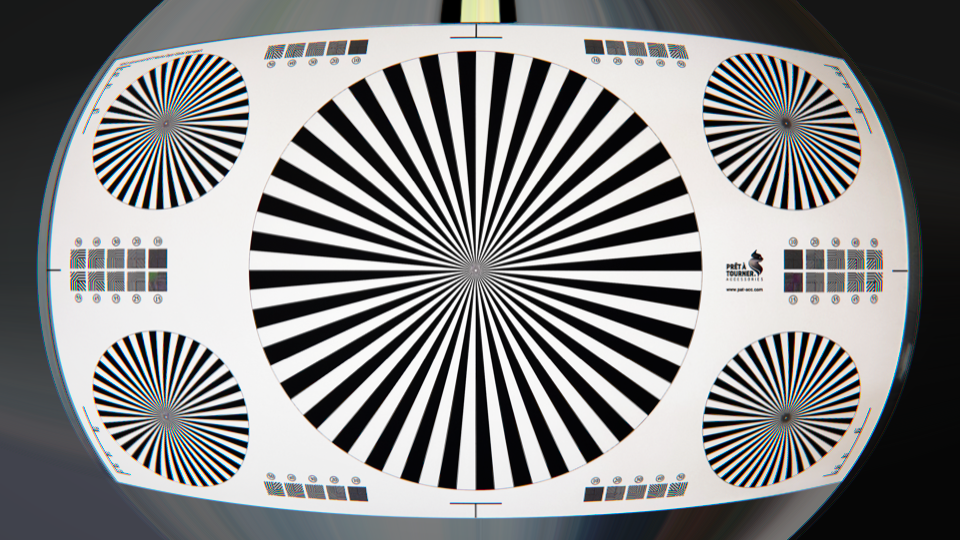
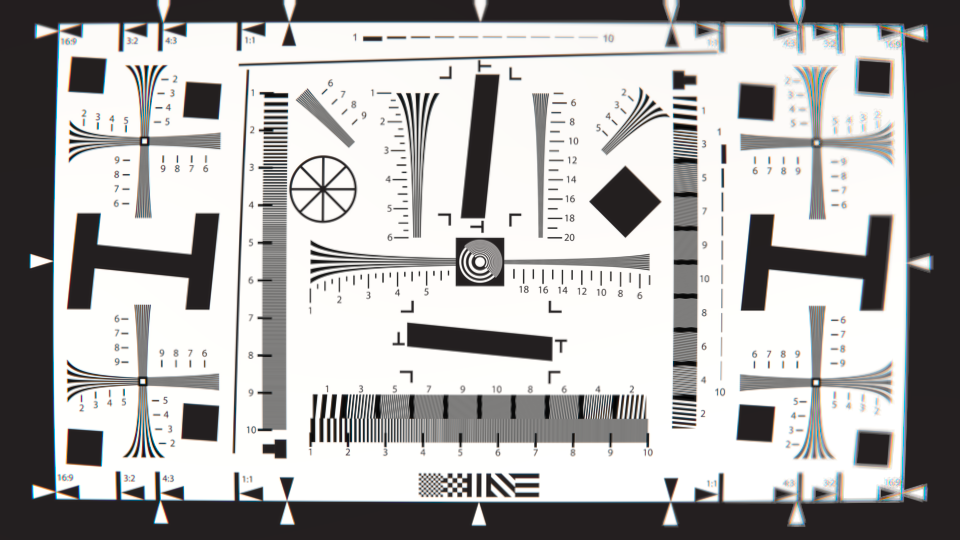
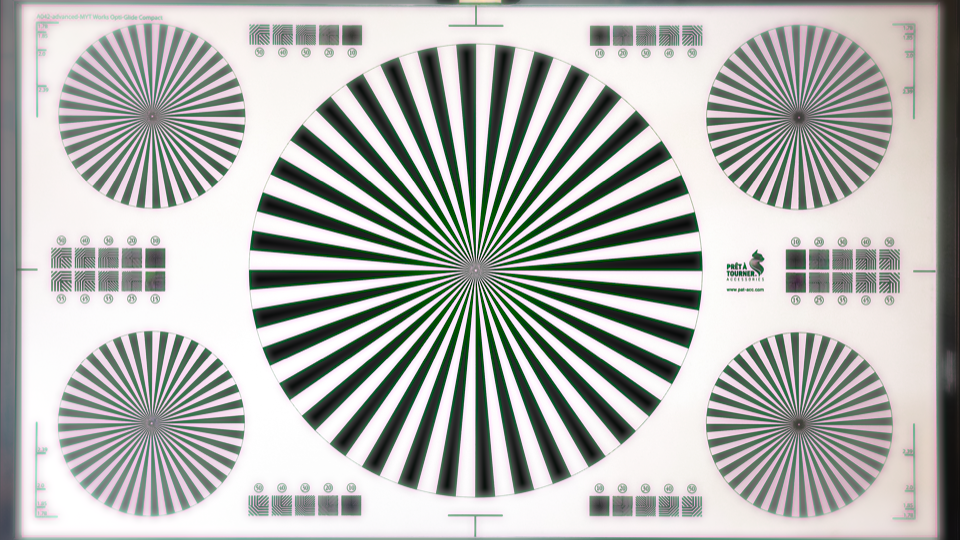
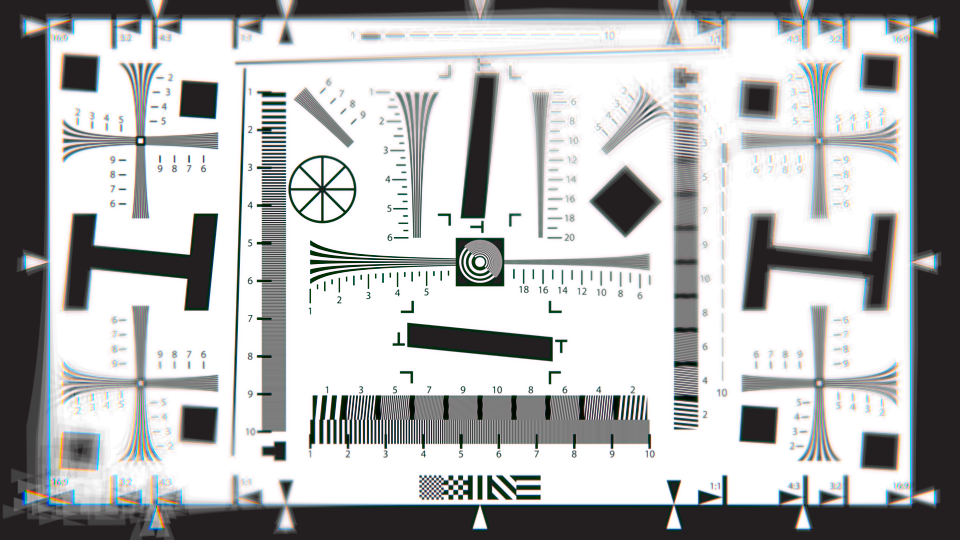
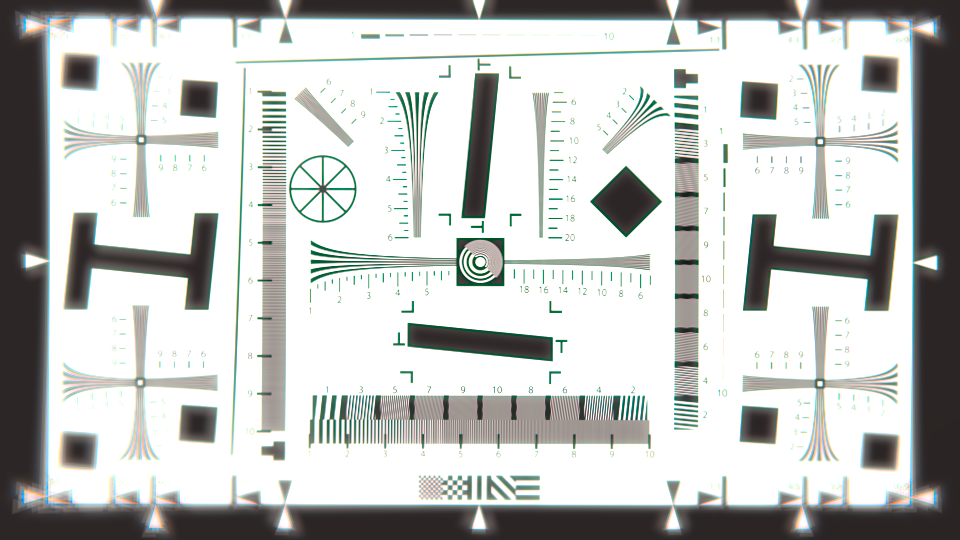
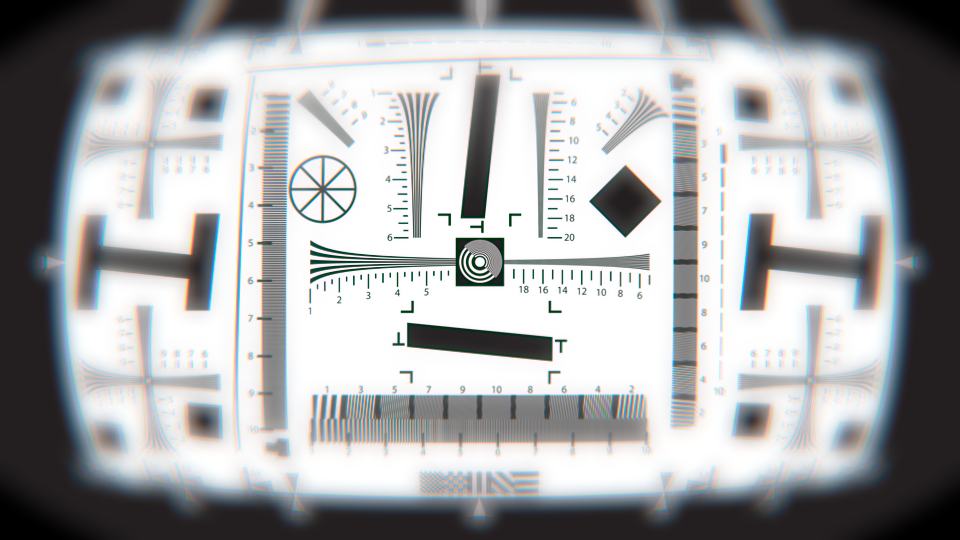
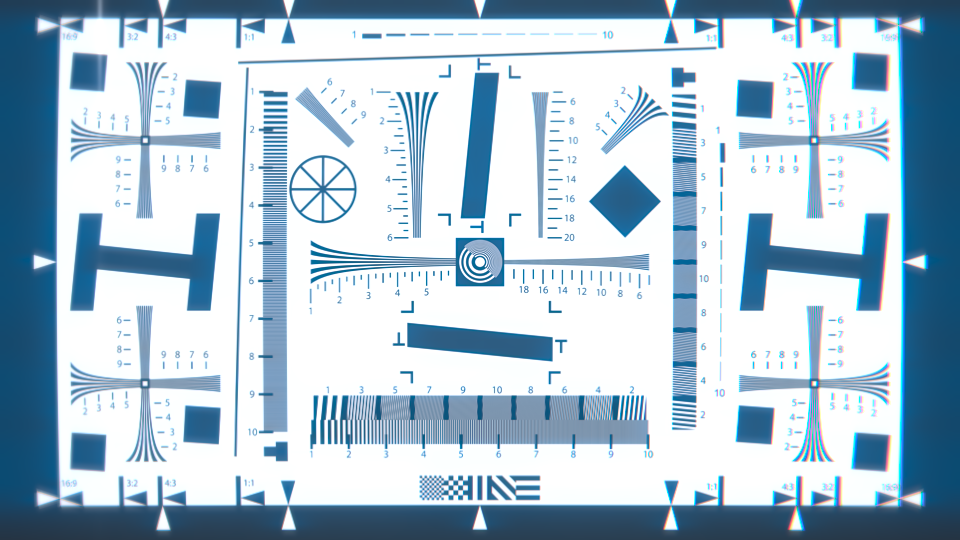
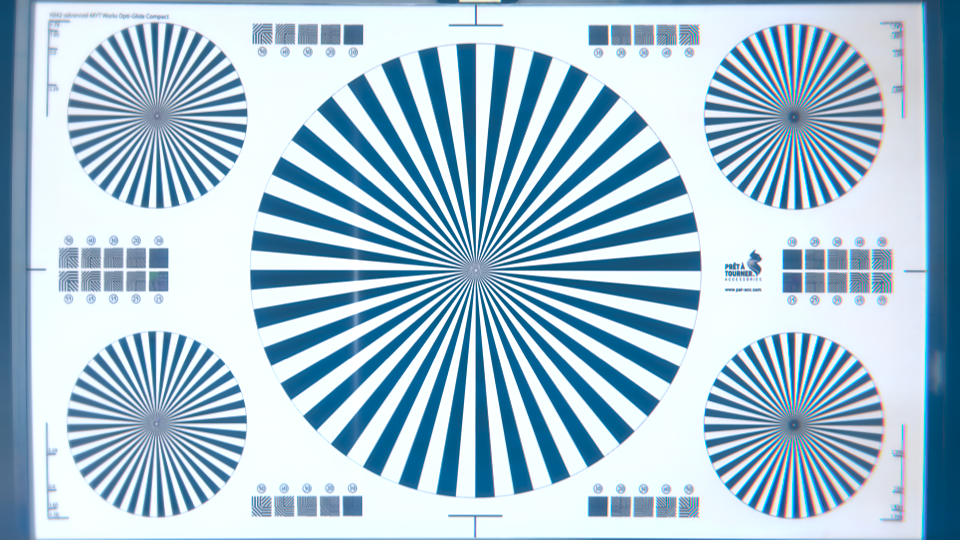
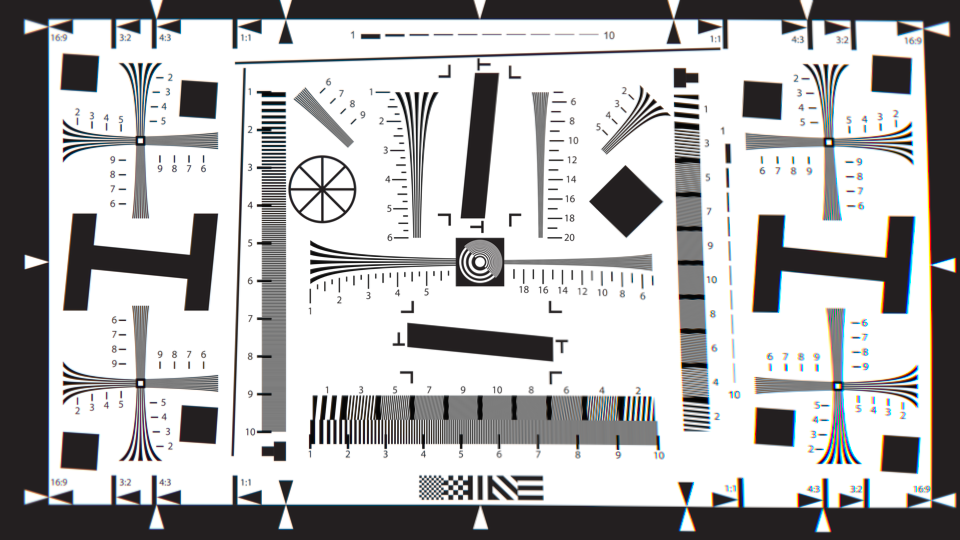
Illustration: the example selects Moustache / Wave so the change in curvature is legible in both architecture and the chart. Named choices are modeled creative profiles, not measurements of specific lenses.
Distortion strength
Default 1Range 0…2
Multiplies every coefficient supplied by the selected preset or Custom controls. Zero is geometrically neutral, one applies the coefficients as defined, and two doubles them. It does not scale chromatic displacement, blur, MTF, or wavefront terms.
Illustration: Barrel is shown at 50% strength. Use this control to retain a model's characteristic shape while reducing or exaggerating its overall geometric displacement.
Radial distortion K1
Custom default 0Range −1…1Custom only
Controls the primary radial term, whose displacement grows with squared normalized distance from Optical Centre. Positive values produce the plug-in's barrel mapping; negative values produce pincushion mapping. K1 normally establishes the dominant direction and strength of curvature.
Interaction: Optical Centre X/Y positions the symmetry axis. Pixel aspect and render scale normalize the field before K1 is evaluated.
Radial distortion K2
Custom default 0Range −1…1Custom only
Controls the higher-order radial term, whose influence grows with the fourth power of radius. It is comparatively quiet near the centre and increasingly dominant near the corners. Combining K2 with an opposing K1 produces moustache or wave distortion with a curvature reversal.
Illustration: K2 is isolated so its corner-weighted response can be distinguished from K1.
Vertical decentering P1
Custom default 0Range −0.25…0.25Custom only
Adds the vertically oriented tangential component of the Brown–Conrady-style mapping. It breaks perfect radial symmetry and can suggest vertical element decentering or tilt. Reversing the sign reverses the dominant vertical skew.
Starting guidance: physical-looking decentering is usually subtle. The illustration deliberately uses +0.12 so the direction is easy to identify.
Horizontal decentering P2
Custom default 0Range −0.25…0.25Custom only
Adds the horizontally oriented tangential component. It is mathematically paired with P1 but rotates the dominant asymmetry by ninety degrees. P1 and P2 may be combined to place decentering along an arbitrary direction.
Edges and alpha: distortion can map samples outside the source. Clamp repeats border pixels; Transparent returns empty samples. The main Blend blends both RGB and the distorted alpha against the original.
3. Tilt and shift
Tilt / shift
Default Off7 choices
Selects a coordinated setup. Architectural Rise shifts the optical axis vertically without adding blur. Subtle Cinema Tilt introduces restrained asymmetric focus falloff. Product Tabletop keeps a near-horizontal product plane sharp. Miniature creates strong blur above and below a narrow focus band. Diagonal Swing rotates the plane and adds modest two-axis shift. Custom enables all controls below.
Tilt / shift strength
Default 1Range 0…10
At 1.0 the selected recipe appears at its intended strength. Values below one restrain it. Above one, defocus grows progressively faster so the upper range can become deliberately overwhelming, while shift and aperture anisotropy continue to increase predictably. Extreme values are creative tools, not simulations of practical lens movements.
Tilt / shift guides and editing
Show tilt / shift guides displays the cyan focus line, yellow transition boundaries, orange and blue near/far blur-radius circles, and the magenta effective lens-axis shift. Edit tilt / shift exposes viewer handles for focus position, angle, transition width and X/Y lens shift. Dragging a built-in recipe switches it to Custom so the visible controls remain truthful. The guides never appear in rendered output.
Focus line rotation
Custom default 0°Range −180°…180°
Rotates the line of sharpest focus in image space. Zero produces a horizontal focus band; 90° produces a vertical band. This is the swing/tilt orientation, not a rotation of the image itself.
Focus line position
Custom default 0Range −1…1
Moves the focus line along its perpendicular axis. Zero crosses the effective optical centre. Negative and positive values move it toward opposite sides of the frame while retaining its rotation.
Near-side blur
Custom default 0 pxRange 0…24 px
Sets maximum tilt defocus on the negative side of the focus plane. It is added to wavelength-specific defocus inside the spectral PSF, allowing near and far sides to have deliberately different focus character.
Far-side blur
Custom default 0 pxRange 0…24 px
Sets maximum defocus on the positive side. Equal near/far values create a symmetric focus band; unequal values emulate a plane whose two sides diverge differently or provide controlled creative asymmetry.
Focus transition
Custom default 0.15Range 0.01…1
Controls the width of the low-defocus zone around the focus line. Small values make focus fall away quickly; large values retain a broader sharp region and a gentler progression into blur.
Aperture anisotropy
Custom default 1Range 0.5…2.5
Redistributes the tilt PSF between its sagittal and tangential radii while approximately retaining blur area. One is neutral; non-unity values make out-of-focus detail directionally elongated.
Horizontal lens shift
Custom default 0Range −1…1
Moves the effective optical axis left or right relative to the sensor. It does not translate the image. Instead it changes which parts of the fixed frame behave as on-axis or off-axis for distortion, chromatic displacement, MTF, wavefront response and vignetting.
Vertical lens shift
Custom default 0Range −1…1
Moves that effective axis vertically. Architectural Rise uses positive vertical shift to model an elevated lens image circle while preserving the recorded frame geometry.
Shift field coupling
Custom default 1Range 0…1
Determines how strongly shift relocates the shared field centre. Zero leaves distortion, CA, MTF, wavefront and vignetting centred at Optical Centre; one couples them fully to lens shift. Intermediate values provide artistic control when full physical coupling is too aggressive.
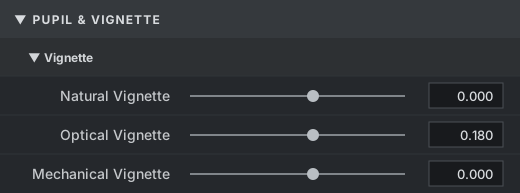
4. Optical vignetting
Vignetting
Default None6 choices
Selects the transmission model. None is neutral. Natural cos⁴ approximates illumination loss caused by oblique rays. Mechanical models a soft aperture or barrel obstruction near the field edge. Vintage Combined layers moderate natural and mechanical losses. Anamorphic uses an elliptical mechanical field. Custom reads the five controls below.
Illustration: Vintage Combined reveals the difference between gradual natural shading and the stronger outer-field mechanical component.
Vignette strength
Default 1Range 0…2
Scales the selected preset or Custom loss. Zero restores uniform transmission; one uses the defined model; two doubles the natural exponent and mechanical loss in stops. Elliptical squeeze also interpolates from a circular field as strength increases.
Important: this is not the final Blend. Strength changes the transmission model itself, while Blend dissolves the fully processed image against the original.
Natural falloff
Custom default 0Range 0…2Custom only
Controls a cos⁴-style field illumination law. Zero disables natural shading. One applies the nominal model; values above one strengthen its exponent. The response begins gently near the optical axis and grows continuously toward the corners without a discrete cutoff.
Visible result: a smooth, lens-like exposure gradient with no hard boundary. Optical Centre relocates its brightest axis.
Mechanical edge loss
Custom default 0 stopsRange 0…6 stopsCustom only
Sets the maximum attenuation beyond the soft mechanical field stop. Because it is measured in exposure stops, 1 stop transmits one half, 2 stops one quarter, and 3 stops one eighth at full obstruction. Zero disables the mechanical component.
Interaction: Clear Field Radius decides where the obstruction begins and Edge Softness controls how gradually it reaches this maximum loss.
Clear field radius
Custom default 1Range 0.1…1.5Custom only
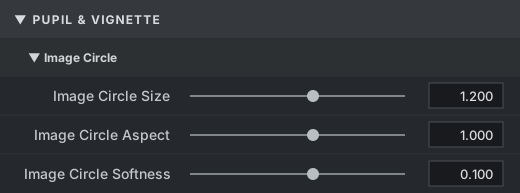
Defines the normalized radius inside which the mechanical component remains clear. Lower values bring shading farther into the frame; values above one can push most or all of the transition beyond the recorded corners. It does not change natural cos⁴ falloff.
Visible result: reducing Radius changes the extent of the vignette rather than merely making the same edge darker.
Edge softness
Custom default 0.25Range 0.01…1Custom only
Controls the radial width of the mechanical transition. Small values resemble a sharply clipped image circle; large values spread the loss broadly across the field. It has no effect when Mechanical Edge Loss is zero.
Starting guidance: broad transitions usually feel photographic. Very low softness is useful for damaged optics, extreme matte-box obstruction, or a visible image-circle edge.
Vignette squeeze
Custom default 1Range 0.5…2.5Custom only
Changes the vignette field from circular to elliptical. One is spherical. Values above one make horizontal distance contribute more strongly, producing an aperture that closes sooner toward the left and right; values below one favor top and bottom loss.
Distinction: this shapes transmission only. Anamorphic Squeeze in Optical Character shapes chromatic and PSF field geometry, and does not automatically alter the vignette.
5. Lateral chromatic geometry
Red edge shift
Default 1.5 pxRange −20…20 px
Sets the red channel's maximum displacement at the most distant image corner. The displacement approaches zero at the optical centre and grows according to Radial Curvature. Positive values move the sampled red image outward along the local field direction; negative values move it inward.
Visible result: opposite sides of a high-contrast edge gain red/cyan separation toward the frame perimeter. Reversing the sign exchanges the colored sides. This is lateral chromatic aberration, not blur.
Interaction: Anamorphic Squeeze changes the direction and rate of field growth; Tangential Dispersion rotates the shift away from purely radial; Blend scales the final composite, not this coordinate directly.
Blue edge shift
Default −1.5 pxRange −20…20 px
Equivalent to Red Edge Shift for the blue proxy wavelength. Green remains the spatial anchor. Opposite red and blue signs produce the familiar red/cyan and blue/yellow edge pairs of a dispersive lens.
Starting guidance: keep blue slightly larger in magnitude than red for a restrained photographic result. Equal large opposing values look more graphic and synthetic.
Optical centre X / Y
Default 0.5 / 0.5Range 0…1 normalized
Defines the zero-displacement point and center of the field model. X runs from left to right; Y runs from bottom to top. At the optical centre, lateral color displacement and field-dependent MTF loss are minimal.
Visible result: moving the centre shifts the cleanest part of the image and makes opposite frame edges behave differently. Small offsets suggest mechanical decentering; extreme values place the implied lens axis outside the recorded frame.
Radial curvature
Default 0.55Range 0…1
Blends two field-growth laws. At 0, chromatic displacement grows linearly with normalized image height. At 1, it grows cubically, keeping more of the center clean while concentrating separation near the perimeter.
Interaction: this changes where a given Red or Blue Edge Shift becomes visible, but their displayed pixel values still describe the far-corner maximum.
6. Optical field character
Optical character
Default Neutral5 profiles
Selects a coordinated field-geometry model:
Neutral: circular, symmetric radial dispersion.
Vintage Spherical: mild ellipticity, subtle tangential color, and an uneven field response oriented off-axis.
Anamorphic: strongly elliptical field geometry with restrained tangential separation.
Custom: reads the four individual character controls below.
Important: when a named profile is selected, the custom squeeze, tangential, asymmetry, and angle values are ignored. Character Strength still applies.
Character strength
Default 1Range 0…1
Interpolates the selected character toward a neutral spherical field. Zero disables the profile's geometry without changing the profile selection; one applies its complete settings.
Workflow: choose a profile at full strength to understand its shape, then reduce Strength until the effect sits naturally in the shot.
Anamorphic squeeze
Default 1Range 0.5…2.5Custom only
Changes the field metric from circular to elliptical before radial distance and PSF orientation are calculated. A value of 1 is spherical. Values above 1 make horizontal image displacement contribute more strongly to field height; values below 1 reduce it.
Visible result: color separation and field softness stop following perfect circles. This is not an image squeeze and does not change the frame's aspect ratio.
Tangential dispersion
Default 0Range −1…1Custom only
Rotates wavelength displacement away from the radial field direction toward the local tangential direction. Zero is purely radial. Positive and negative settings rotate in opposite directions.
Visible result: fringes begin to curl around the optical centre. High values intentionally resemble swirl or severe asymmetric optical correction rather than ordinary lateral CA.
Field asymmetry
Default 0Range 0…0.95Custom only
Applies an angular modulation to chromatic displacement. Zero gives equal behavior around the field. Higher values strengthen one side and weaken the opposite side, approximating decentering or uneven correction.
Interaction: Optical Centre moves the axis itself; Field Asymmetry changes response around that axis. They model related but distinct defects and can compound quickly.
Asymmetry orientation
Default 0°Range −180°…180°Custom only
Rotates the strongest lobe of Field Asymmetry around the optical centre. It has no visible effect while Field Asymmetry is zero.
7. Unified spectral PSF
Red / Green / Blue defocus
Default 0 pxRange 0…8 px per channel
Sets the longitudinal focus error for each RGB proxy wavelength. Defocus expands both sagittal and tangential radii of that channel's local PSF. Unlike Edge Shift, it spreads energy around the mapped coordinate instead of moving the coordinate.
Visible result: unequal values create wavelength-colored softness and focus fringes around detail throughout the image. Keeping green near zero while giving red and blue small unequal radii approximates ordinary axial chromatic aberration.
Interaction: MTF40 and field loss also enlarge the PSF directionally. Because these are unified in one kernel, they do not create a second blur pass, but aggressive combinations still produce substantial softness.
MTF profile
Default Off6 choices
Selects coordinated contrast-transfer anchors:
Off: MTF10 = 1, MTF40 = 1, no field loss or S/T split.
Modern Cinema: high broad contrast, moderate fine-detail roll-off, mild edge loss.
Vintage Low Contrast: lower broad contrast, softer fine detail, stronger field loss and directional separation.
Anamorphic Directional: moderate detail with pronounced sagittal/tangential divergence.
Classic Soft: gentle broad transitions and strong fine-detail/edge roll-off.
Custom: reads the four MTF controls below.
MTF strength
Default 1Range 0…1
Interpolates all values in the selected MTF profile toward a neutral optical transfer. At zero, the MTF contribution is neutral while RGB Defocus can remain active. At one, the complete profile or custom curve is used.
MTF10 contrast
Custom default 0.9Range 0…1.2Custom only
Controls the broader-frequency component of the unified PSF, conceptually corresponding to contrast measured around 10 line pairs per millimetre. Lower values blend toward a wider directional kernel, reducing macro- and mid-scale edge contrast without changing constant-area brightness.
Above 1: values between 1 and 1.2 introduce controlled contrast overshoot relative to the broad component. This is a creative extension, not passive-lens MTF, which normally remains at or below unity.
MTF40 detail
Custom default 0.65Range 0…1Custom only
Controls fine-detail retention, conceptually corresponding to a higher spatial-frequency measurement around 40 lp/mm. One keeps the fine PSF radius at the channel's Defocus value. Lower values expand it by up to approximately two additional pixels before field-dependent terms.
Visible result: lower MTF40 reduces texture acuity and microcontrast before MTF10 noticeably changes broader forms.
MTF edge loss
Custom default 0.2Range 0…1Custom only
Reduces fine-detail transfer quadratically with normalized image height. The optical centre is unaffected; the loss builds progressively toward the farthest corner.
Interaction: moving Optical Centre relocates the sharpest field region. Anamorphic Squeeze changes the shape of equal-loss contours.
Sagittal / tangential split
Custom default 0Range −0.75…0.75Custom only
Separates contrast transfer along the local sagittal direction (radiating from the optical centre) and tangential direction (circling it). The separation grows toward the edge. Positive values retain more tangential than sagittal response; negative values reverse that relationship.
Visible result: fine structures with different orientations soften differently near the edge, contributing to anamorphic or astigmatic rendering character.
8. Extended cinematic optics
Focus shape
Linear / Radial / Elliptical / Curved / Dual bands / Global mask / Depth / Matte
Chooses the surface that decides where the tilt/shift blur is sharp and where it grows. Linear behaves like a conventionally tilted focal plane. Radial and Elliptical form a sharp island around an adjustable centre. Curved bends a linear plane to approximate field curvature. Dual bands produces two parallel focus regions for miniature and graphic effects. Global mask, external depth and external matte use an image map instead of geometry. Focus centre, size, aspect, curvature, map maximum blur and map response appear only when relevant.
Viewer guides: Edit focus shows the selected line, curve, ring or ellipse plus transition, blur-radius and lens-axis cues. Radial and elliptical centres and size can be dragged directly.
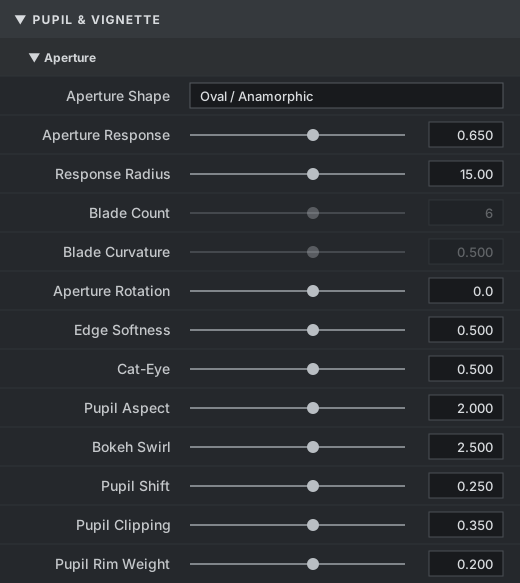
Aperture / bokeh
Default OffOff / five styles / Custom
This is now a self-contained visible effect rather than only a hidden pupil-shape selector. Selecting a style activates Bokeh defocus, which defaults to four pixels and combines with any existing RGB, tilt, depth, field-curvature or wavefront defocus. Profiles include circular modern, six-blade vintage, eight-blade cinema, anamorphic cat-eye and soap-bubble rendering. Set Bokeh defocus to zero when the aperture should shape defocus supplied elsewhere without adding uniform blur.
Custom: iris blade count, curvature, rotation, cat-eye compression, edge brightness, onion-ring modulation and sample quality define the detailed Final-quality pupil.
Bokeh defocus
Default 4 px when a style is activeRange 0…24 px
Supplies the blur radius required to make the selected aperture visible. It is inactive while Aperture / bokeh is Off. Auto and Interactive use the directional Metal approximation; Final uses the sampled pupil.
Depth input and focus
The optional Depth clip accepts Alpha or RGBA float images. Linear or inverse-depth interpretation includes near/far normalization, inversion, focus depth, focus gamma, maximum blur and edge protection. The depth-derived circle of confusion enters the same aperture PSF as tilt and channel defocus.
Occlusion: depth-edge-aware gather weighting suppresses cross-depth contamination. It is not a full multilayer foreground splat, so very large foreground bokeh remains an approximation.
Flare, ghosts and glare
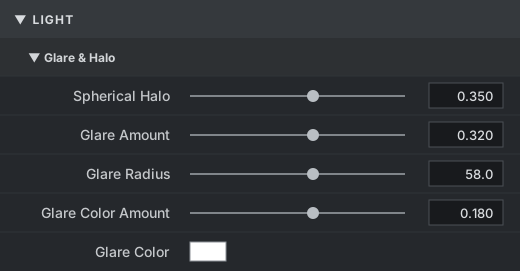
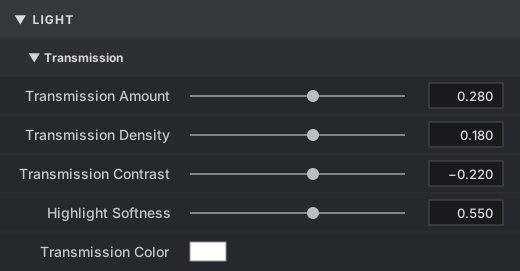
Modern coated, vintage warm, anamorphic blue and uncoated presets coordinate thresholded bloom, mirrored reflection ghosts, ghost spacing, veiling glare, horizontal streaks and RGB coating tint. These terms are added after primary lens formation and vignetting.
Diffraction and starbursts
Threshold, strength, ray count, radius and rotation shape aperture-driven stars. Spectral spread offsets RGB ray sampling and the Airy control adds a compact wavelength-style ring response. Presets cover six-, eight-, ten- and sixteen-ray signatures.
Lens state and breathing
Keyframeable focal length, focus distance, T-stop and sensor width describe lens state. Breathing changes image magnification during focus pulls; focal and aperture coupling determine how strongly state modifies distortion, CA, defocus and vignetting. Modern prime, vintage breathing, wide zoom and telephoto presets provide starting behavior.
Field curvature
Independent sagittal and tangential focal surfaces add field-dependent defocus with adjustable radial power, asymmetry and orientation. Petzval, reverse, astigmatic and decentered presets are included.
Blur Character / Wavefront
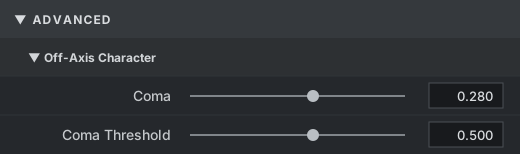
Directly after Aperture & Bokeh Shape, Blur Character selects Clean, Modern Cinema, Vintage Spherical, Anamorphic Astigmatism, Decentered Coma, Measured Lens or Custom Wavefront behavior. Primary spherical, astigmatism and coma are joined by trefoil, secondary spherical and secondary coma. These terms shape softness, highlight halos and edge smearing rather than merely adding a uniform blur radius. A visible UI note explains that adding Defocus or Bokeh Amount makes the character easier to see.
Measured lens calibration
Select Measured Lens under Blur Character / Wavefront, then click Import measured wavefront…. A native macOS Open dialog accepts TXT, CSV, DAT and WAVEFRONT files. (***HIGHLY EXPERIMENTAL - NOT TESTED***) The disabled status row confirms whether a file is loaded. The importer accepts legacy three/six-value files or a table indexed by focal length, focus distance and T-stop. It interpolates distortion, vignetting, six wavefront terms, MTF40 and field loss. Parsed tables are cached and invalidated when the file timestamp changes.
Spectral lens shading
Independent red, green and blue edge loss in stops creates wavelength-dependent transmission rather than spatial CA. Radial power, asymmetry and orientation support warm, cool, magenta-wide and decentered-coating shading.
External mask clip
The optional Mask clip accepts Alpha or RGBA and can replace, multiply, add to or take the maximum of the procedural mask. Fine routing switches independently target defocus channels, MTF anchors, distortion coefficients, wavefront terms, vignette components, tilt/shift terms, shading, flare, diffraction and lens-state coupling.
9. Sampling and output
Edges
Default ClampClamp / Transparent
Determines how the spectral PSF samples beyond the available source rectangle. Clamp repeats the nearest border pixel and avoids black rims. Transparent returns zero RGB for out-of-bounds samples; alpha still comes from the original output coordinate.
Use Transparent when the host supplies a correctly expanded source or the image will be composited with intentional empty borders. Use Clamp for most cases.
Selects what drives depth-of-field blur. External Depth uses the OFX depth clip. Global mask reuses the plug-in power window. External matte uses the connected key/matte. Image luminance and Image alpha work directly on the Resolve Color page without another input. Near/Far remap, Invert, Focus and Focus gamma apply to every source.
Output quality and frame-time calculator
Default FastFast / Medium / Molasses
Active interaction and host draft requests use a responsive 16–24-sample preview. A settled, non-interactive full-resolution request uses the selected output tier: Fast uses 32 pupil samples and three wavelength bands; Medium uses 64 pupil samples and at least seven bands; Molasses uses 96 pupil samples and eleven bands. The default Fast output quality intends to optimise speed and reduce stepping in strong shaped bokeh and tilt blur, but may currently not be enough for some effects settings. Try increasing output quality if stair-stepping is too pronounced when using the Fast output quality. Every output quality tier attempts to use Metal; CPU is implemented as an automatic fallback-only.
Minimum spectral samples is inside the collapsed Advanced Quality subgroup. Automatic follows Fast/Medium/Molasses at 3/7/11. A manual 3, 7 or 11 establishes a delivery minimum; for example, 11 forces eleven spectral samples even with Fast. Interactive adjustment remains at three samples for responsiveness.
Calculate frame render time… was implemented to benchmark differences in render times e.g. between output quality settings, especially when tweaking advanced output quality settings, to better make informed decisions before rendering a project. Clicking it immediately changes Status to Queued / calculating…, then asks Resolve for one explicit render at the selected output tier. Resolve may take a moment to schedule that frame. The native window identifies the selected quality and actual backend, reports live completion and provides Cancel. On success, Status becomes Current and Minutes/Seconds display the measurement. Any image-forming or output-quality change returns Status to n/a.
Blend
Default 1.000Range 0.000…1.000Step 0.001
Blends the fully formed Lens Debaser RGB result with the original RGB image. 0.000 is the untouched source; 1.000 is the complete simulated lens. Alpha is always preserved from the source.
Important: Blend does not weaken individual aberrations inside the physical model. It performs a final creative dissolve, so intermediate values can combine sharp original detail with softened or displaced detail.
Installation
Here's how to do it manually: Extract the Lens Debaser archive.
Move LensDebaser64.ofx.bundle into ~/Library/OFX/Plugins/.
Restart the host and rescan OFX effects if necessary.
The development bundle is ad-hoc signed, not Developer ID signed and notarized, absolutely not Kosher, for now.
Current limitations
This may all be a bunch of lies packaged to sound and look clever. I'm currently too dumb to verify if the physics maths out and I may indeed have been dunning-krugered by Altman's monkeys.
Standard OFX exchange remains 32-bit float RGBA; “64 Internal” refers to CPU optical geometry and accumulation.
Lens Debaser simulates multiple wavelengths from the image’s RGB values. Because an RGB image does not contain the original full light spectrum, spectral effects are physically informed approximations.
Built-in profiles are probably based on fiction, not real measurements from real optics.
Depth occlusion uses edge-aware gathering rather than a full multilayer foreground splat.
Metal accelerates the core model plus procedural masks, distortion, vignetting and tilt/shift. Depth, external mattes, sampled aperture bokeh, stray light, diffraction and higher-order pupil terms use CPU. CPU/Metal parity has been verified.
No color transform is performed. This is more of a feature than a limitation. Lens Debaser OFX assumes you're applying it in a scene-referred linear / log work space to work properly (like DWG/I).
Some configurations and effects may be too slow for actual use as it's not very optimised - for now.